Node Version Manager is the most convenient way to manage different Node.js versions. We, as developers, oftentimes need to change between different Node.js versions depending on the project. Without Node Version Manager, changing Node.js versions can be cumbersome. In this article, you will learn how to: install NVM on Ubuntu, install NVM on macOS, install NVM on WSL2 and install NVM on Windows.
Table of Contents
- Important NVM Commands
- Install NVM Windows
- Install NVM Ubuntu
- Install NVM WSL2
- Install NVM macOS
- Summary
Important NVM Commands
The NVM commands are the same on every operating system except for Windows. Therefore, we are going to look at the most important NVM commands first to familiarize you with NVM.
The specific NVM Windows commands are listed in the Windows section.
Install Latest Node.js Version Using NVM
To install the latest version of Node.js, run:
nvm install node
Code language: plaintext (plaintext)
Install Node.js LTS Using NVM
To install the LTS version of Node.js, run:
nvm install --lts
Code language: plaintext (plaintext)
List Available Node.js Versions
To list all available Node.js versions that are supported in NVM, run:
nvm ls-remote
Code language: plaintext (plaintext)
Install Specific Node.js Version Using NVM
To install any other version of Node.js, run:
nvm install {version}
Code language: plaintext (plaintext)
Listing Installed Node.js Versions
To list all installed NVM versions, type:
nvm list
Code language: plaintext (plaintext)
Switching Node.js Versions Using NVM
To switch/enable a version of Node.js, run:
nvm use {version}
Code language: plaintext (plaintext)
Install NVM Windows
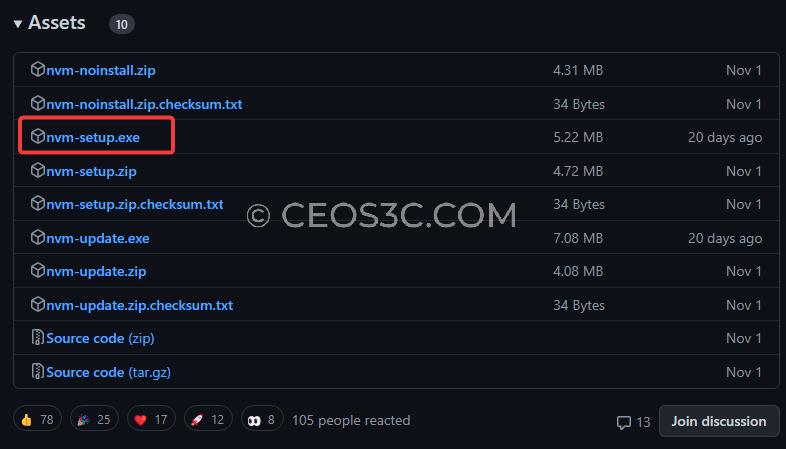
NVM does not directly support Windows. Therefore we need to use the nvm-windows package instead (officially listed in the NVM documentation). The nvm-windows package has more than 24.500 GitHub stars and is recommended by both Microsoft and Google.
To install NVM on Windows, download the nvm-setup.exe installer here. After downloading, run the installer and leave everything as default.
Using NVM on Windows
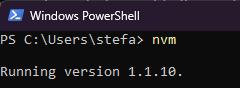
To use NVM on Windows, we need to use PowerShell.
- Press the Windows Key and search for PowerShell.
- Launch PowerShell.
- Run the
nvmcommand to verify that NVM is installed.
Install Latest Node.js Version on Windows
To install the latest Node.js version on Windows, run:
nvm install latest
Code language: plaintext (plaintext)
Followed by the command below. Make sure to use your version number:
nvm use 19.2.0
Code language: plaintext (plaintext)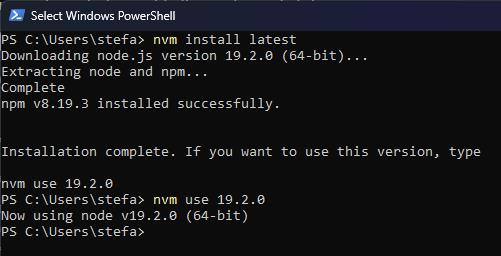
Install Node.js LTS on Windows
To install the LTS version of Node.js on Windows, run:
nvm install lts
Code language: plaintext (plaintext)
Followed by the command below. Make sure to use your version number:
nvm use 18.12.1
Code language: plaintext (plaintext)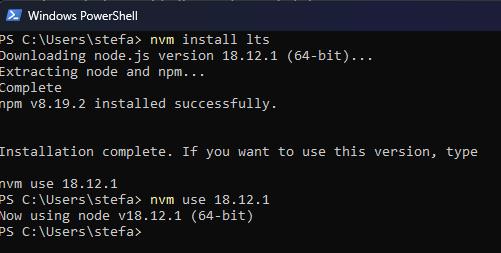
Install Specific Node.js Version on Windows
To install any other version of Node.js on Windows, run:
nvm install {version}
Code language: plaintext (plaintext)
To use that particular version:
nvm use {version}
Code language: plaintext (plaintext)
Install NVM Ubuntu
Installing NVM on Ubuntu is quick & easy. We can use either curl or wget to install NVM on Ubuntu. Make sure to install the latest version by checking it in the official GitHub repository.
Curl
curl -o- https://raw.githubusercontent.com/nvm-sh/nvm/v0.39.2/install.sh | bash
Code language: plaintext (plaintext)
Wget
wget -qO- https://raw.githubusercontent.com/nvm-sh/nvm/v0.39.2/install.sh | bash
Code language: plaintext (plaintext)
Running either of these commands will automatically update the respective ~/.bash_profile, ~/.zshrc, ~/.profile, or ~/.bashrc files.
Make sure to restart your terminal after the installation has finished or run the source ~/.{yourProfile} command to update your config.
Verify Installation
To verify if everything was installed correctly, run:
nvm
Code language: plaintext (plaintext)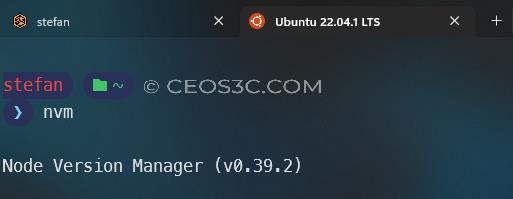
Install Latest Node.js Version on Ubuntu
To install the latest Node.js version on Ubuntu, run:
nvm install node
nvm use {version}
Code language: plaintext (plaintext)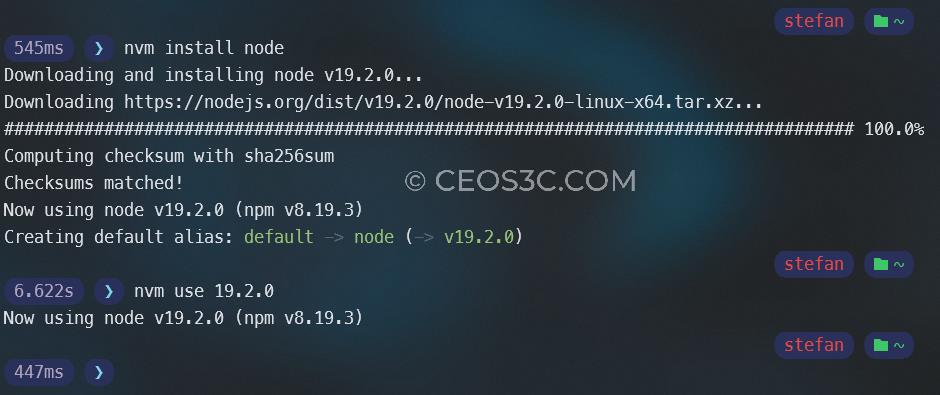
Install Node.js LTS on Ubuntu
To install the LTS version of Node.js on Ubuntu, run:
nvm install --lts
nvm use {version}
Code language: plaintext (plaintext)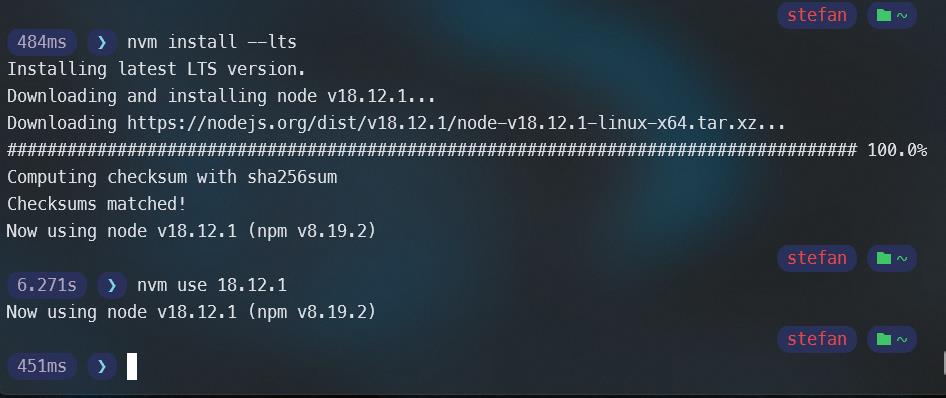
Additional Commands
For more commands, check the important NVM commands section at the beginning of this article!
Install NVM WSL2
The steps to install NVM on WSL2 are the same as the steps for installing NVM on Ubuntu. Nevertheless, let’s quickly run through them. We can use either curl or wget to install NVM on WSL2. Make sure to install the latest version by checking it in the official GitHub repository.
Curl
curl -o- https://raw.githubusercontent.com/nvm-sh/nvm/v0.39.2/install.sh | bash
Code language: plaintext (plaintext)
Wget
wget -qO- https://raw.githubusercontent.com/nvm-sh/nvm/v0.39.2/install.sh | bash
Code language: plaintext (plaintext)
Running either of these commands will automatically update the respective ~/.bash_profile, ~/.zshrc, ~/.profile, or ~/.bashrc files.
Make sure to restart your WSL2 terminal after the installation has finished or run the source ~/.{yourProfile} command to update your config manually.
Verify Installation
To verify if everything was installed correctly, run:
nvm
Code language: plaintext (plaintext)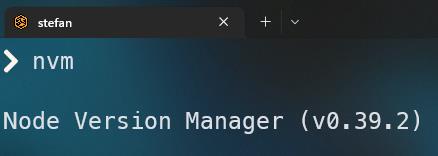
Install Latest Node.js Version on WSL2
To install the latest Node.js version on WSL2, run:
nvm install node
nvm use {version}
Code language: plaintext (plaintext)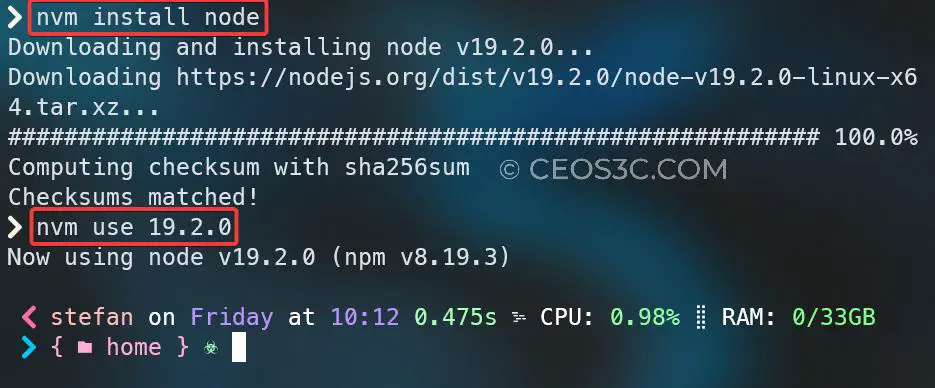
Install Node.js LTS on WSL2
To install the LTS version of Node.js on WSL2, run:
nvm install --lts
nvm use {version}
Code language: plaintext (plaintext)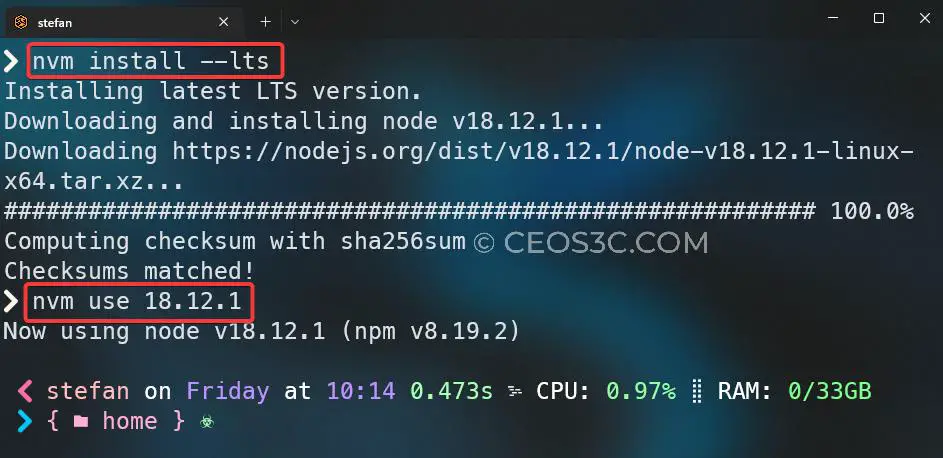
Additional Commands
For more commands, check the important NVM commands section at the beginning of this article!
Install NVM macOS
There are two ways how to install NVM on macOS. You can either use Homebrew, or you install it by using either curl or wget.
Install NVM macOS Using Homebrew
If you do not have Homebrew installed, you can install it by using the following command:
/bin/bash -c "$(curl -fsSL https://raw.githubusercontent.com/Homebrew/install/HEAD/install.sh)"
Code language: plaintext (plaintext)
To install NVM on macOS with Homebrew, run:
brew install nvm
Code language: plaintext (plaintext)
This will install the latest and most up-to-date version of NVM on your mac.
Install NVM macOS Using Curl or Wget
The classic way of installing NVM on macOS is by using the curl or the wget command.
Curl
curl -o- https://raw.githubusercontent.com/nvm-sh/nvm/v0.39.2/install.sh | bash
Code language: plaintext (plaintext)
Wget
wget -qO- https://raw.githubusercontent.com/nvm-sh/nvm/v0.39.2/install.sh | bash
Code language: plaintext (plaintext)
Running either of these commands will automatically update the respective ~/.bash_profile, ~/.zshrc, ~/.profile, or ~/.bashrc files.
Make sure to restart your macOS terminal after the installation has finished or run the source ~/.{yourProfile} command to update your config manually.
Verify Installation
To make sure that NVM has been correctly installed on macOS, run:
nvm --version
Code language: plaintext (plaintext)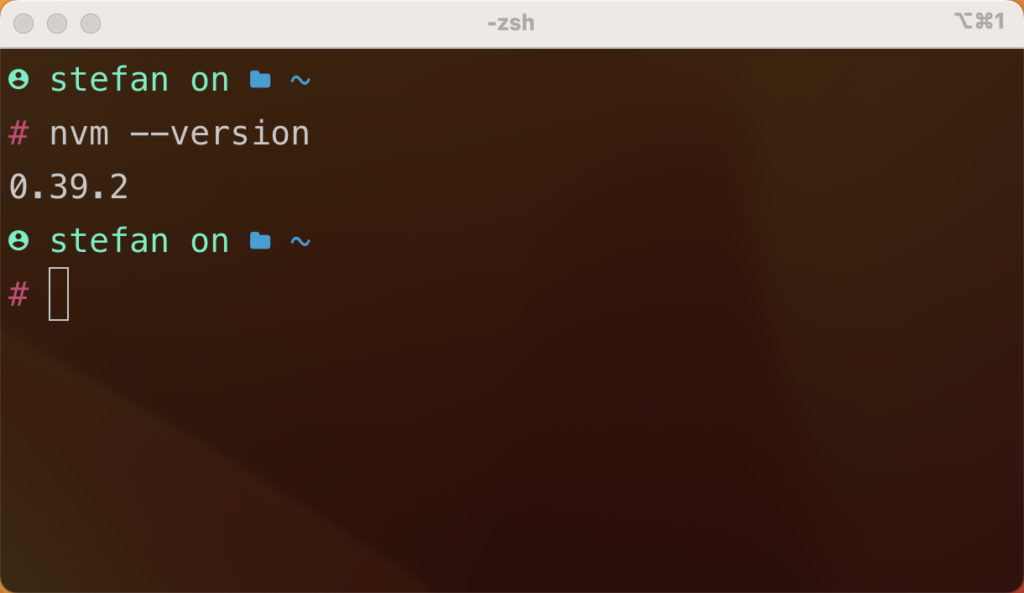
Install Latest Node.js Version on macOS
To install the latest Node.js version on macOS, run:
nvm install node
Code language: plaintext (plaintext)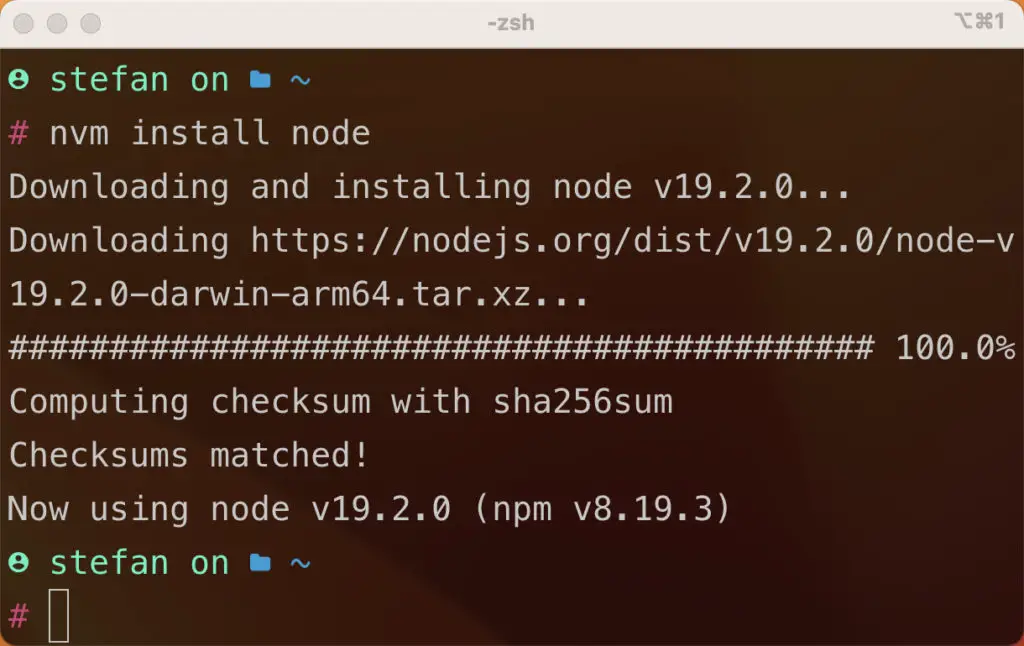
Install Node.js LTS on macOS
To install the LTS version of Node.js on macOS, run:
nvm install --lts
nvm use {version}
Code language: plaintext (plaintext)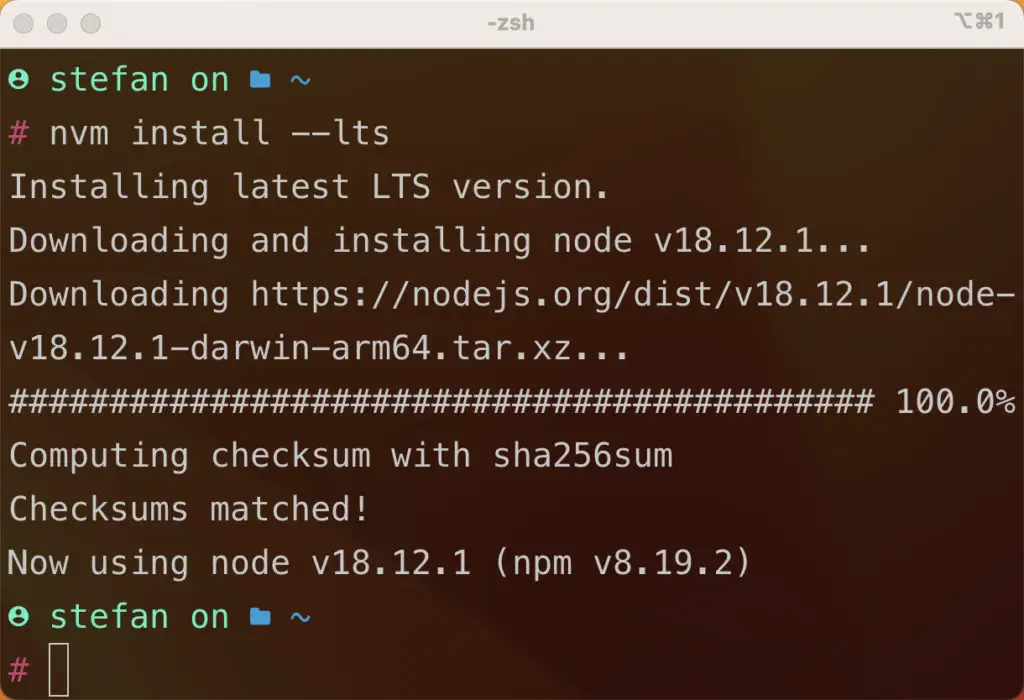
Additional Commands
For more commands, check the important NVM commands section at the beginning of this article!
Summary
NVM is an excellent tool for managing Node.js versions in your various Web Development projects. If you want to get started with Web Development, make sure to check out our Web Development section.
This should get you up and running no matter on which OS you are. Should you have any kind of problems during the installation, make sure to check the troubleshooting section in the official GitHub repository of NVM.
2 thoughts on “Install NVM – Complete Node Version Manager Guide”