I had the choice between buying a prebuild NAS from the many manufacturers out there or simply building my own DIY NAS Freenas Server. I decided on the latter and will show you why this is a good decision.
Table of Contents
- Why build a DIY NAS Freenas Server?
- Is it Cheaper to build your own NAS?
- Can I use an old PC as a NAS?
- DIY NAS Components
- Building the NAS
- What do I use my NAS for?
- DIY NAS Conclusion
Why build a DIY NAS Freenas Server?
Because it’s more fun, and you can adjust the hardware to your own special needs! Being an avid photographer, shooting in RAW file format costs a lot of disk space, so it was finally time to extend my dated 2TB single hard drive storage. (I did backups, of course)
Also, I have wanted to build a proper Plex Media Server for a long time already.
Is it Cheaper to build your own NAS?
There is no easy answer to whether it is cheaper to build your own NAS or purchase a pre-made one. On the one hand, building your own system can be a great way to cut costs and save money in the long run. By selecting individual components and choosing lower-cost options, you can end up with a more functional and affordable storage solution than a commercial option.
On the other hand, there may be hidden costs associated with building a NAS system yourself. For example, you will need to invest time and effort into researching and building the system, which can be as much work as simply purchasing one outright.
Ultimately, whether you choose to build or buy depends on your own personal goals and preferences. However, neither approach is inherently better than the other; only you can decide which approach is right for your needs.
Can I use an old PC as a NAS?
It depends on a variety of factors. If you are looking for a small, inexpensive NAS device that doesn’t need a lot of processing power, then an old PC could be a viable option.
However, if you require greater speeds or higher storage capacity, then an old PC may not be the best choice. Ultimately, the decision comes down to your individual needs and whether or not an old PC can adequately meet those requirements.
So while it is possible to use an old PC as a NAS, it might not always be the best option available. But with some careful consideration and some basic configuration tweaks, you can turn that old PC into a reliable and effective storage device for all of your data needs.
DIY NAS Components
The budget was an issue, so I tried to find components that gave me the best bang for my buck.
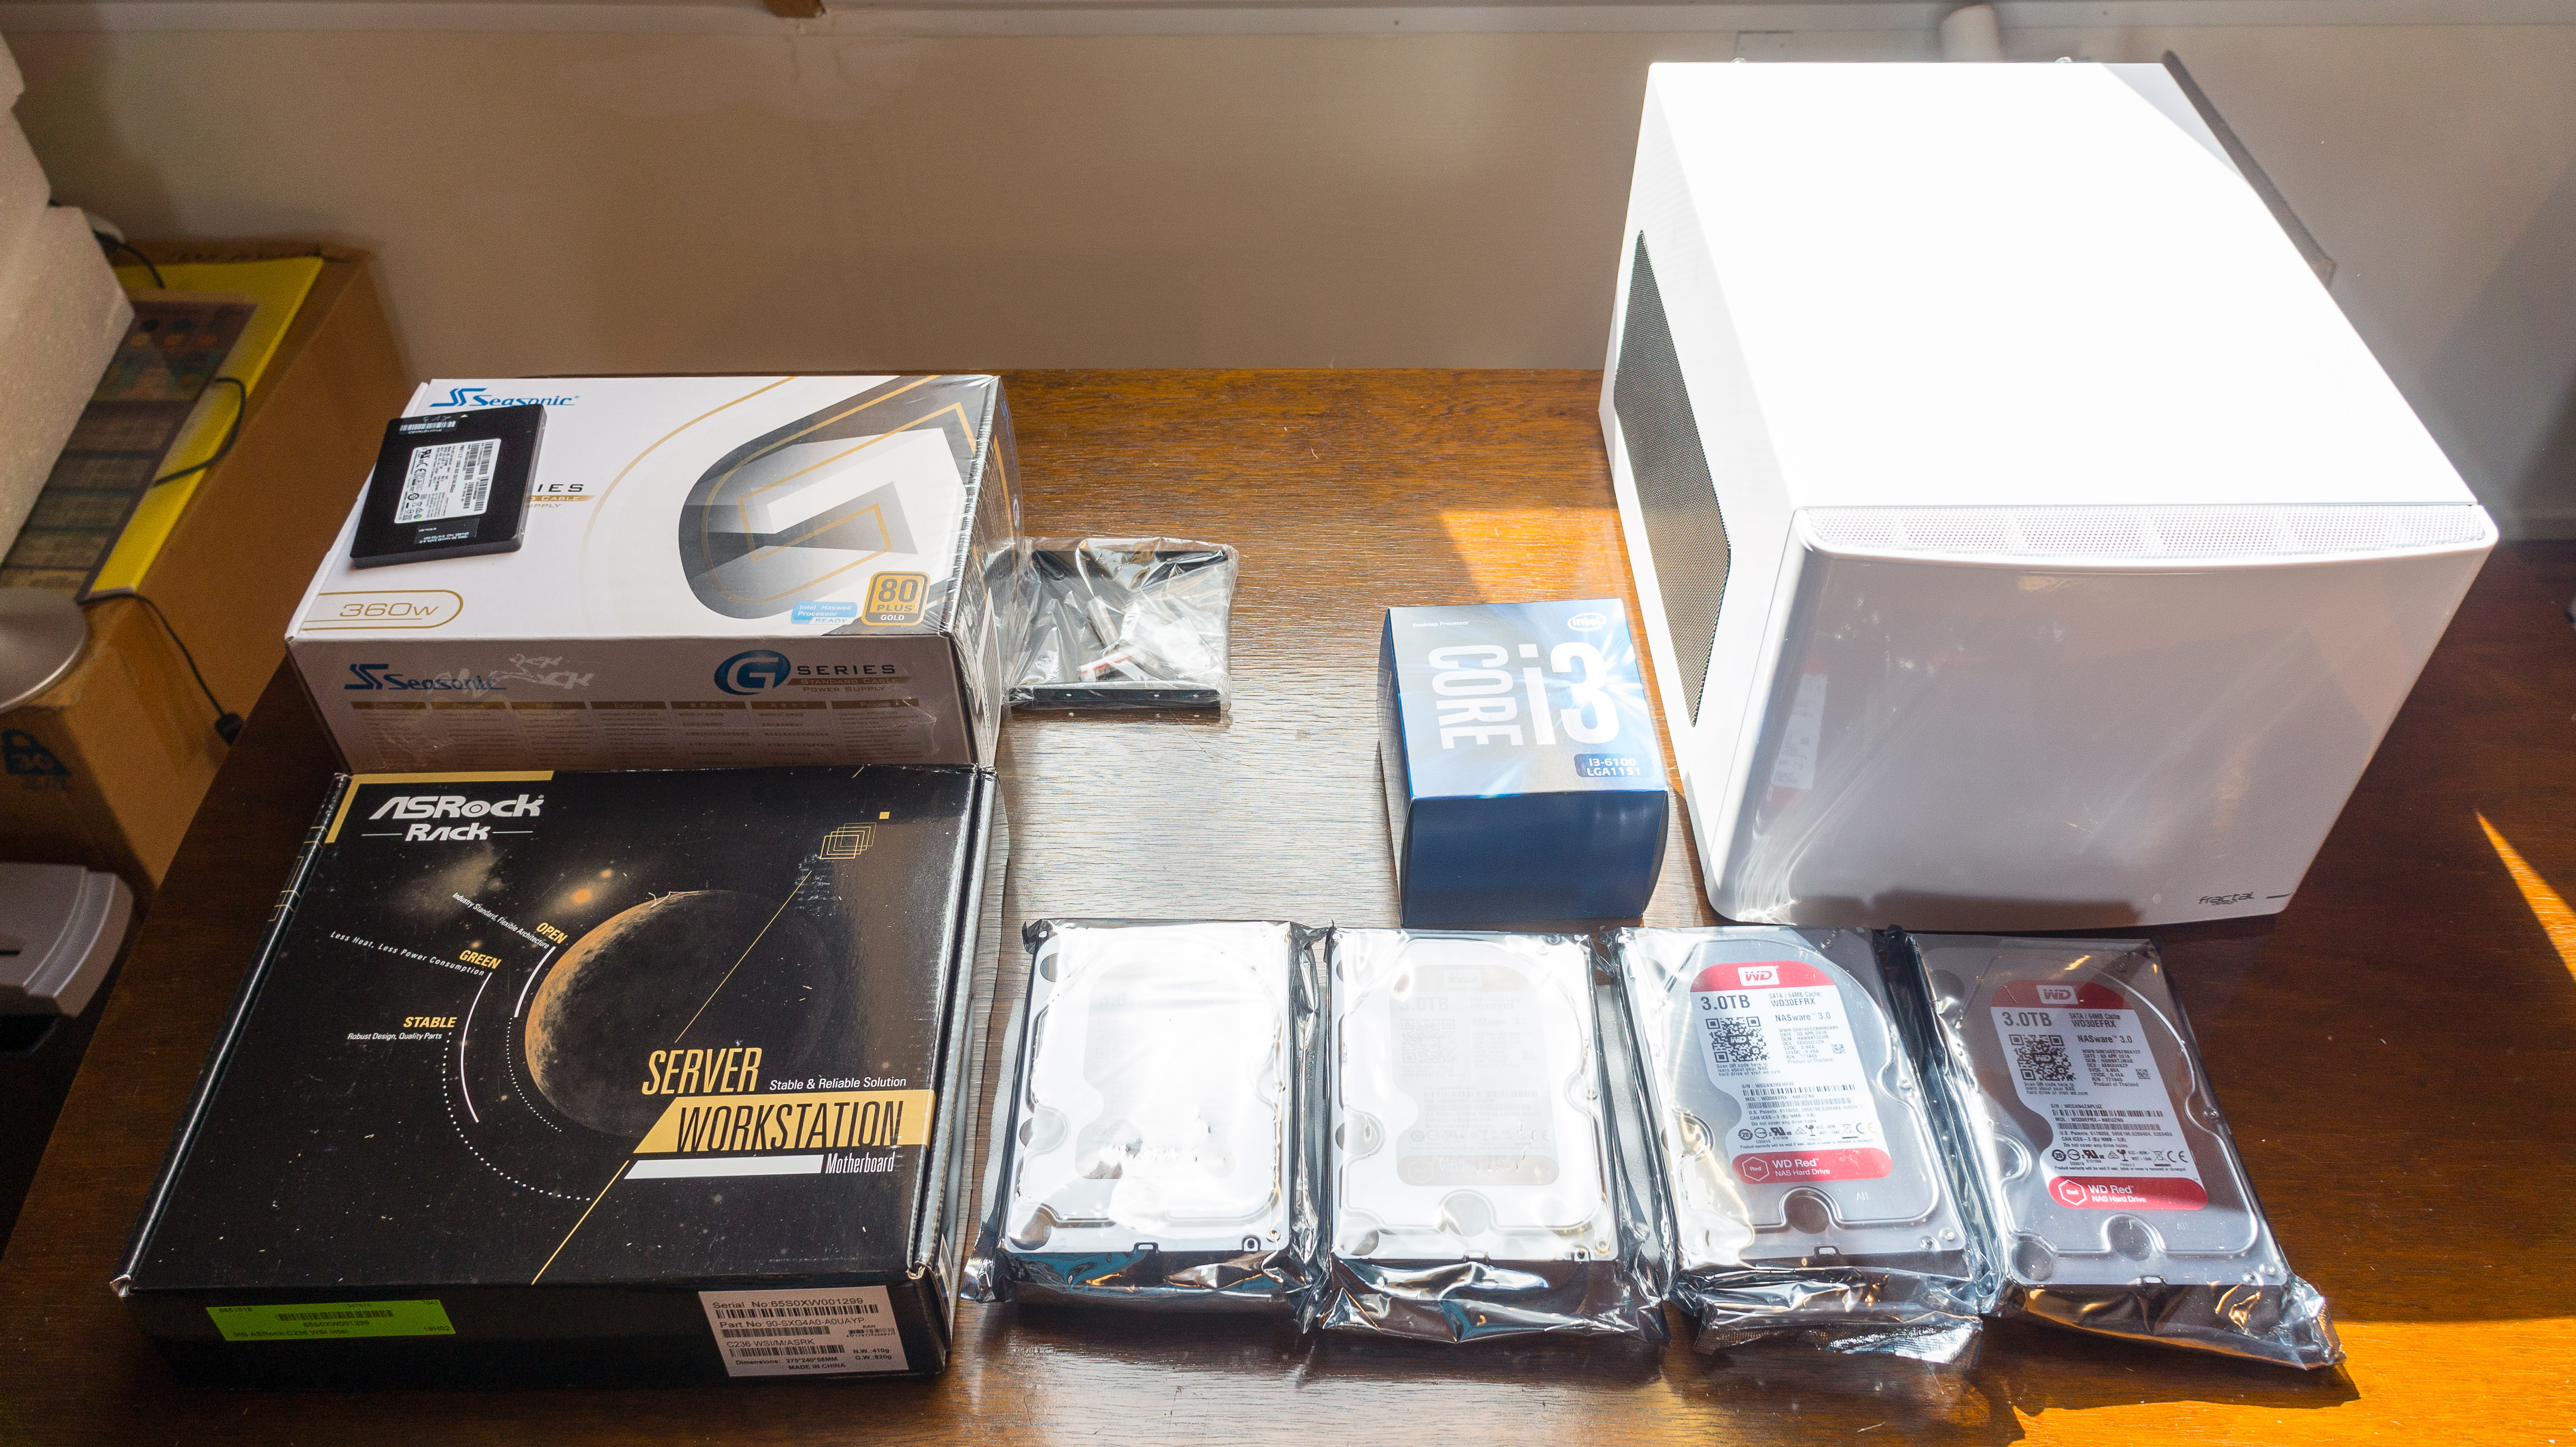
I decided on the following build:
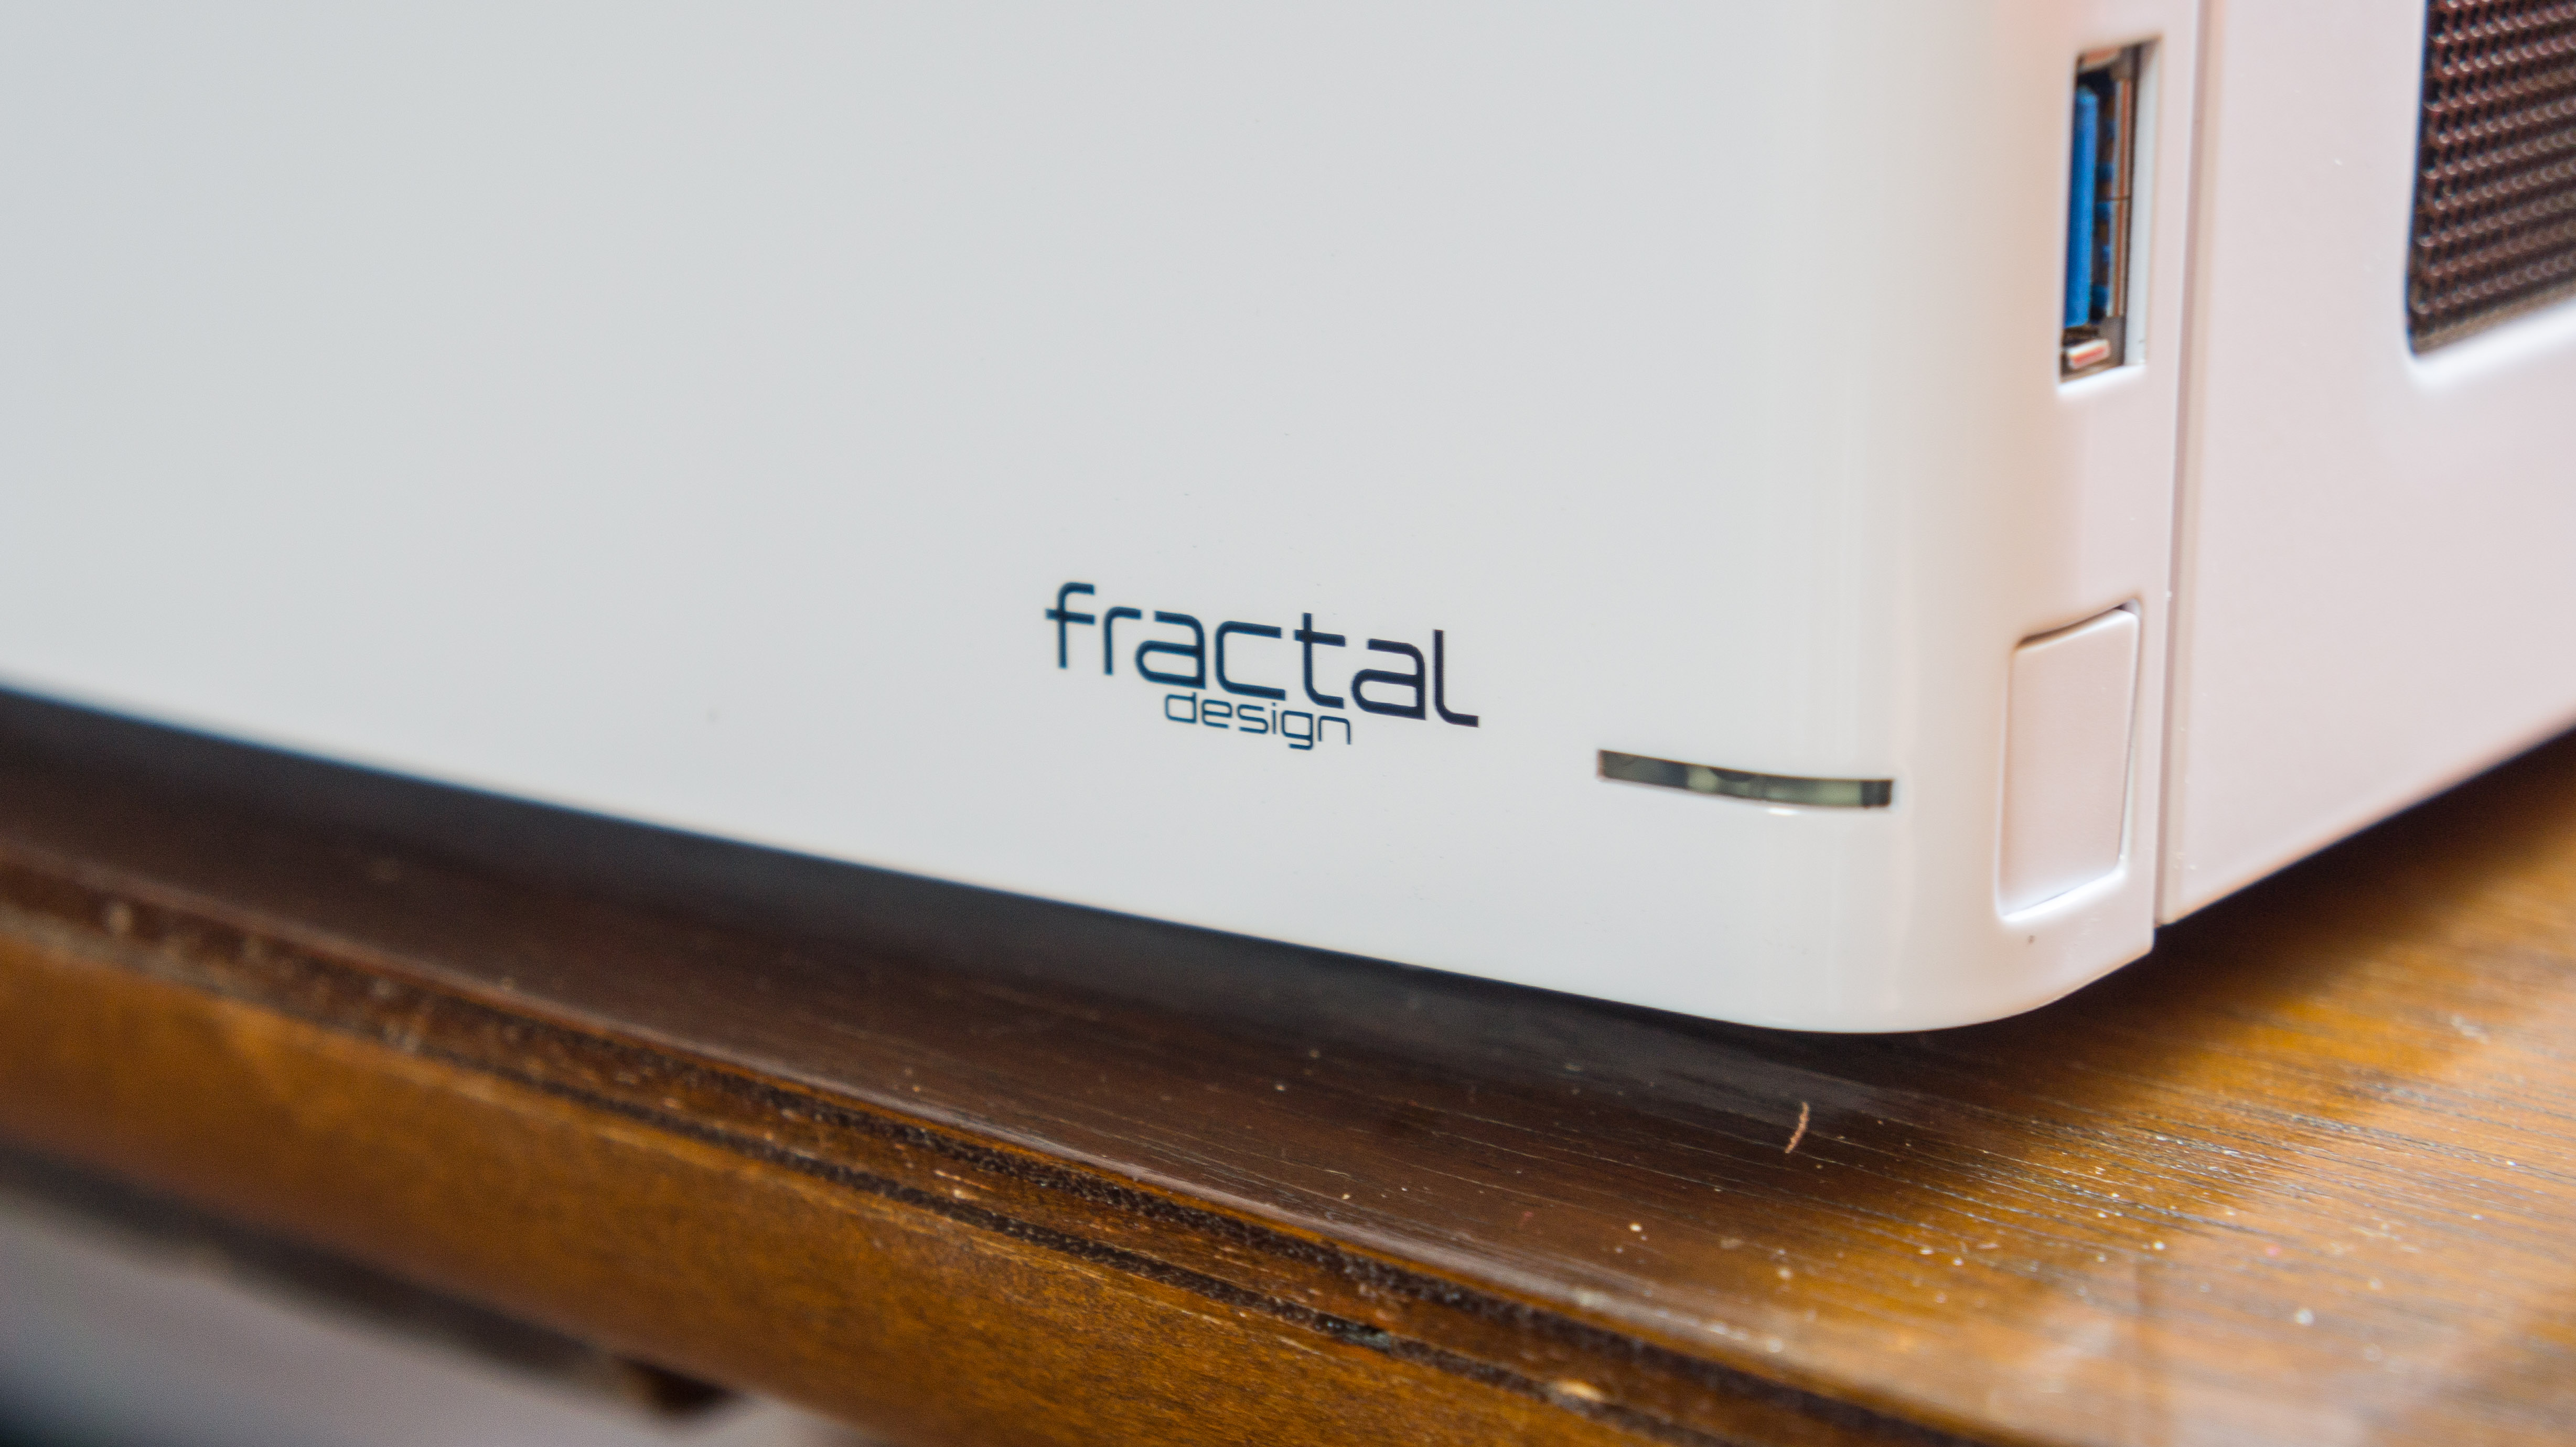
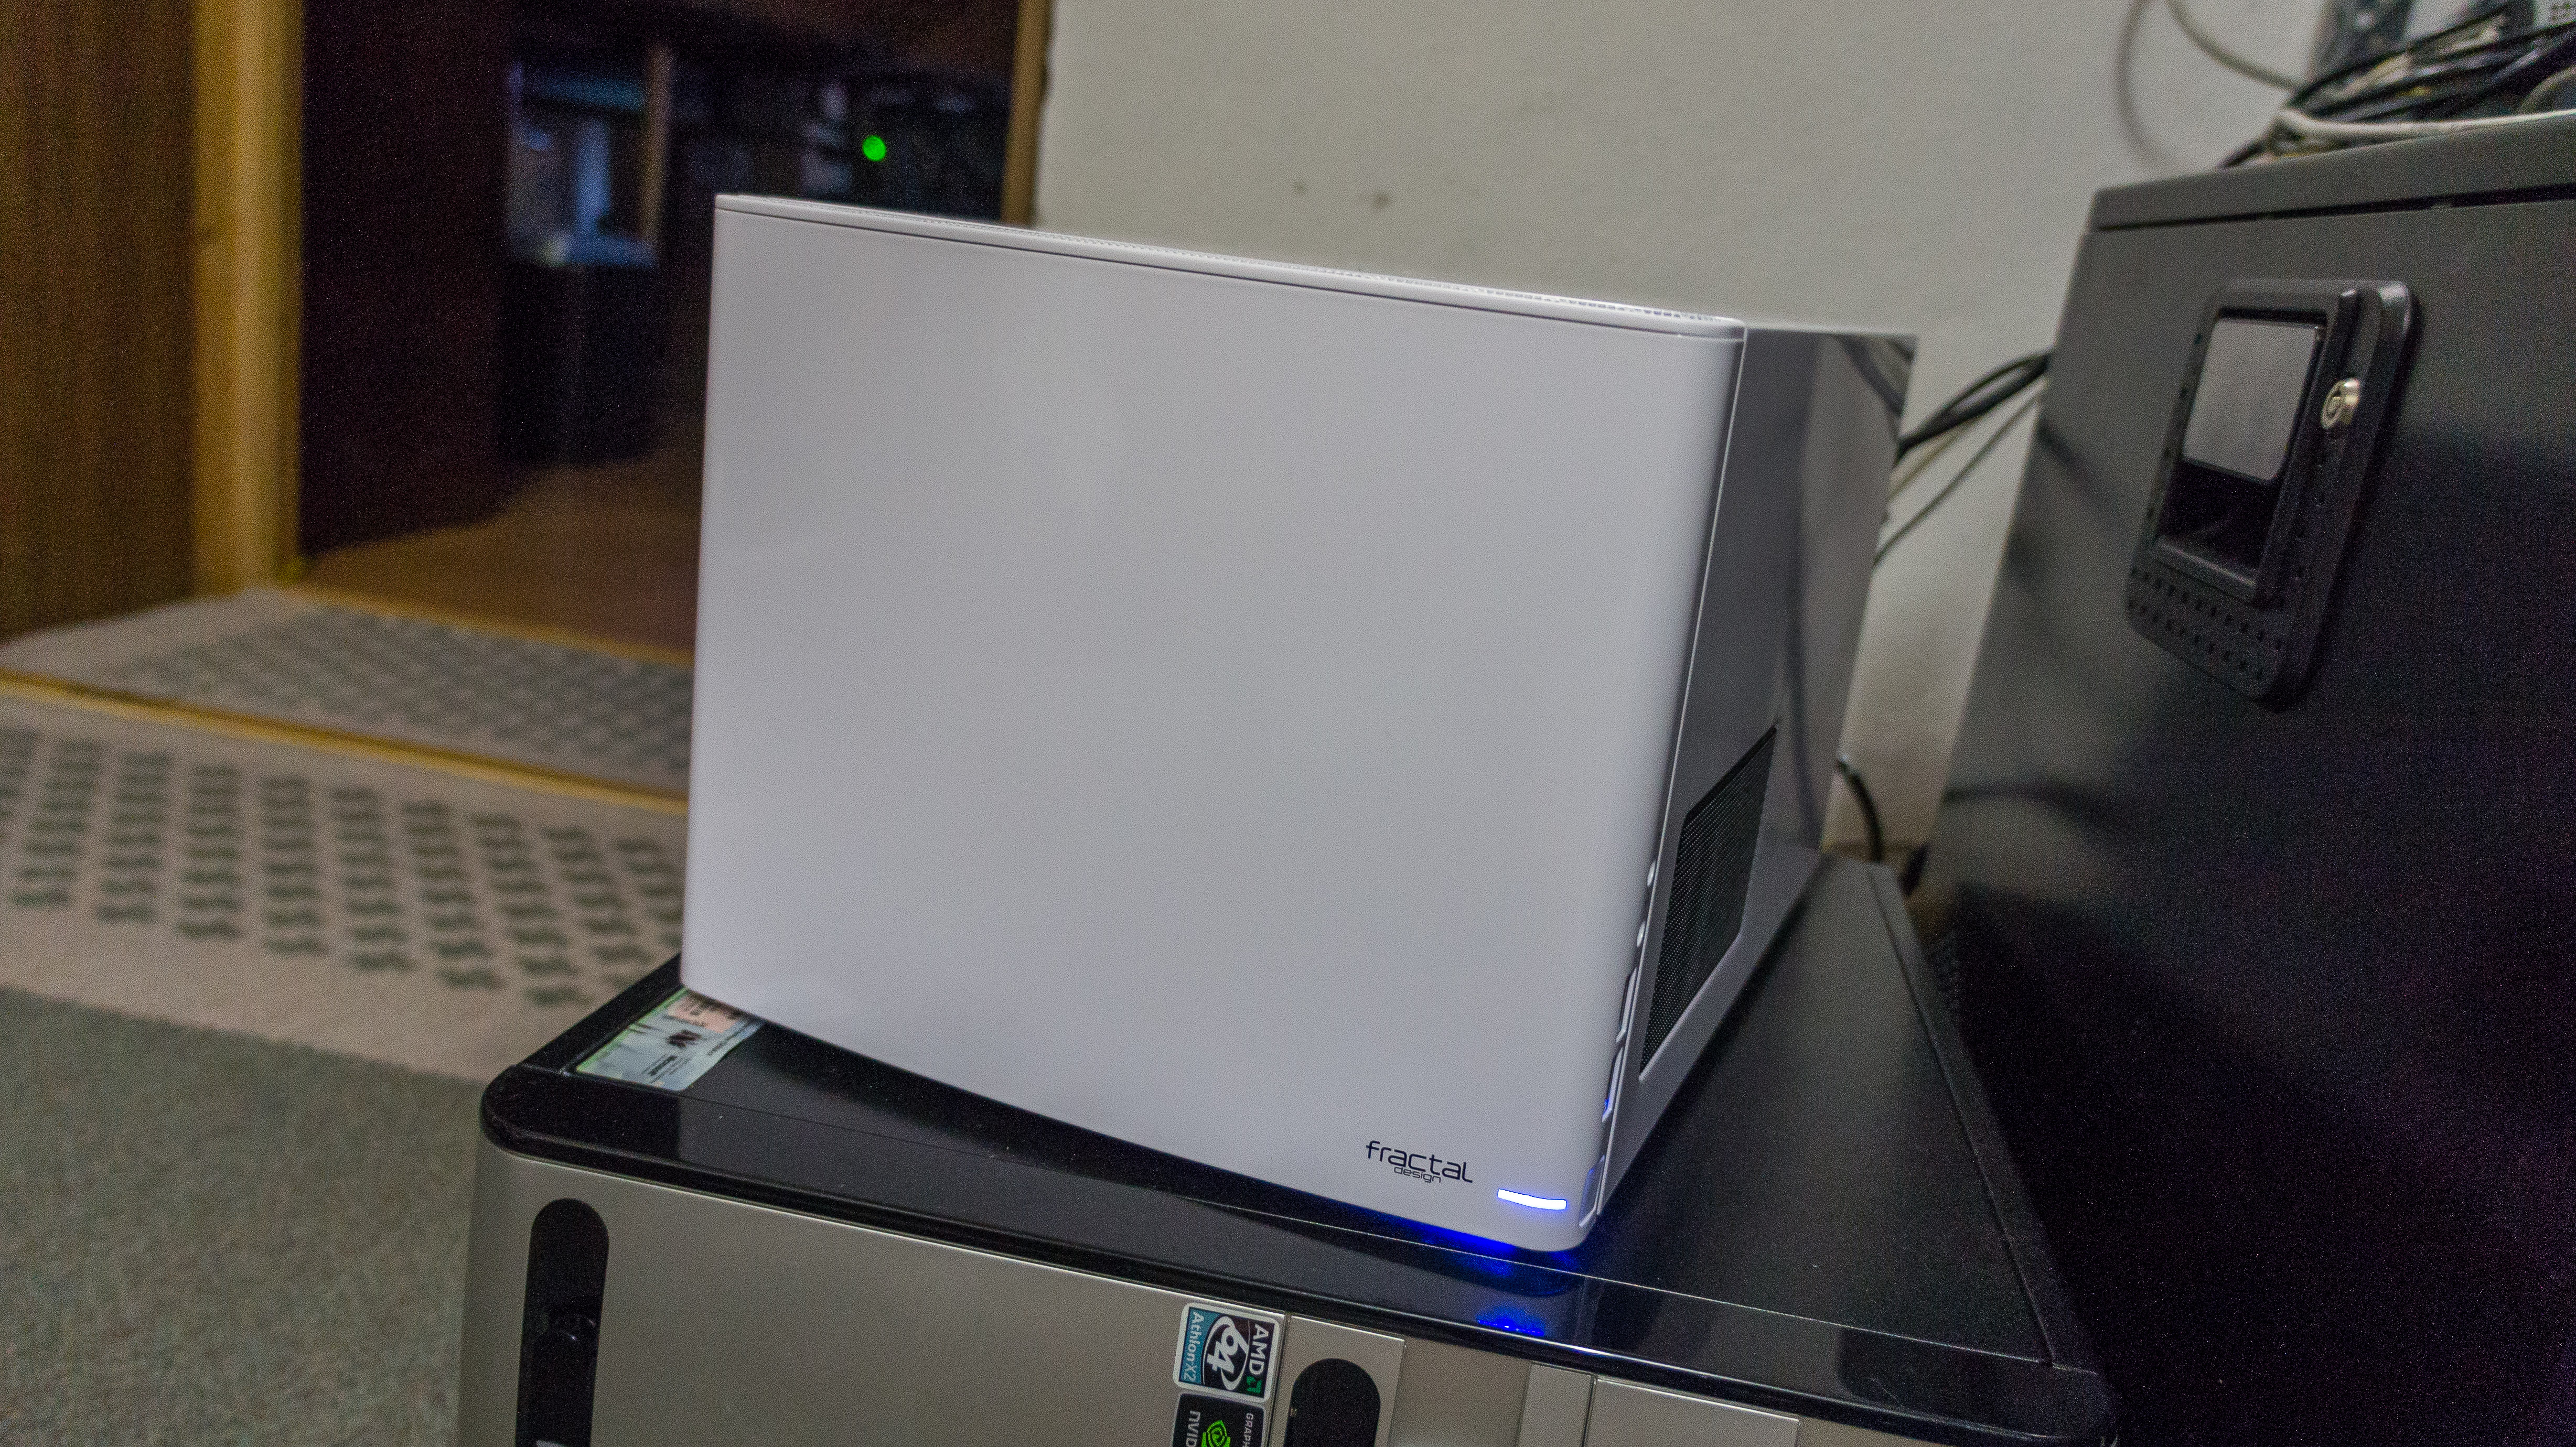
- Case: Fractal Node 304 Mini-ITX
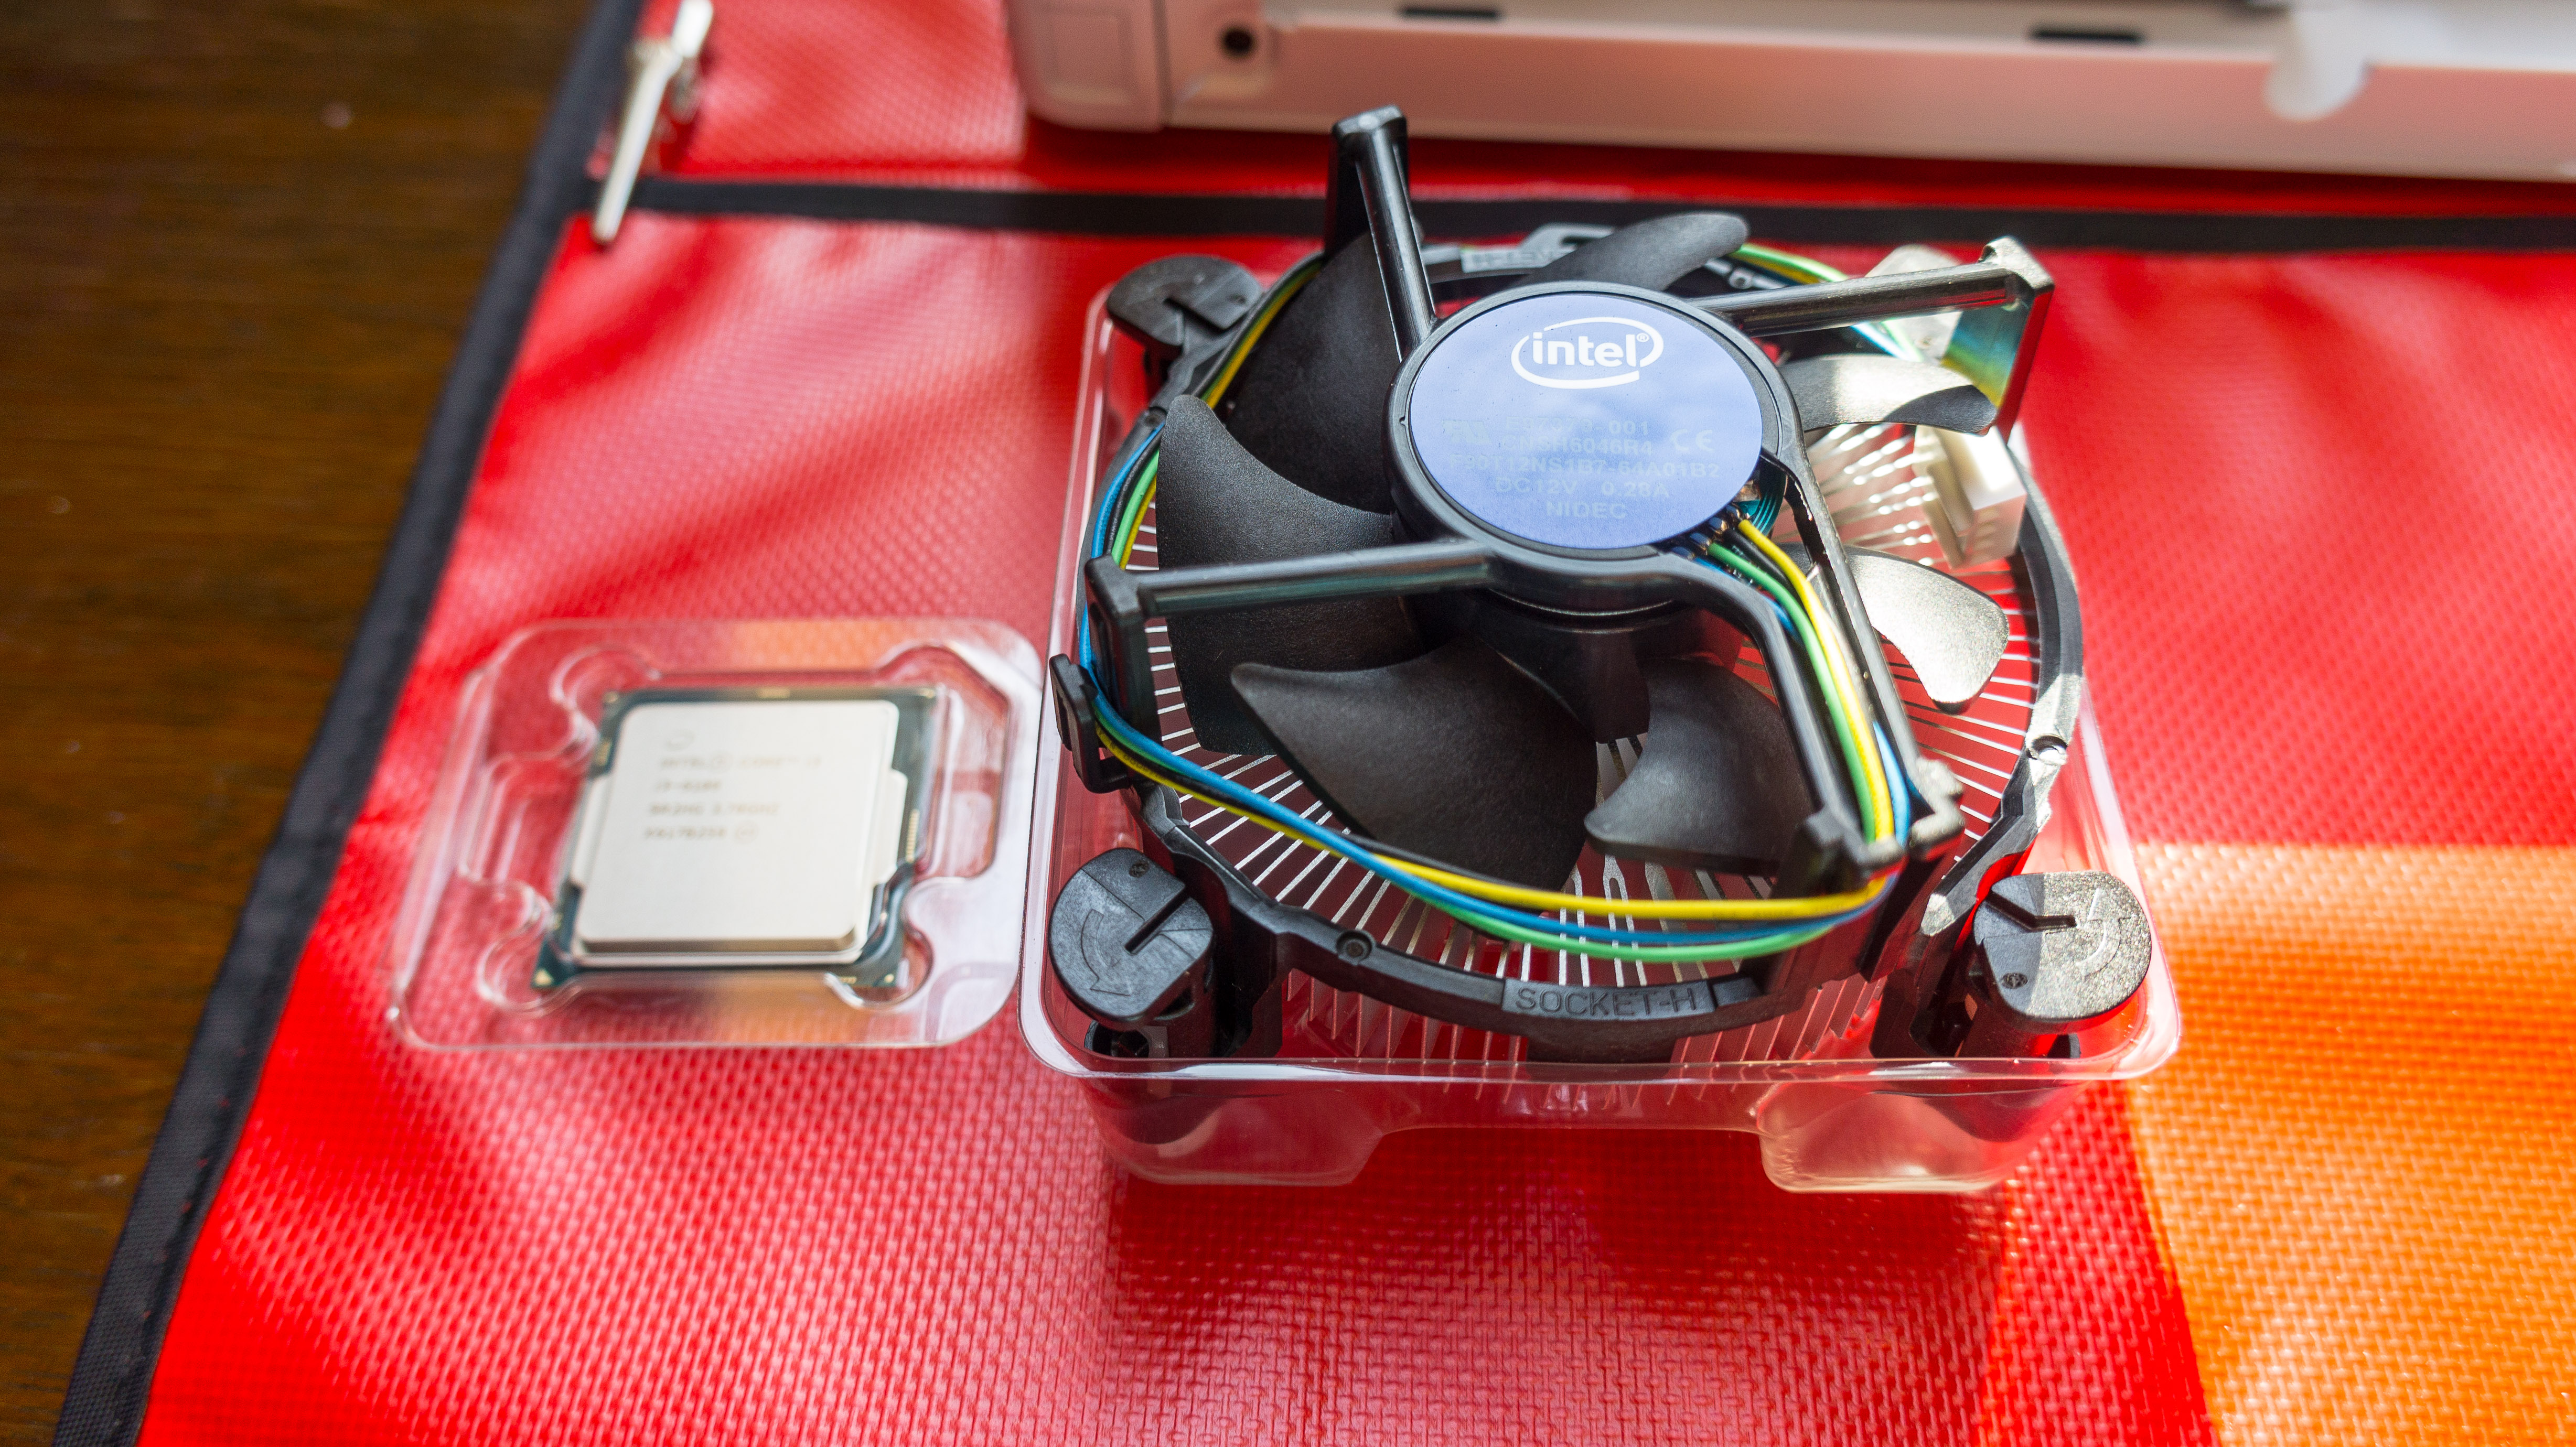
- CPU: Intel Core [email protected] GHz
- Mainboard: ASRock C236 WSI Mini-ITX
- Memory: 16GB Crucial DDR4 PC4-17000 Single ECC RAM
- PSU: Seasonic 80 Plus Gold Power Supply
- HDD: WD Red 3TB NAS Hard Disk Drive 5400 RPM x4
- Freenas HDD: A 120GB Samsung SSD I had laying around
Of course, for hard drives, you can go according to your flavor, but I do recommend WD Reds or Seagate NAS drives. But keep in mind that Freenas wants 1GB of RAM for each TB of storage!
WD Red options
- WD Red 1TB NAS Hard Disk
- WD Red 2TB NAS Hard Disk
- WD Red 3TB NAS Hard Disk
- WD Red 6TB NAS Hard Disk
- WD Red 8TB NAS Hard Disk
Seagate NAS HDD options
- Seagate 1TB NAS HDD
- Seagate 2TB NAS HDD
- Seagate 3TB NAS HDD
- Seagate 4TB NAS HDD
- Seagate 6TB NAS HDD
- Seagate 8TB NAS HDD
- Seagate 10TB NAS HDD
- Seagate 12TB NAS HDD
This whole setup should end up somewhere near 1000$. I paid EU prices, so the US might be cheaper.
It is powerful enough to stream in full HD to several people at the same time without a problem. (That is, if your network is fast enough to handle the load.)
I decided to run with 4 hard drives in Raid-Z1 with single parity, which gives me a total of 9 TB of storage. The case can handle a total of 6 hard drives, so you can go crazy if you want.
I used a 128GB Samsung SSD I still had laying around for my FreeNAS installation, which was total overkill; you can simply use a high-speed USB 3.0 Stick with SLC-NAND technology, which is built like an SSD. The mainboard has an internal USB 3.0 slot.
Building the NAS
Let’s start with the build, all components together.
I had an immediate liking for the Node with its slick white minimalist design.

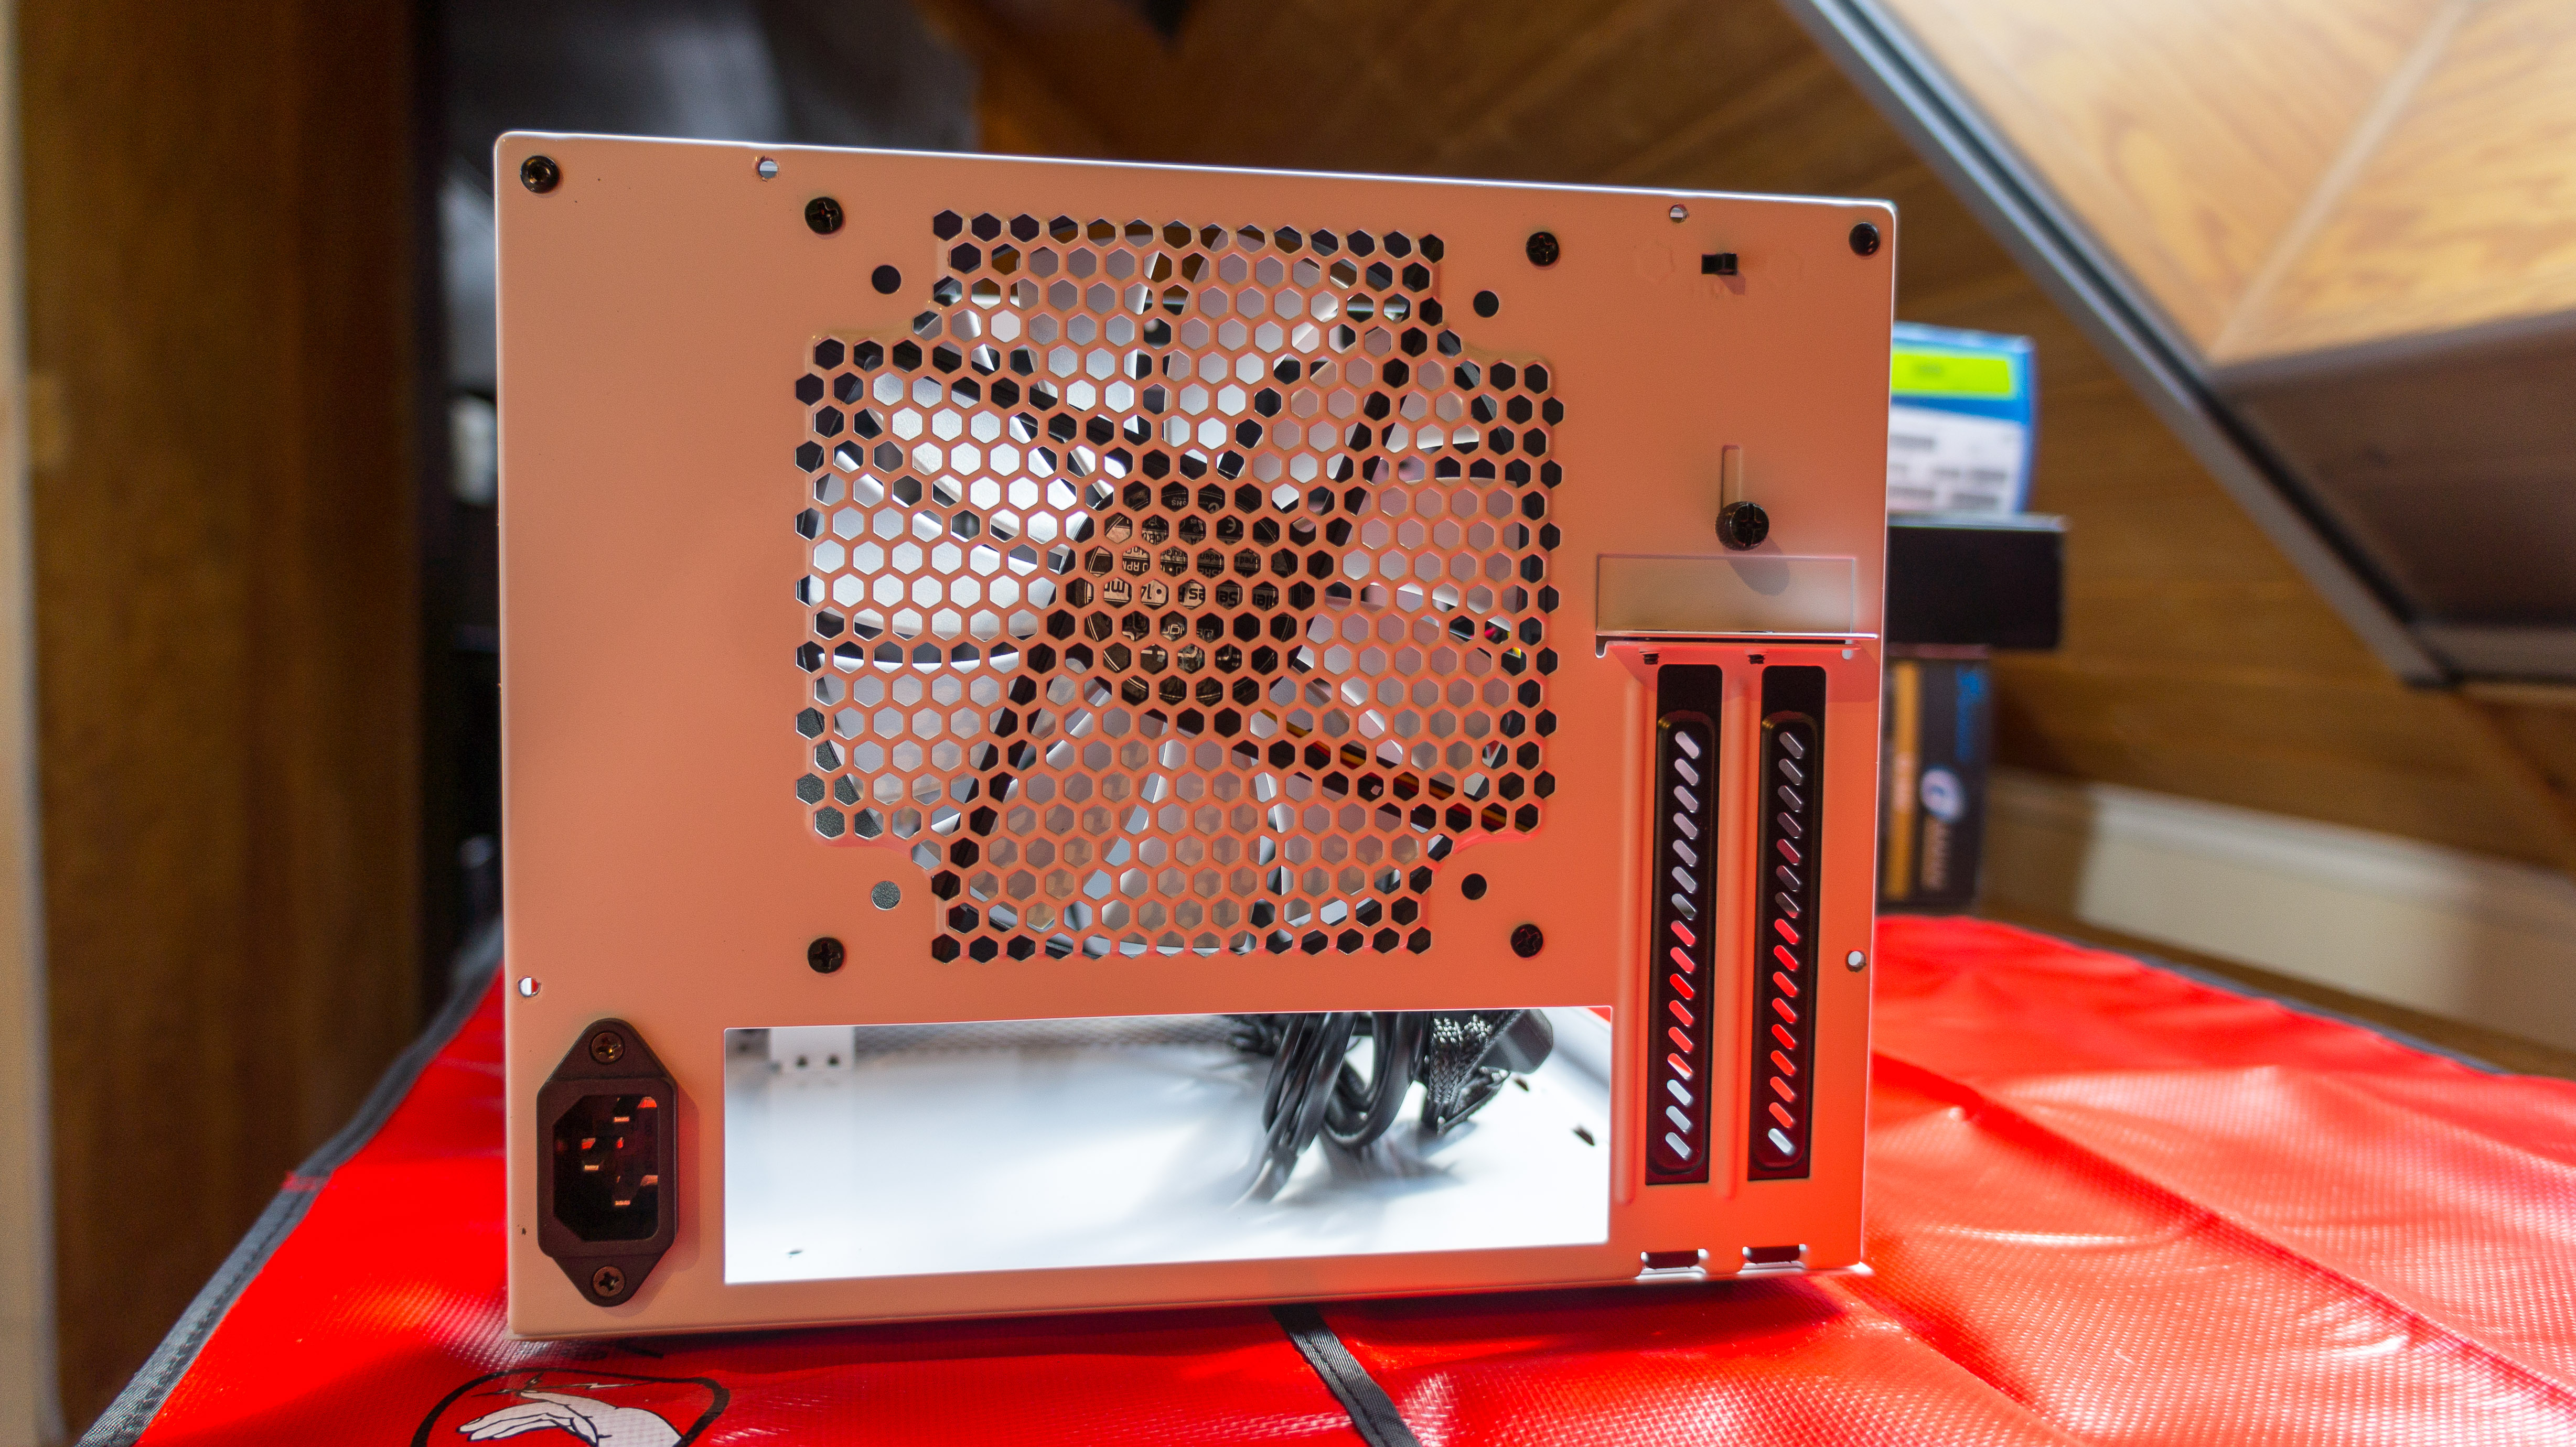
The inside of the empty case still looked spacious. Equipped with a huge 120mm cooler in the front and in the back a steady airflow to cool down the HDD’s is guaranteed.
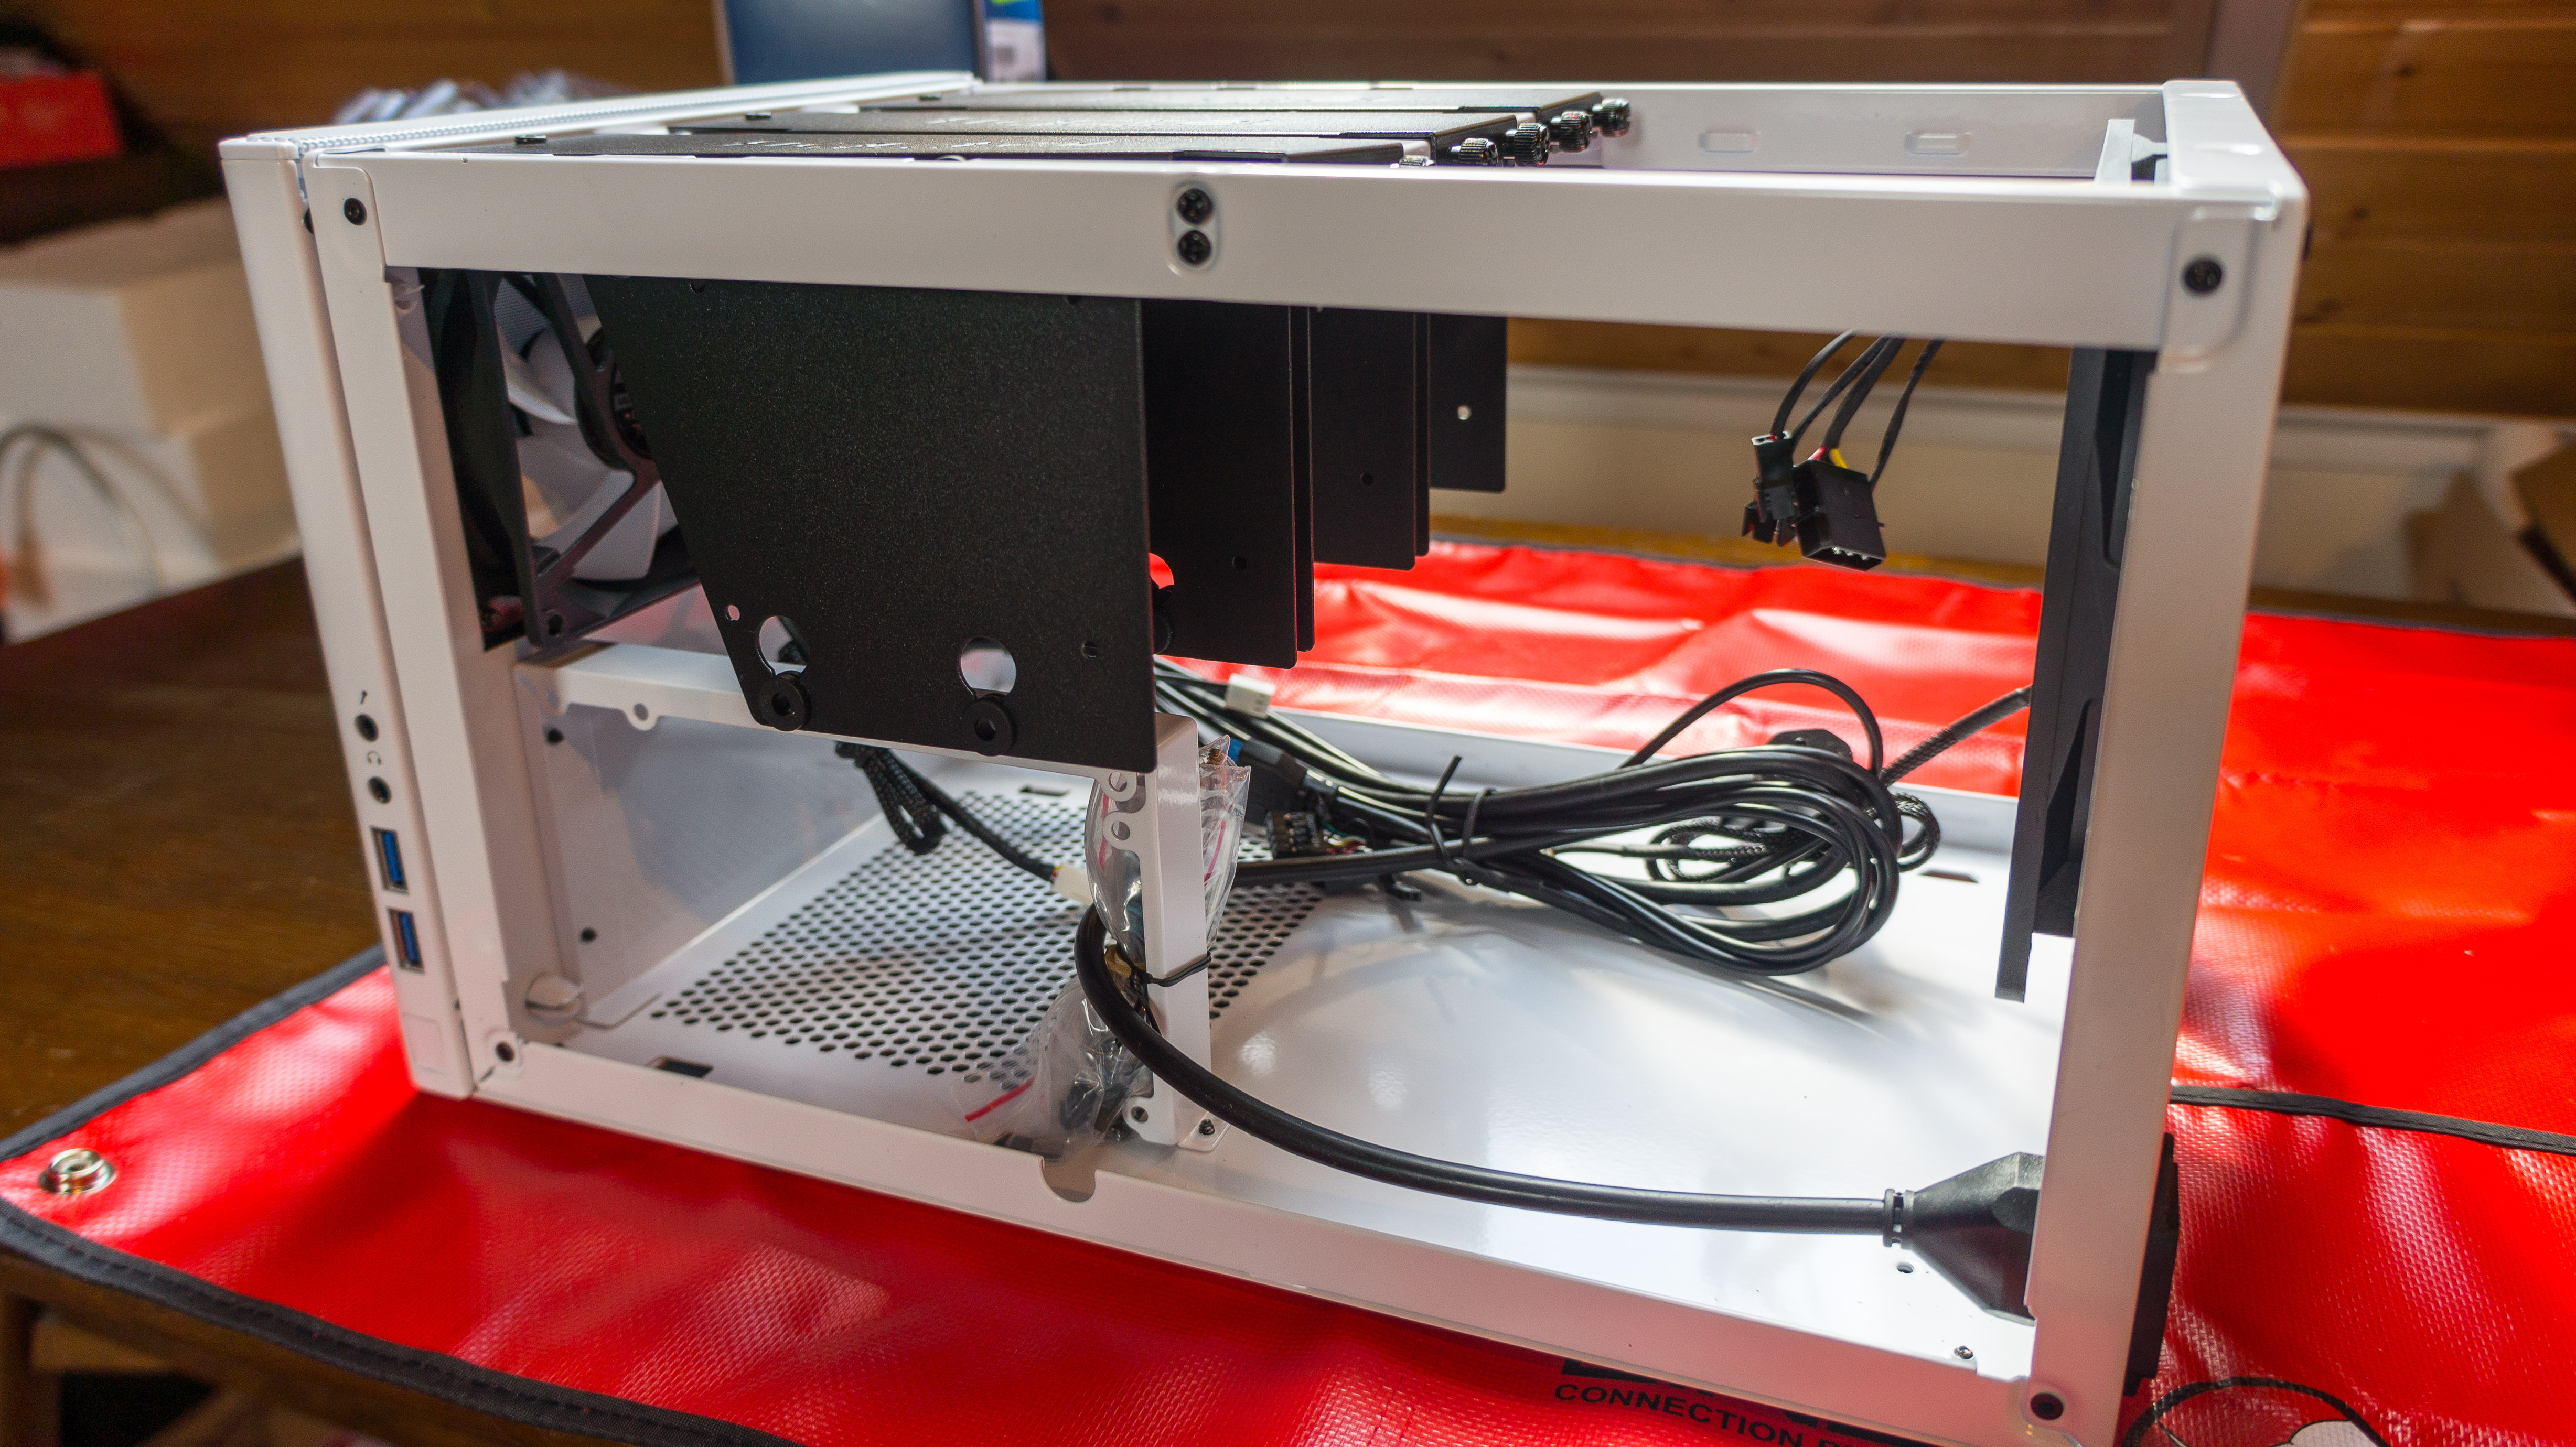
Top and inside view.
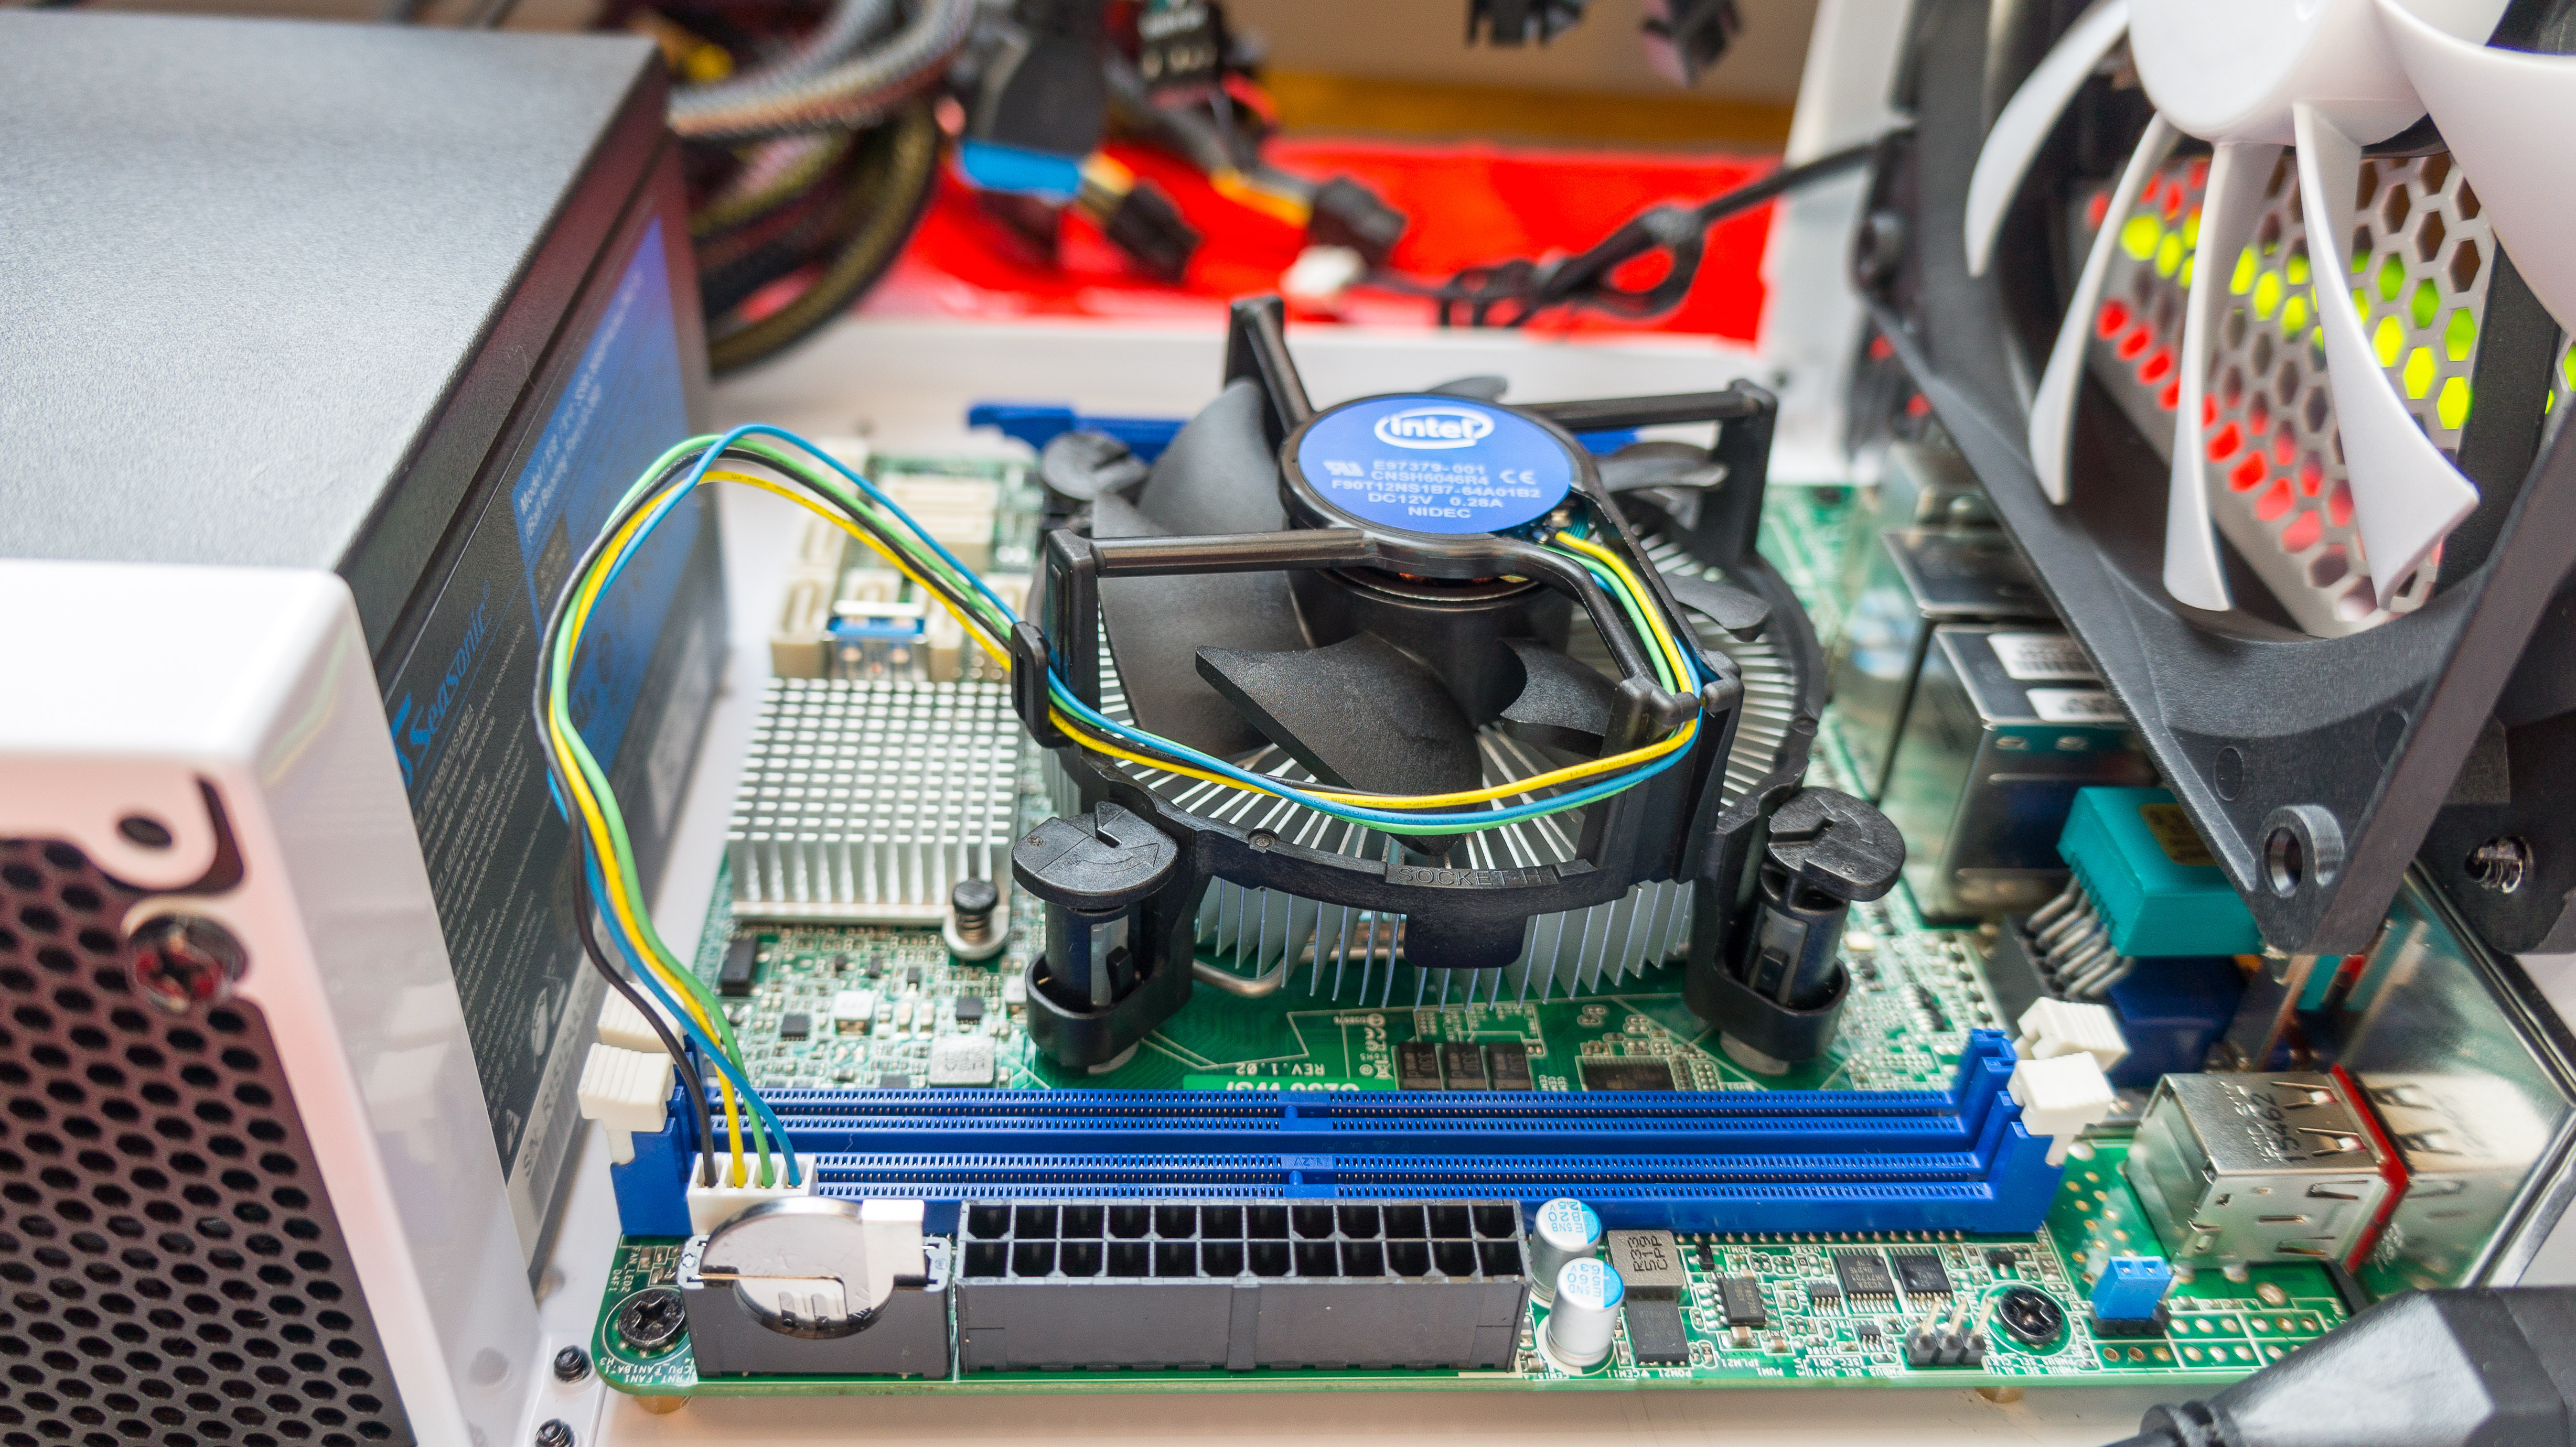
The ASRock C236 WSI, with an internal USB 3.0 slot.
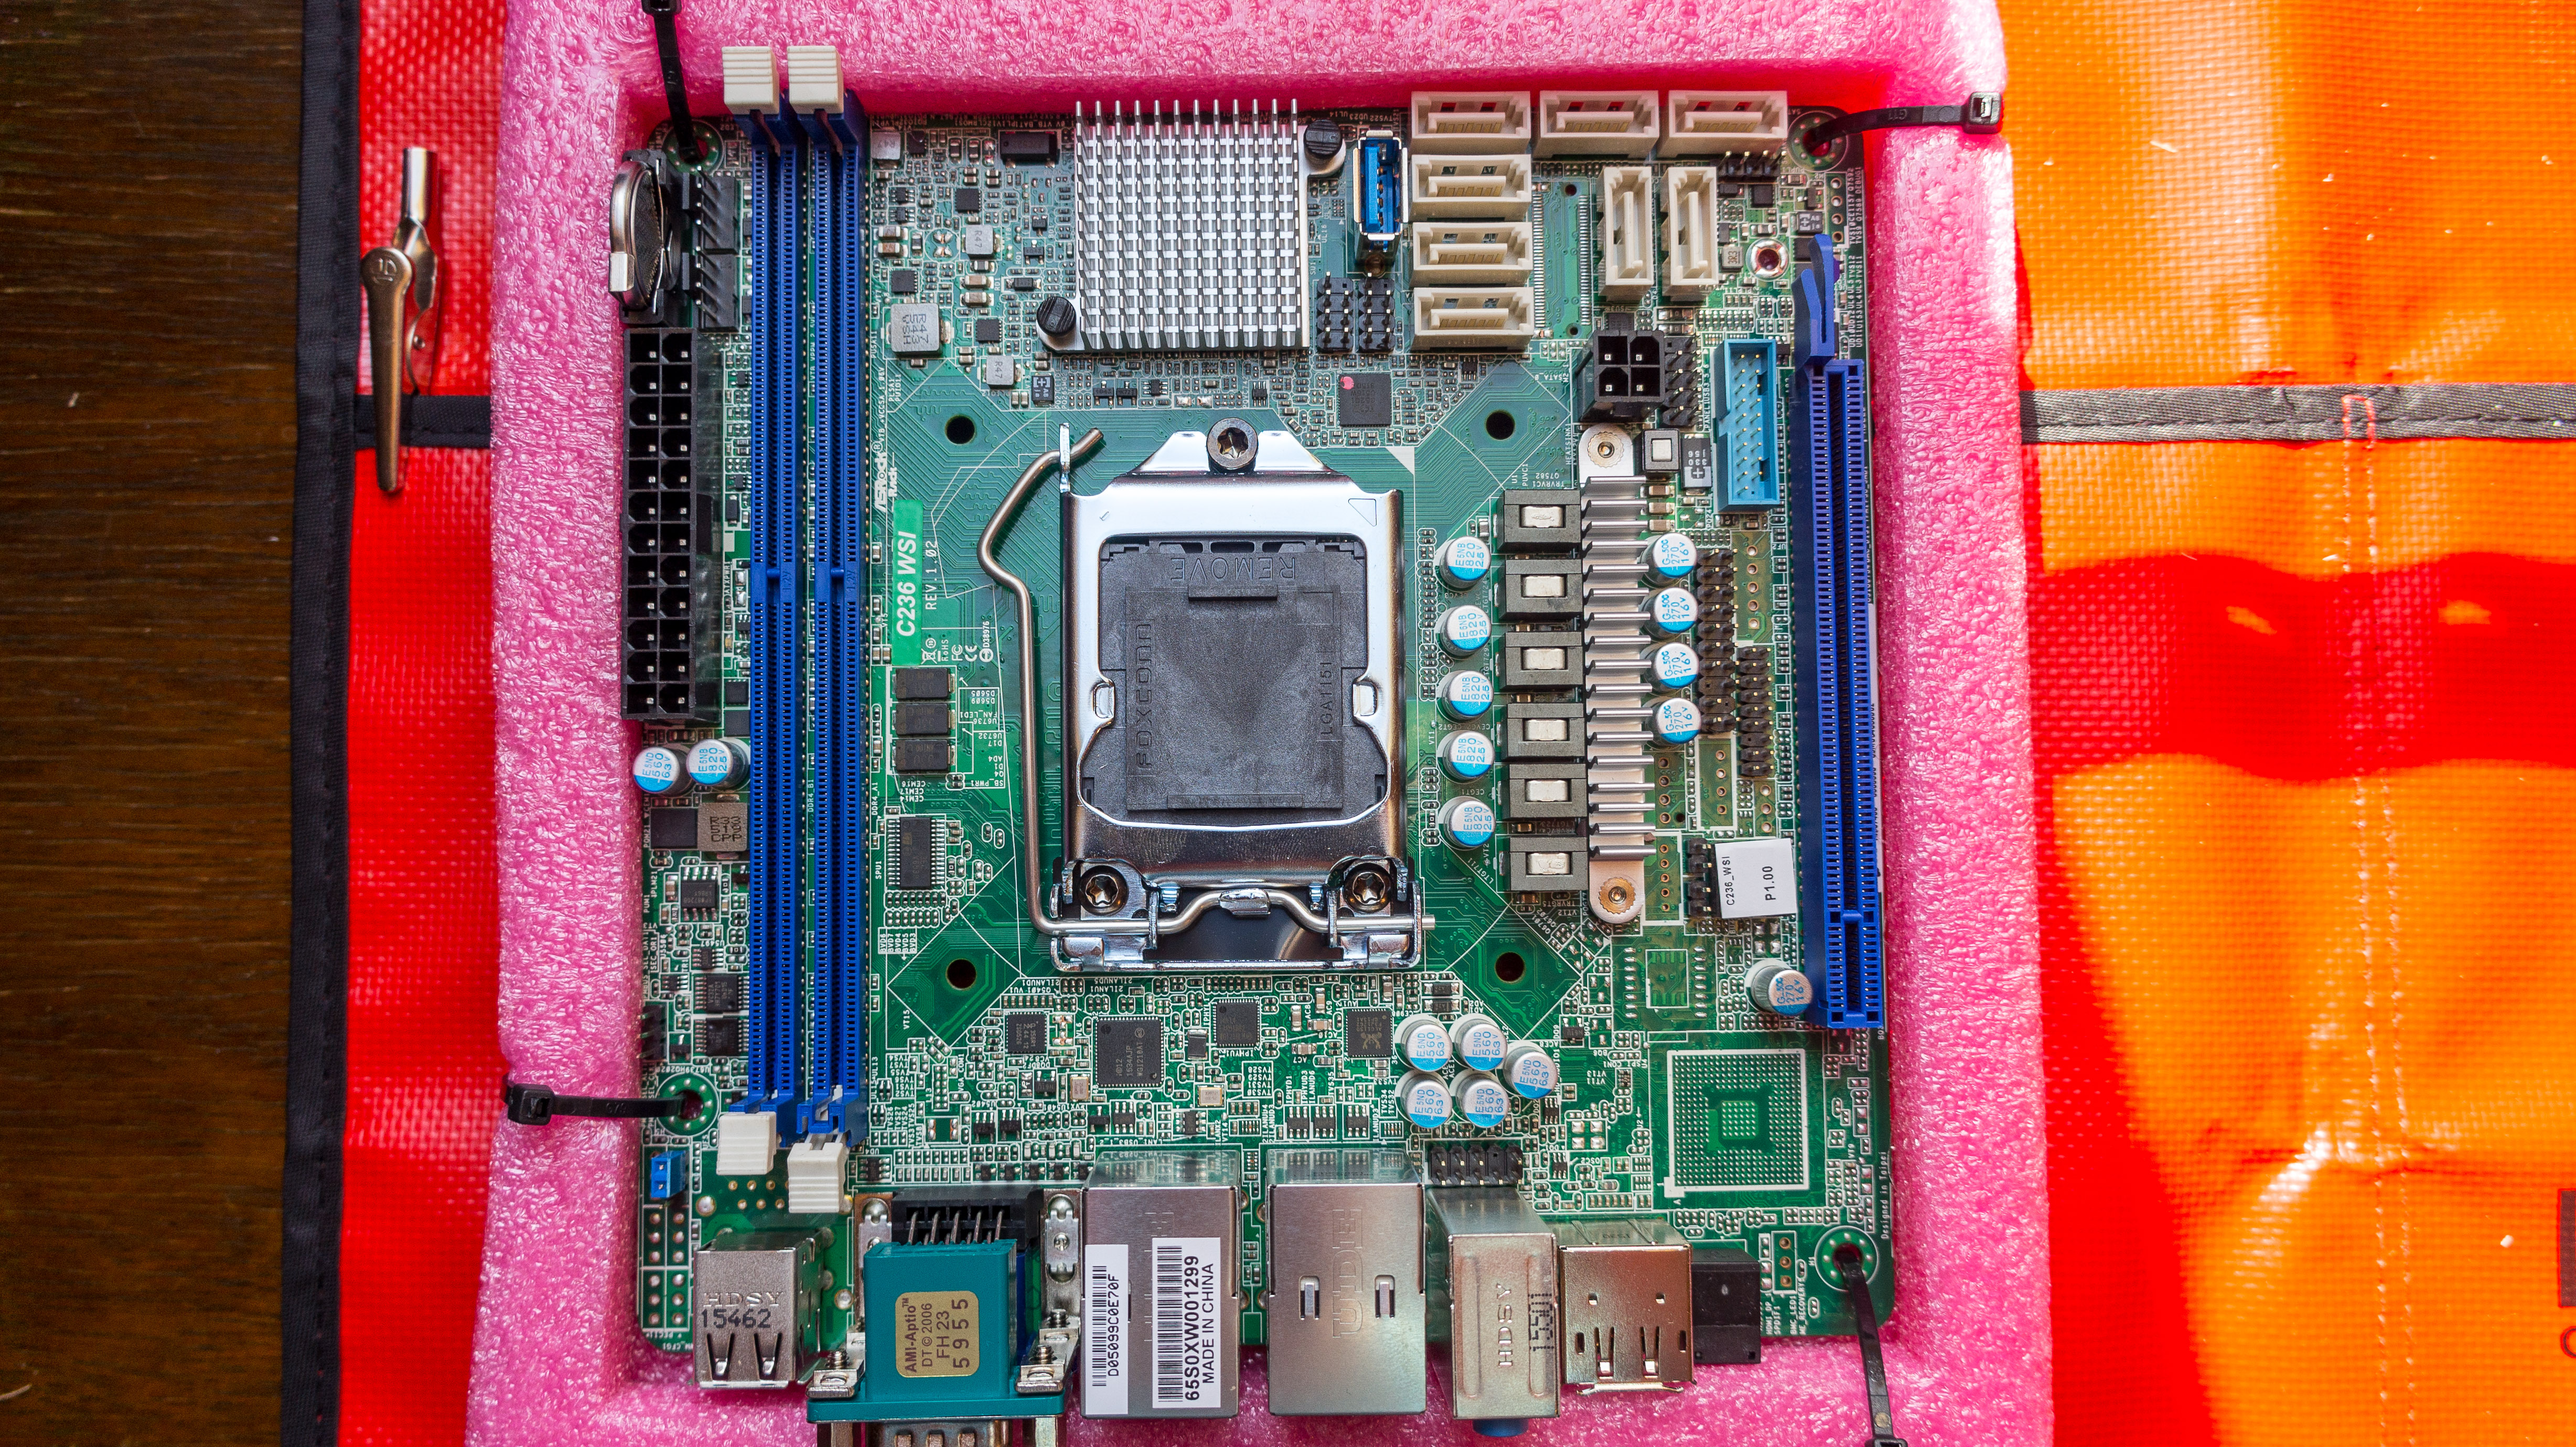
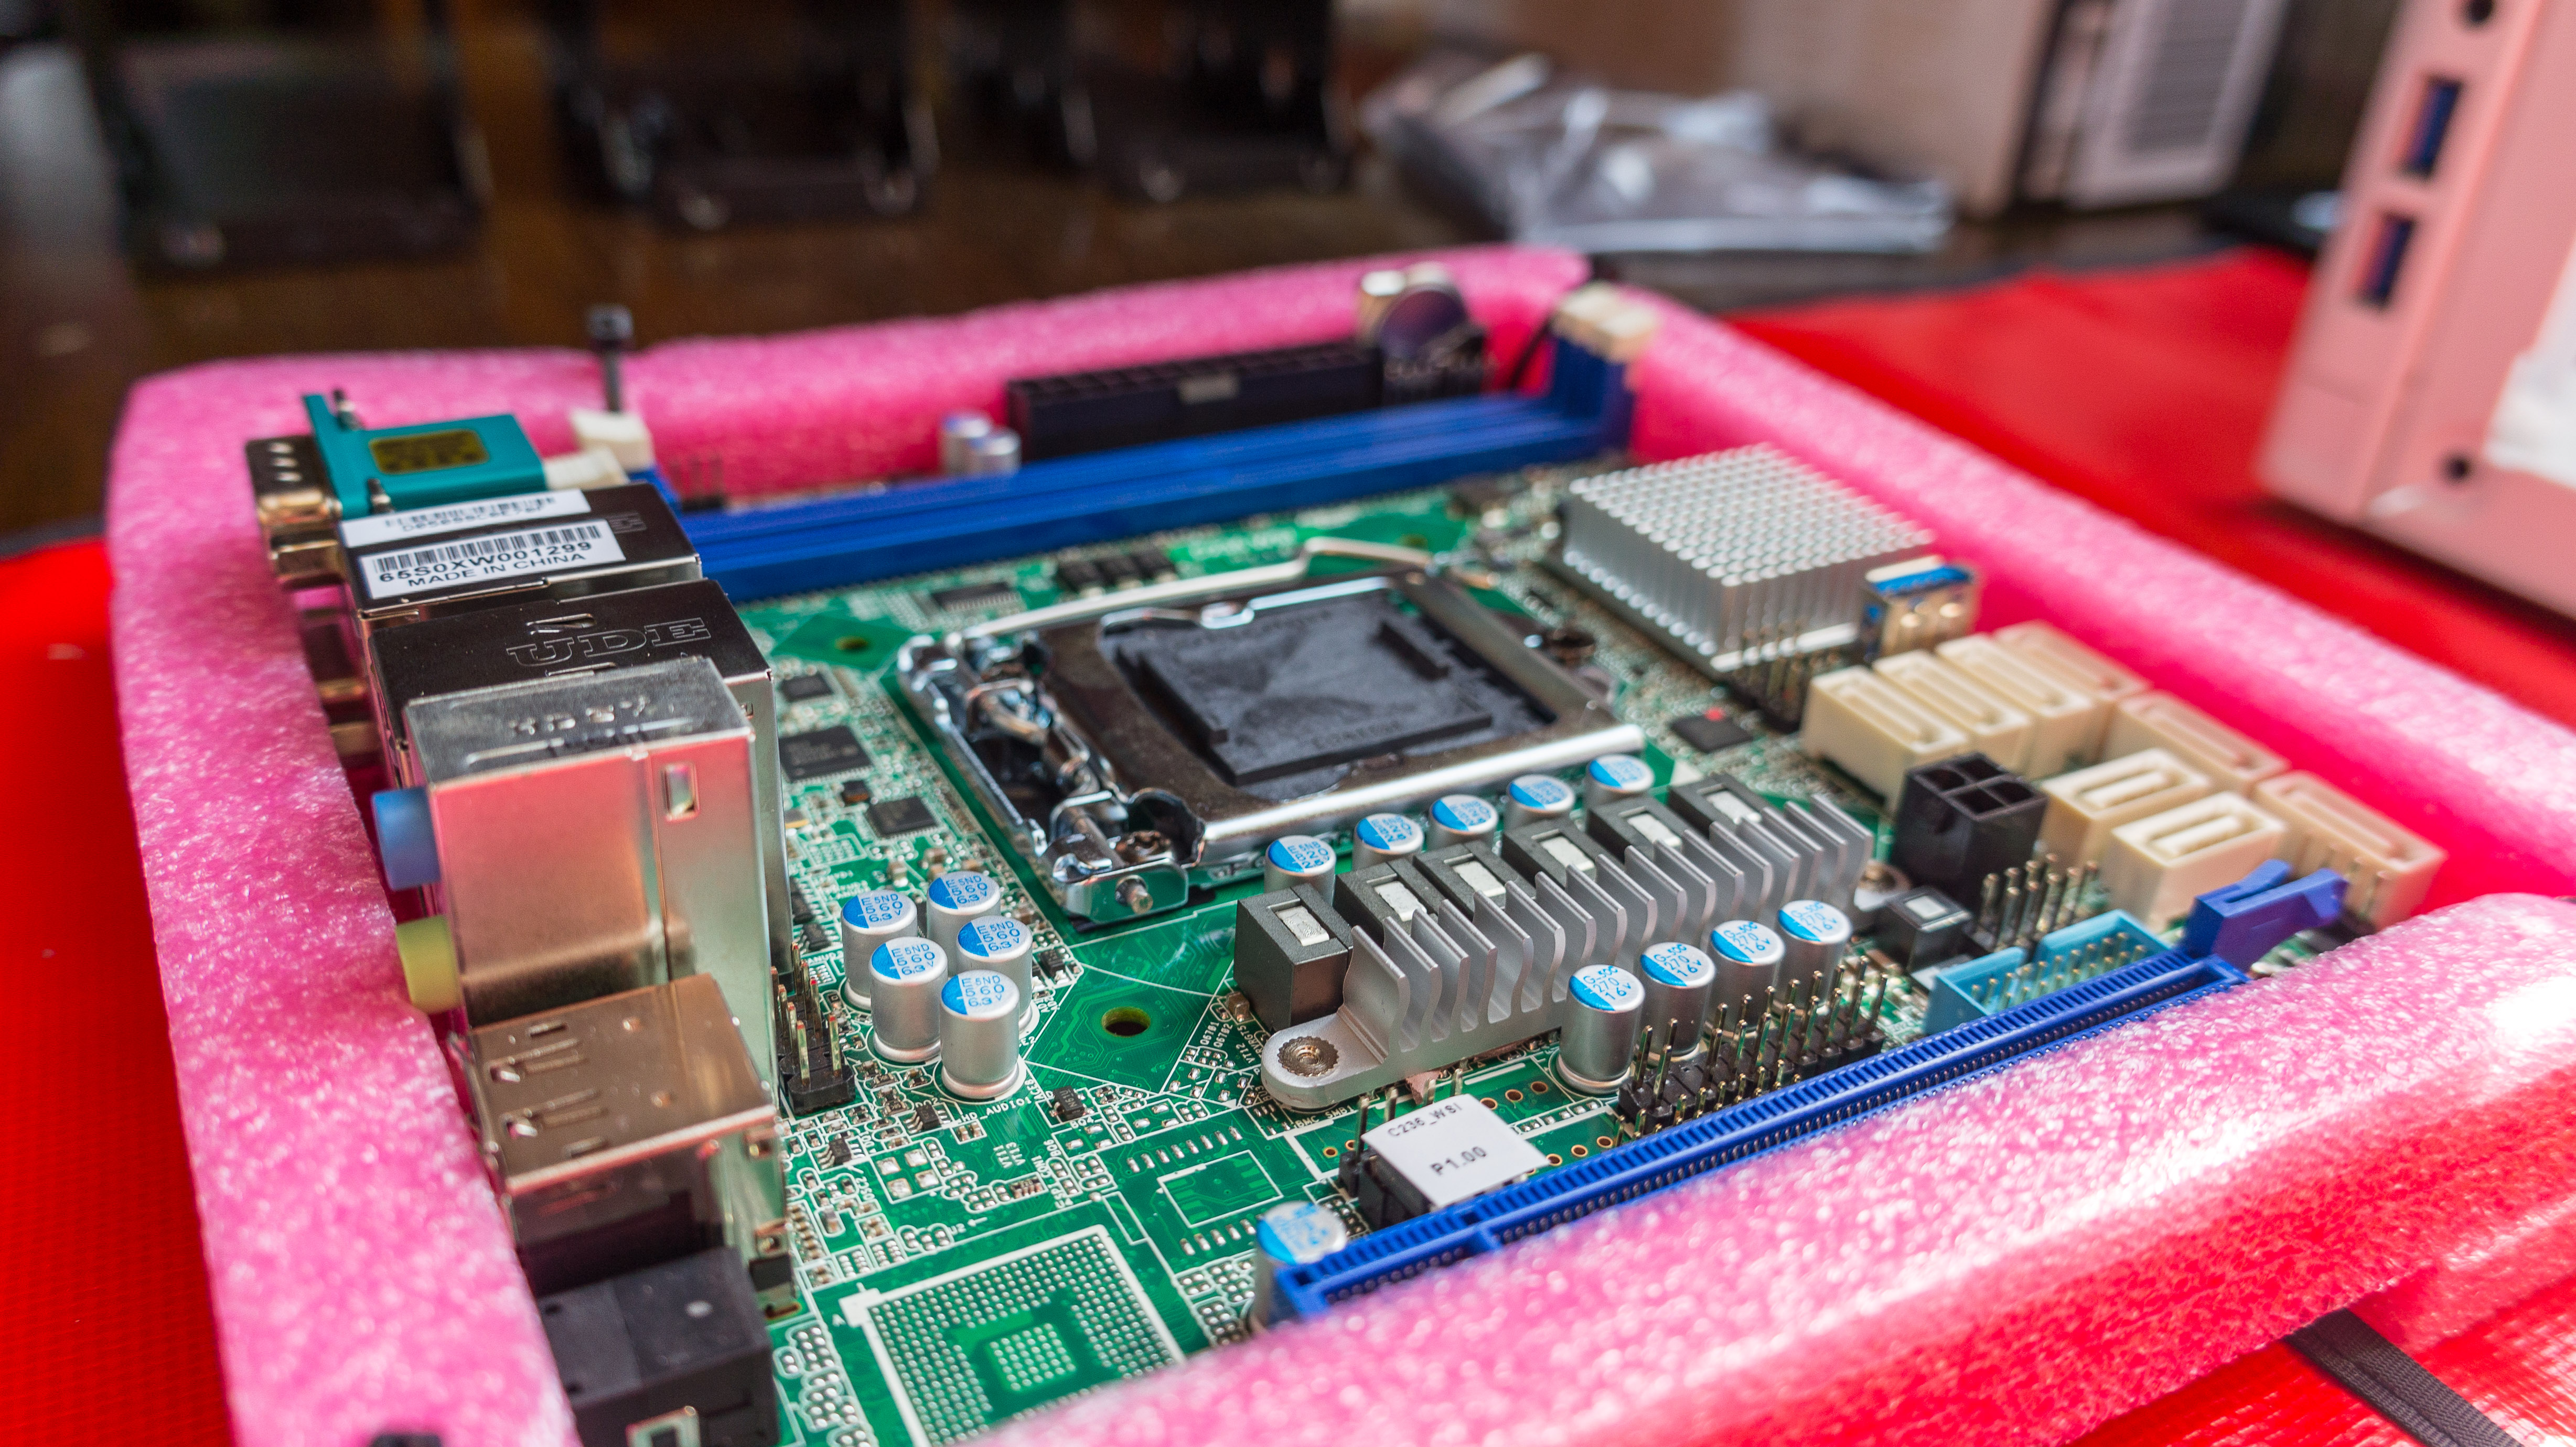
Mainboard Assembly
I began with assembling the mainboard. Still, lots of space I thought!
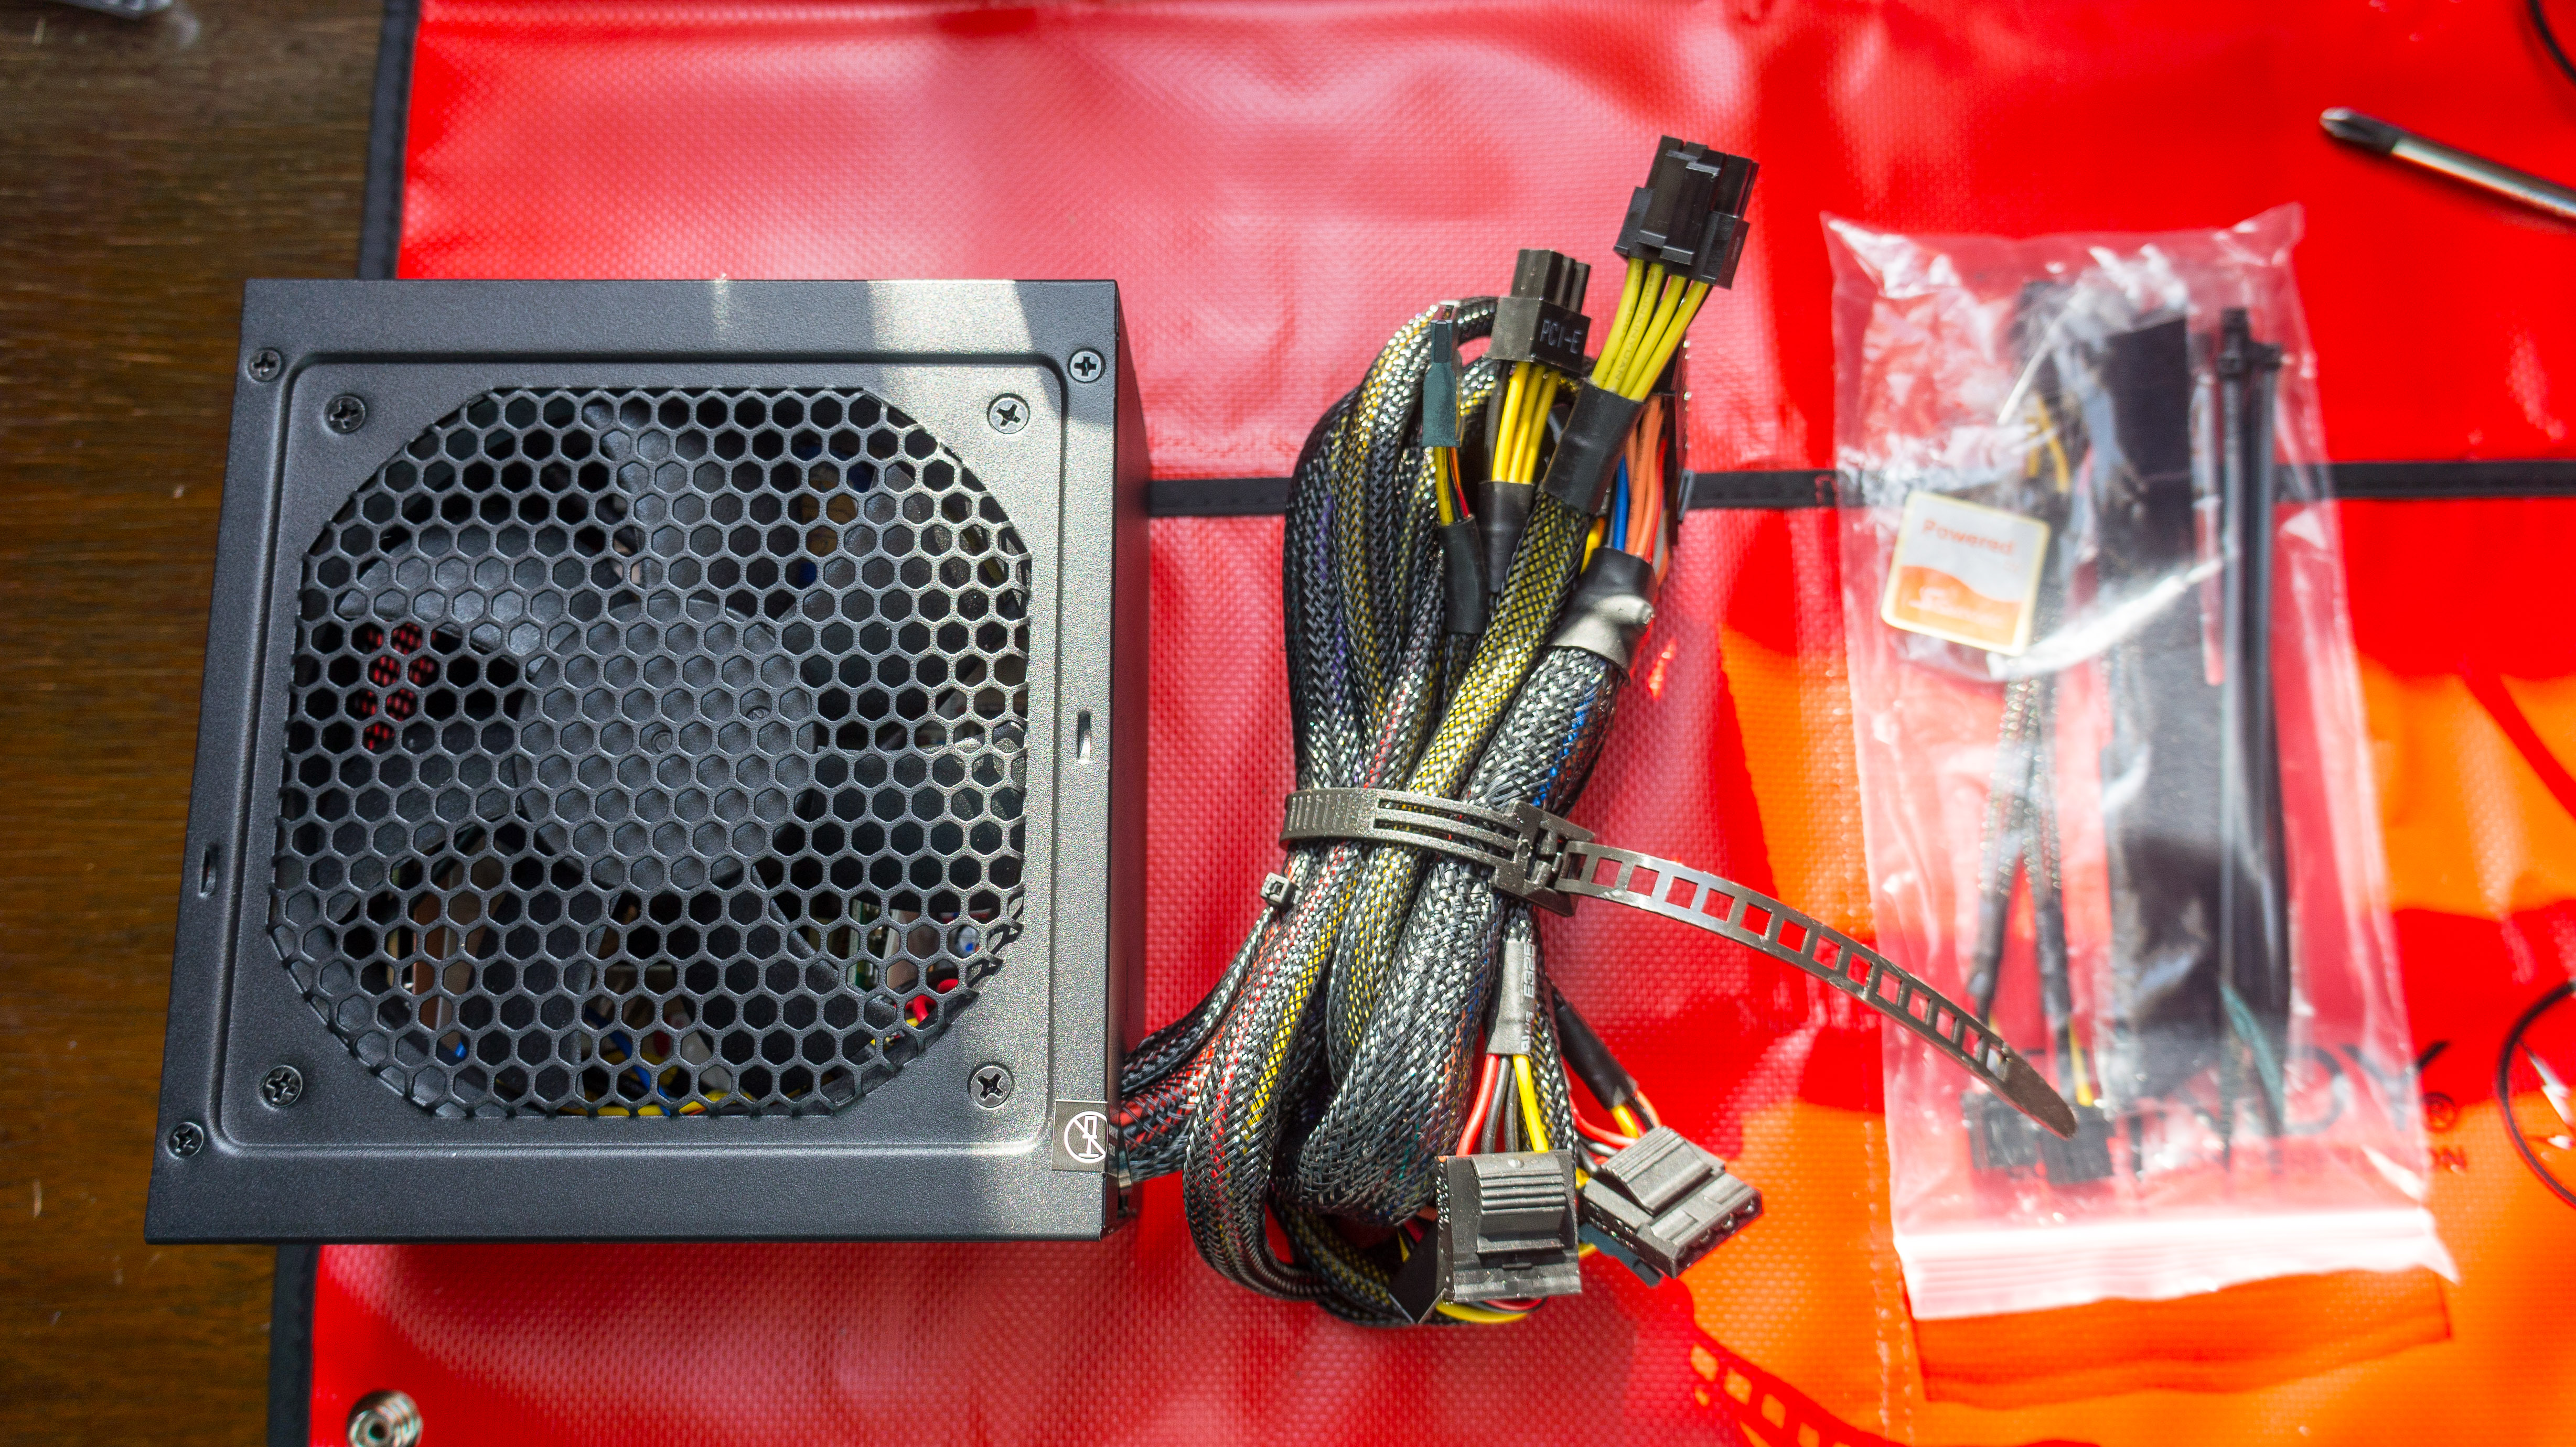
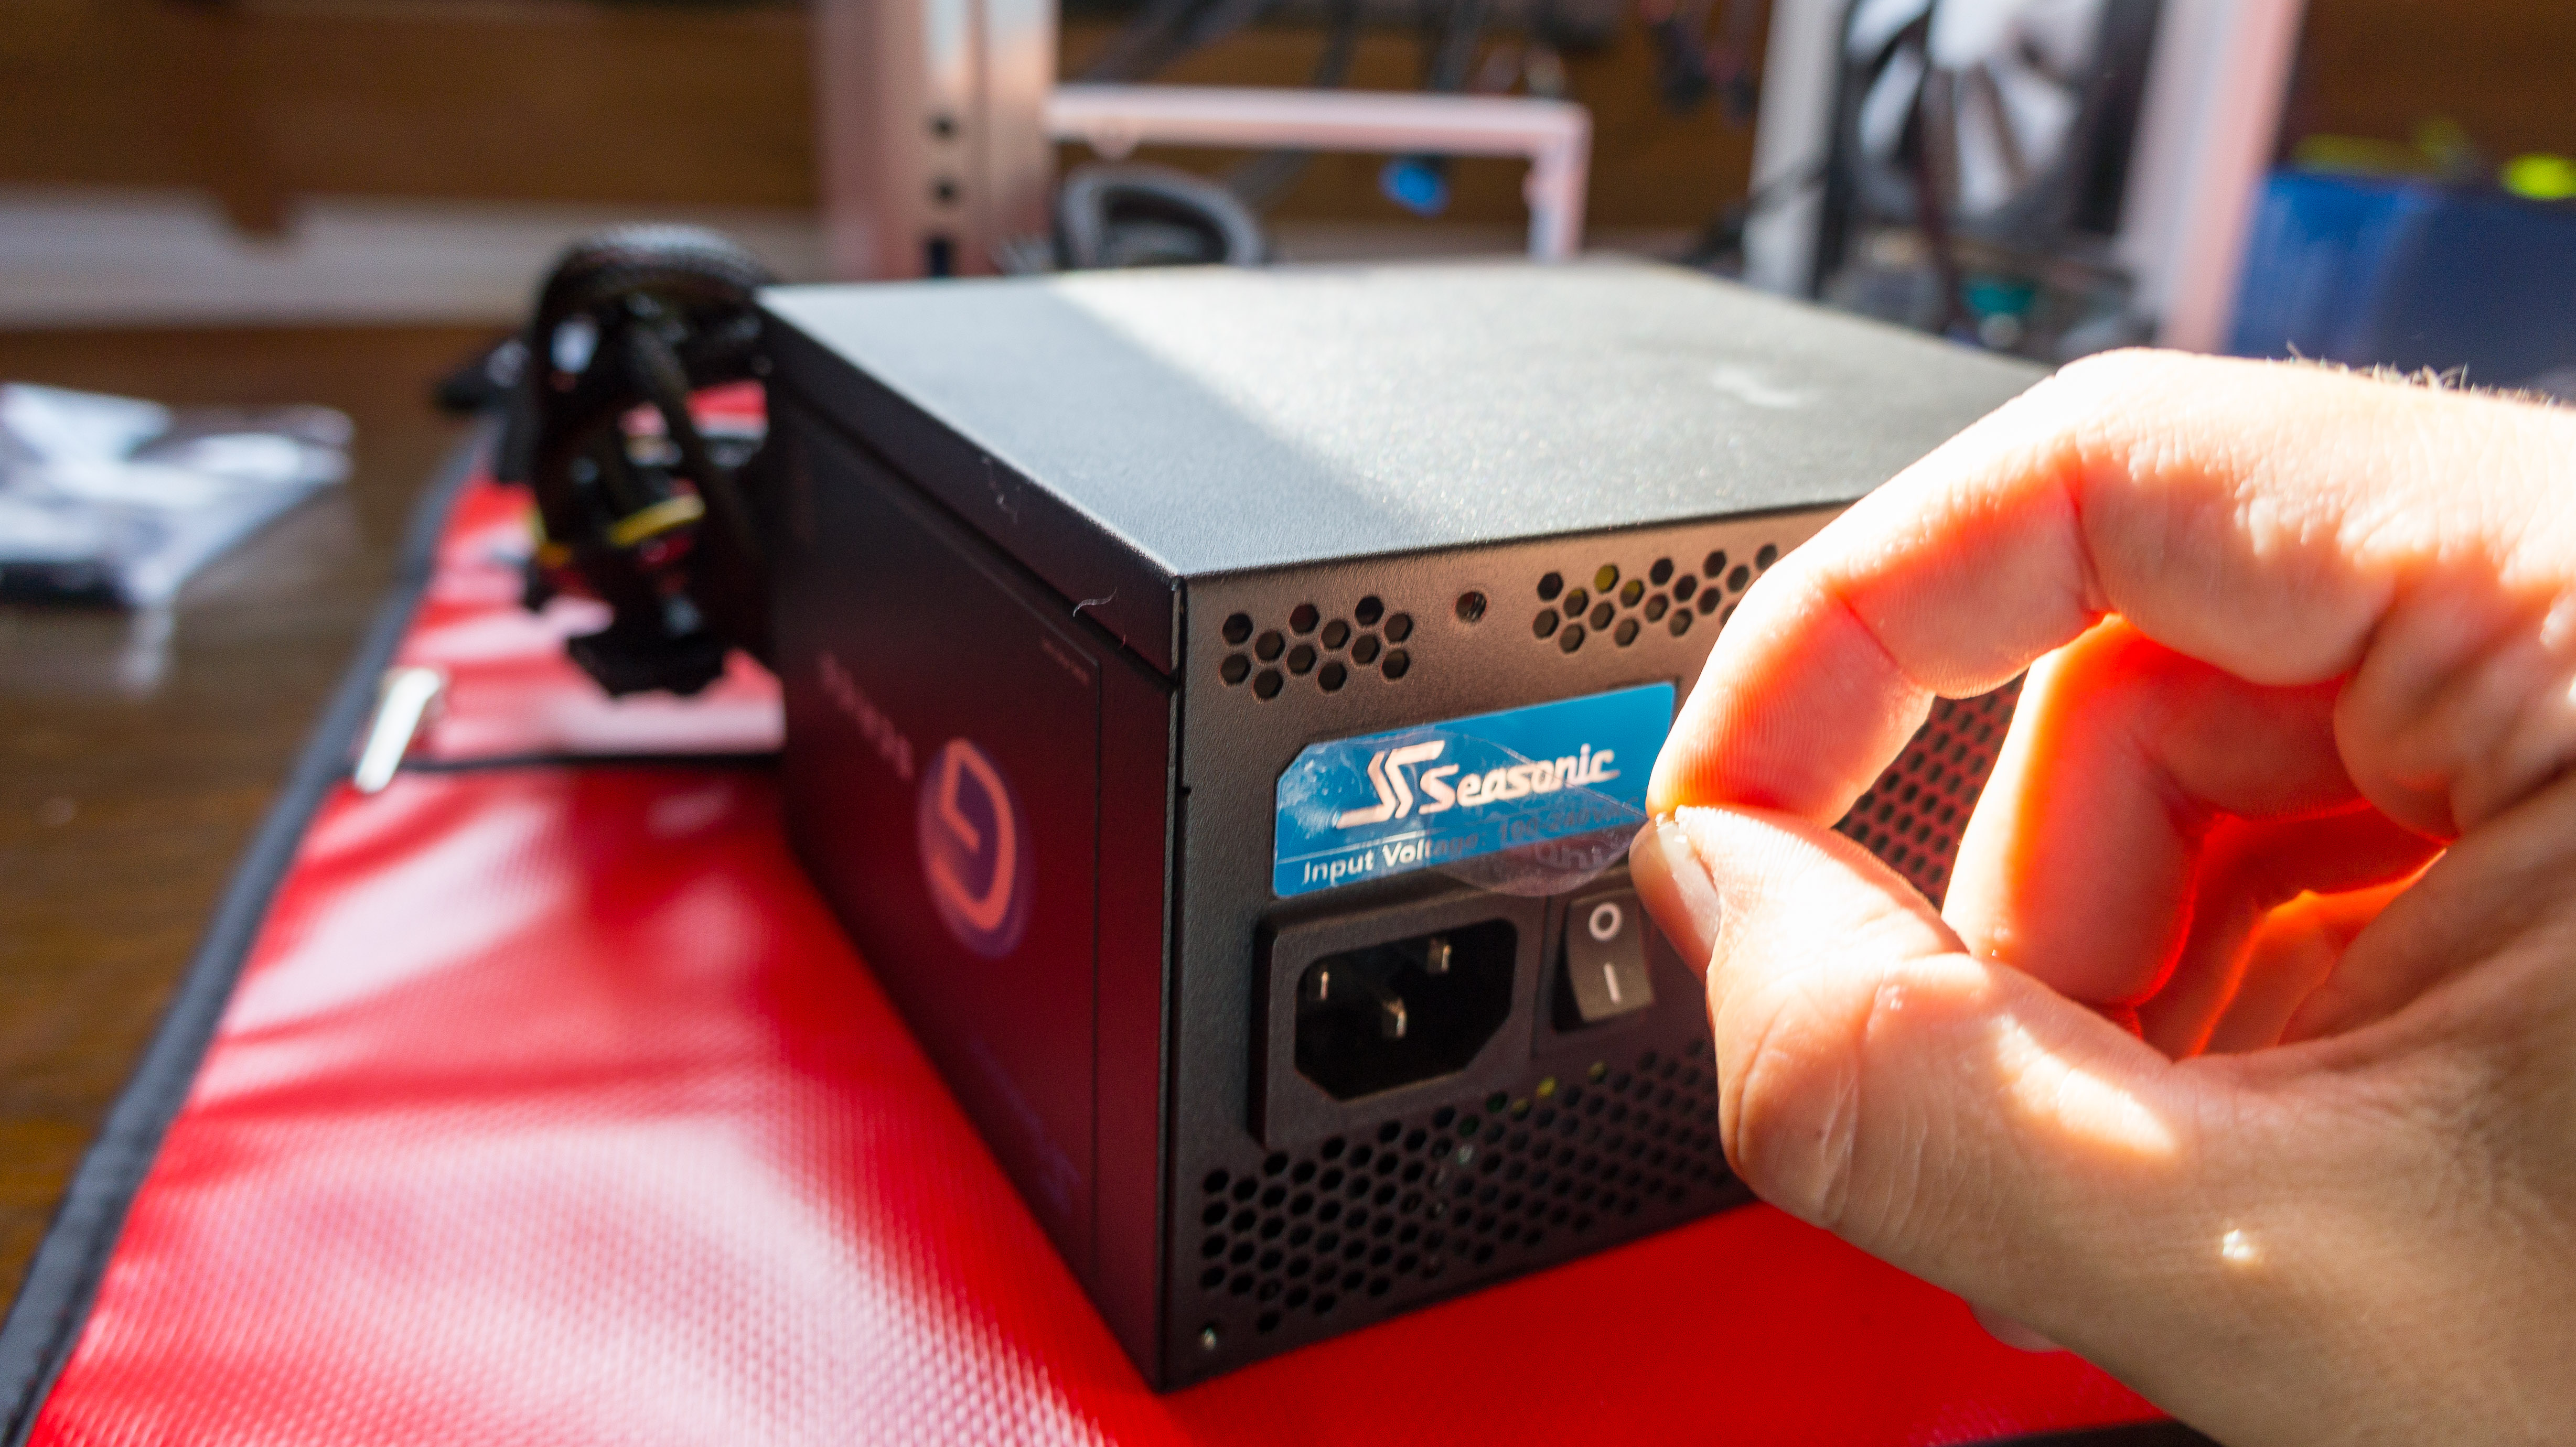
PSU Assembly
The Seasonic PSU brings what it promised, obligatory #PCMR protective foil removal picture 😉
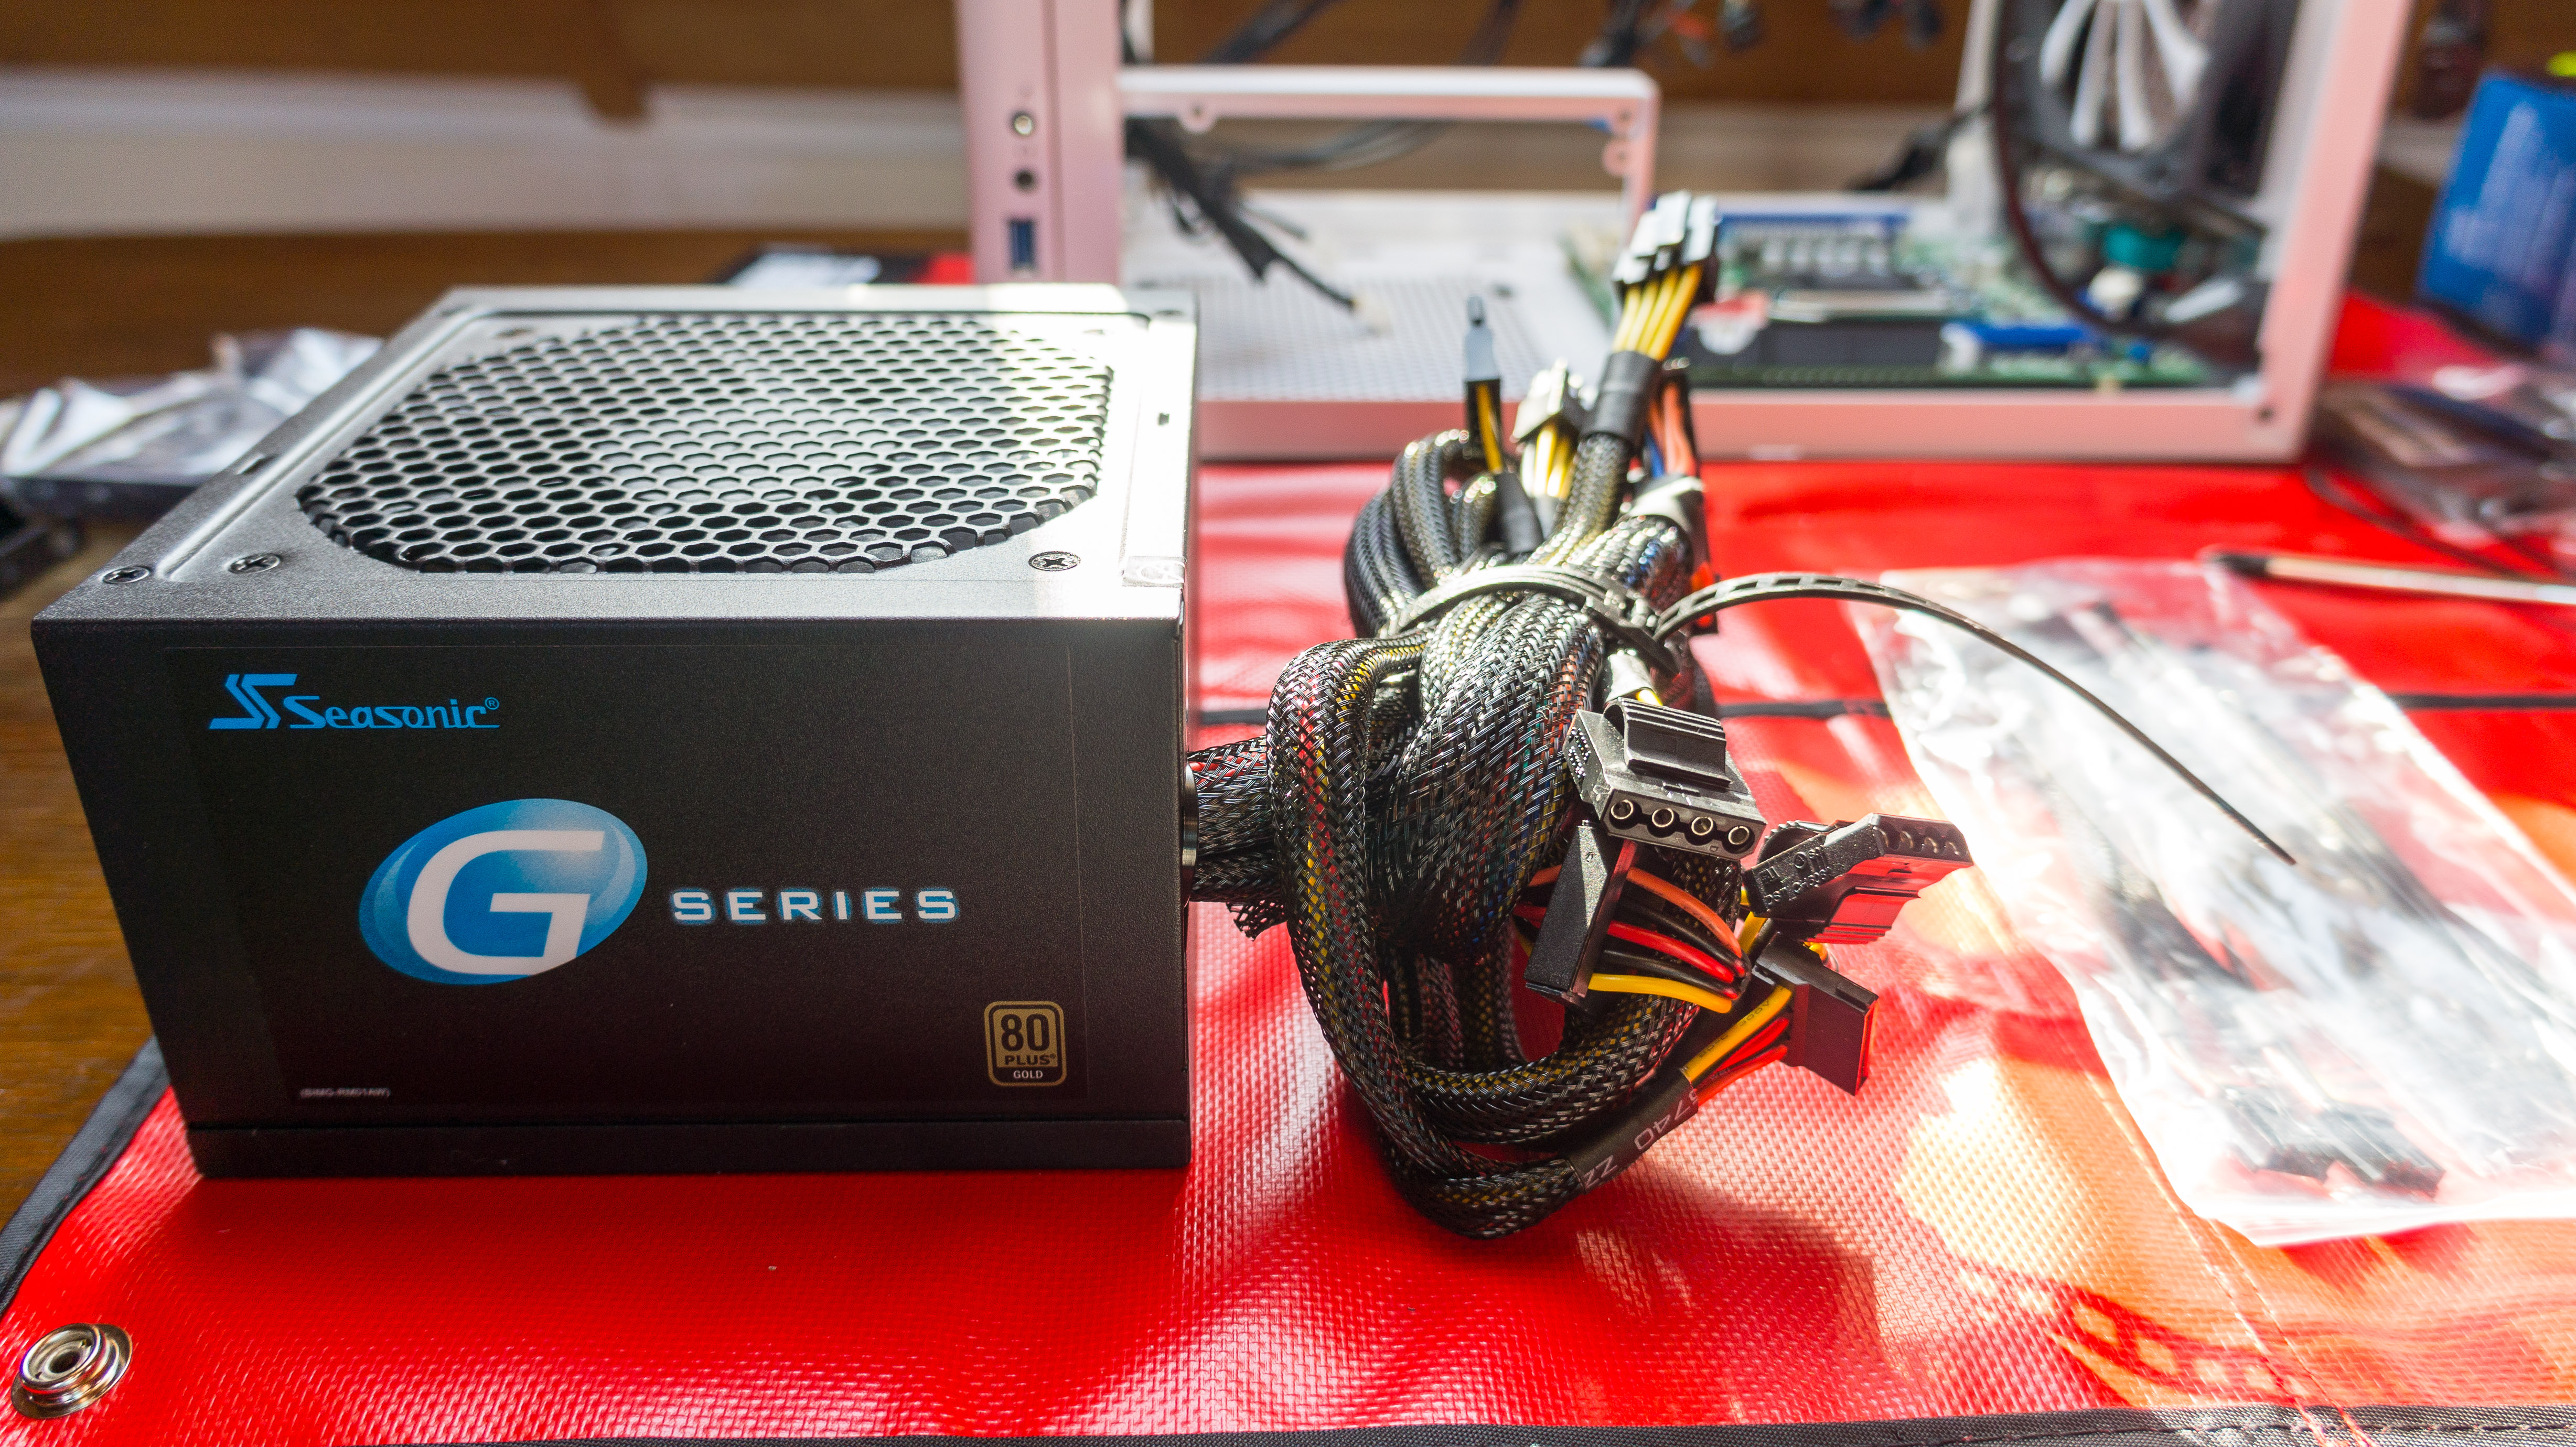
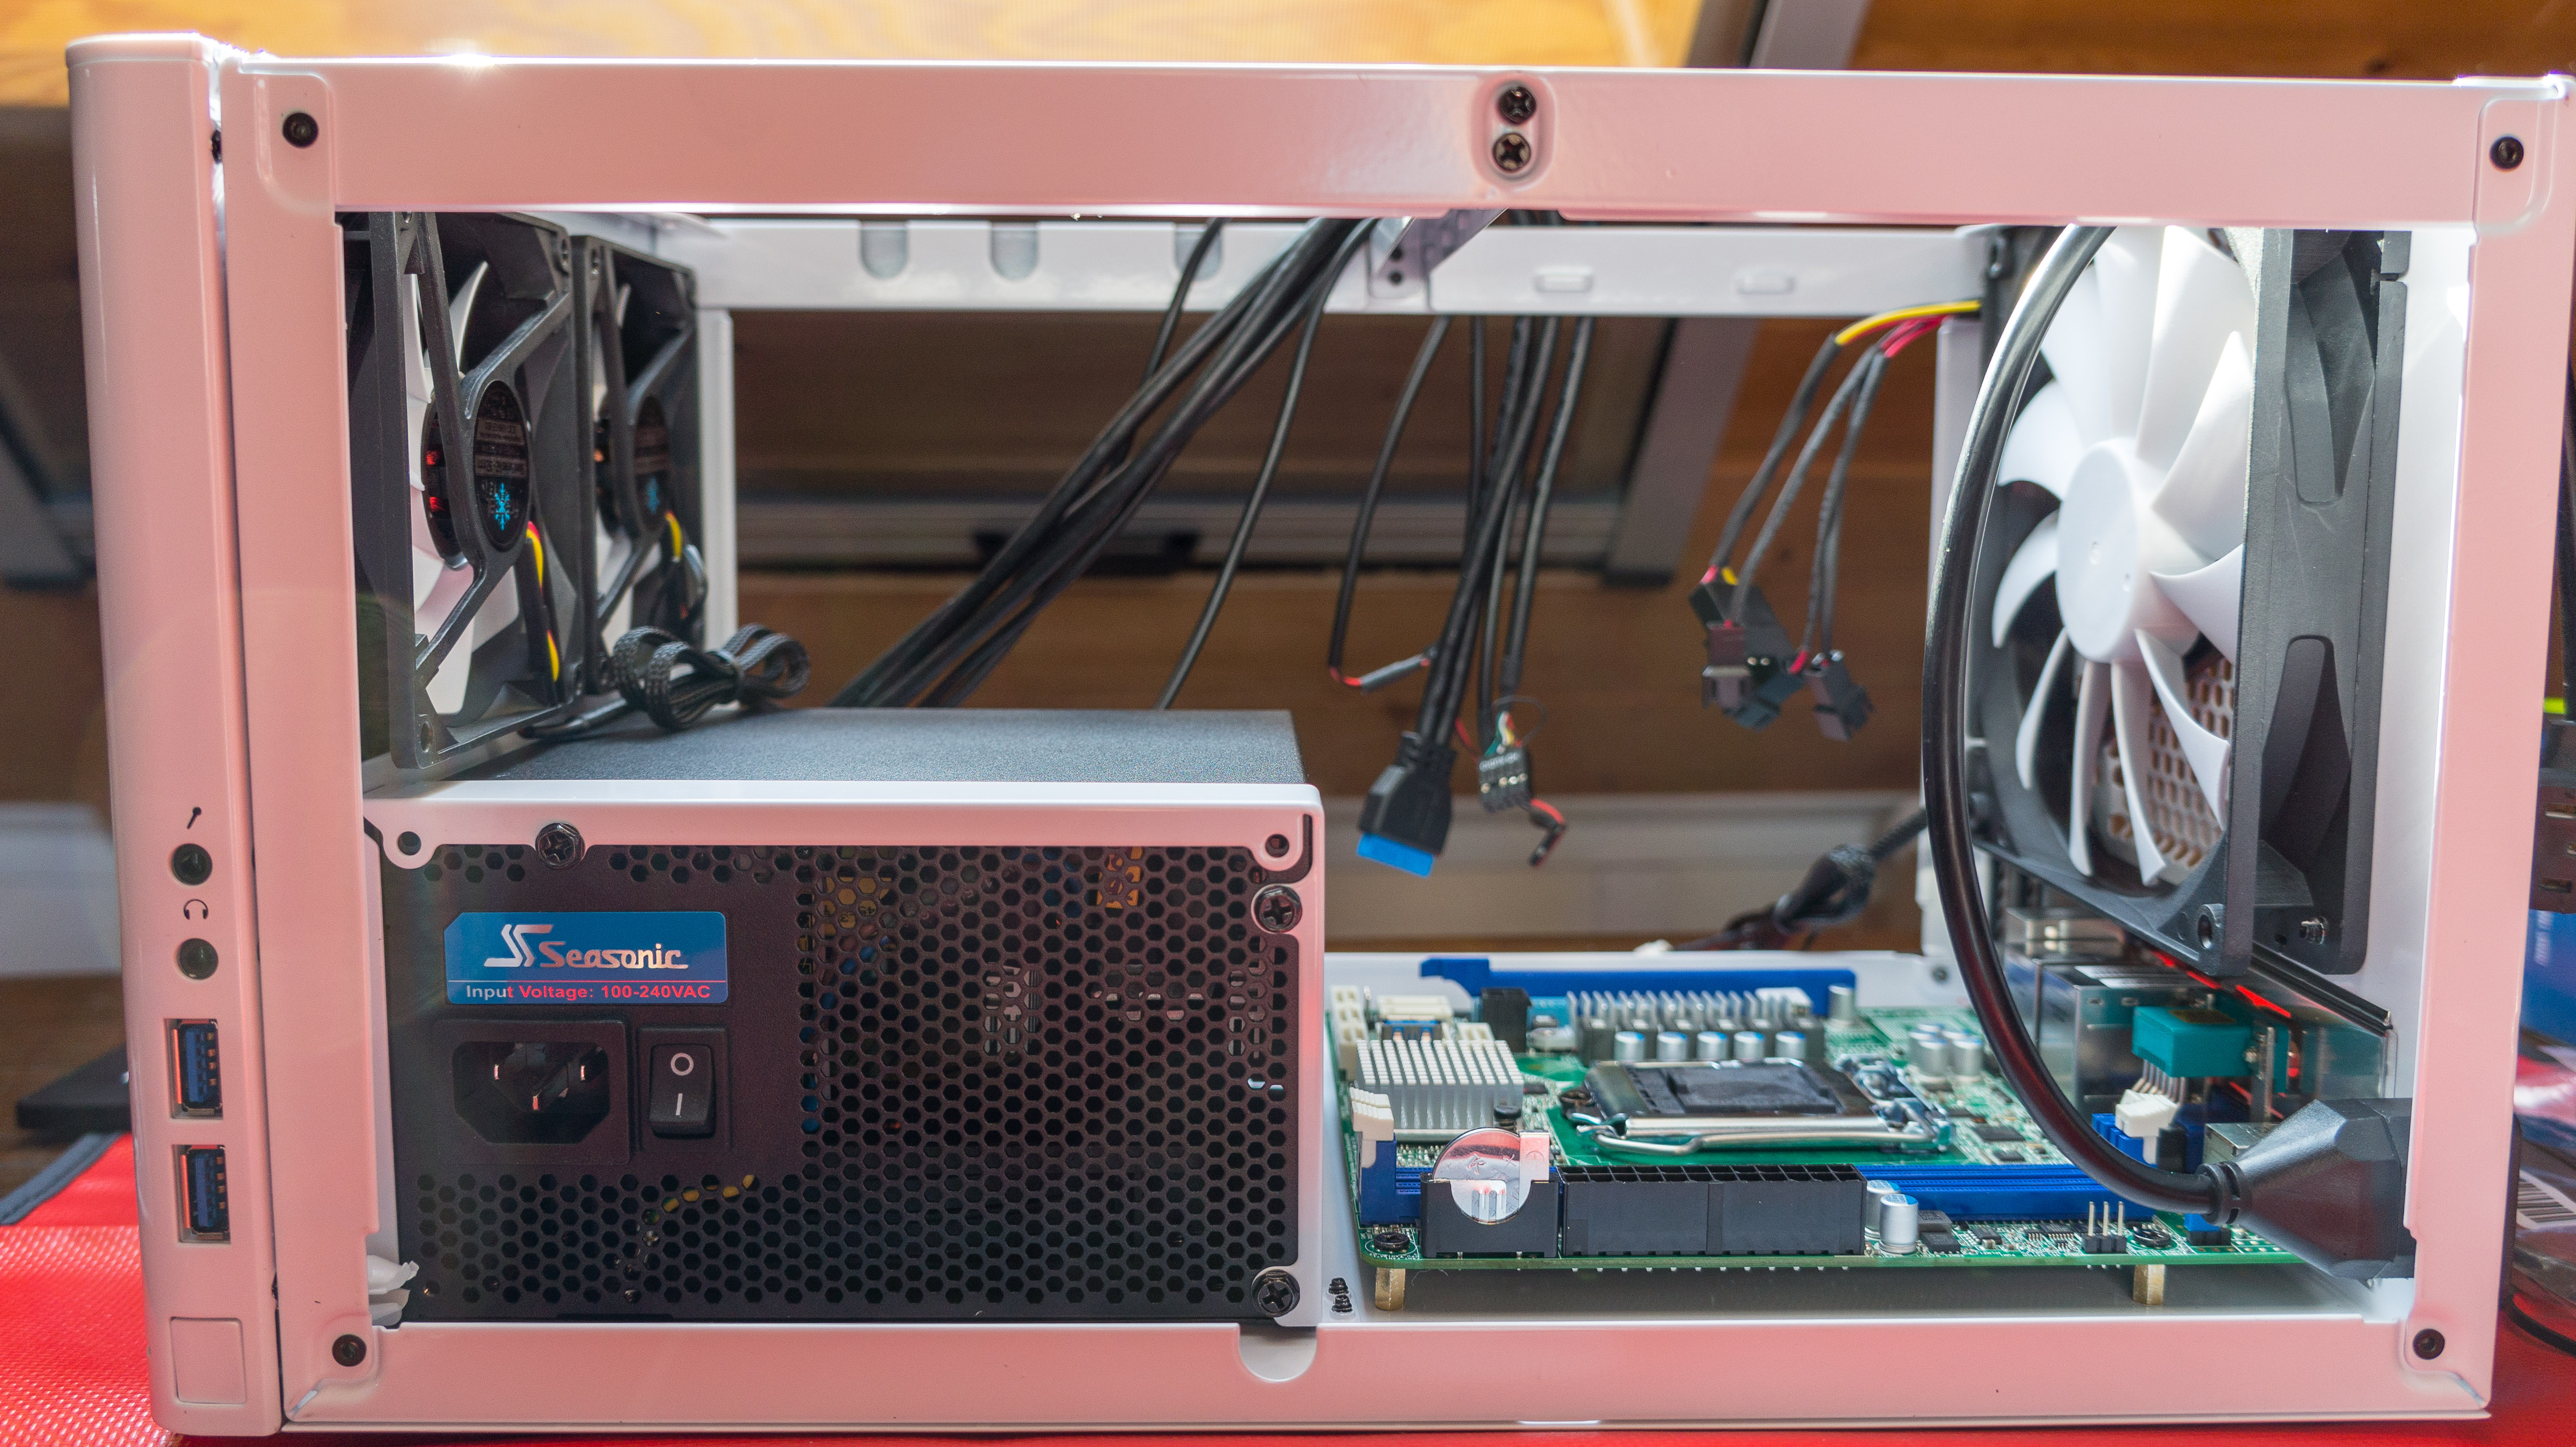
Power supply assembled. Space get’s smaller.
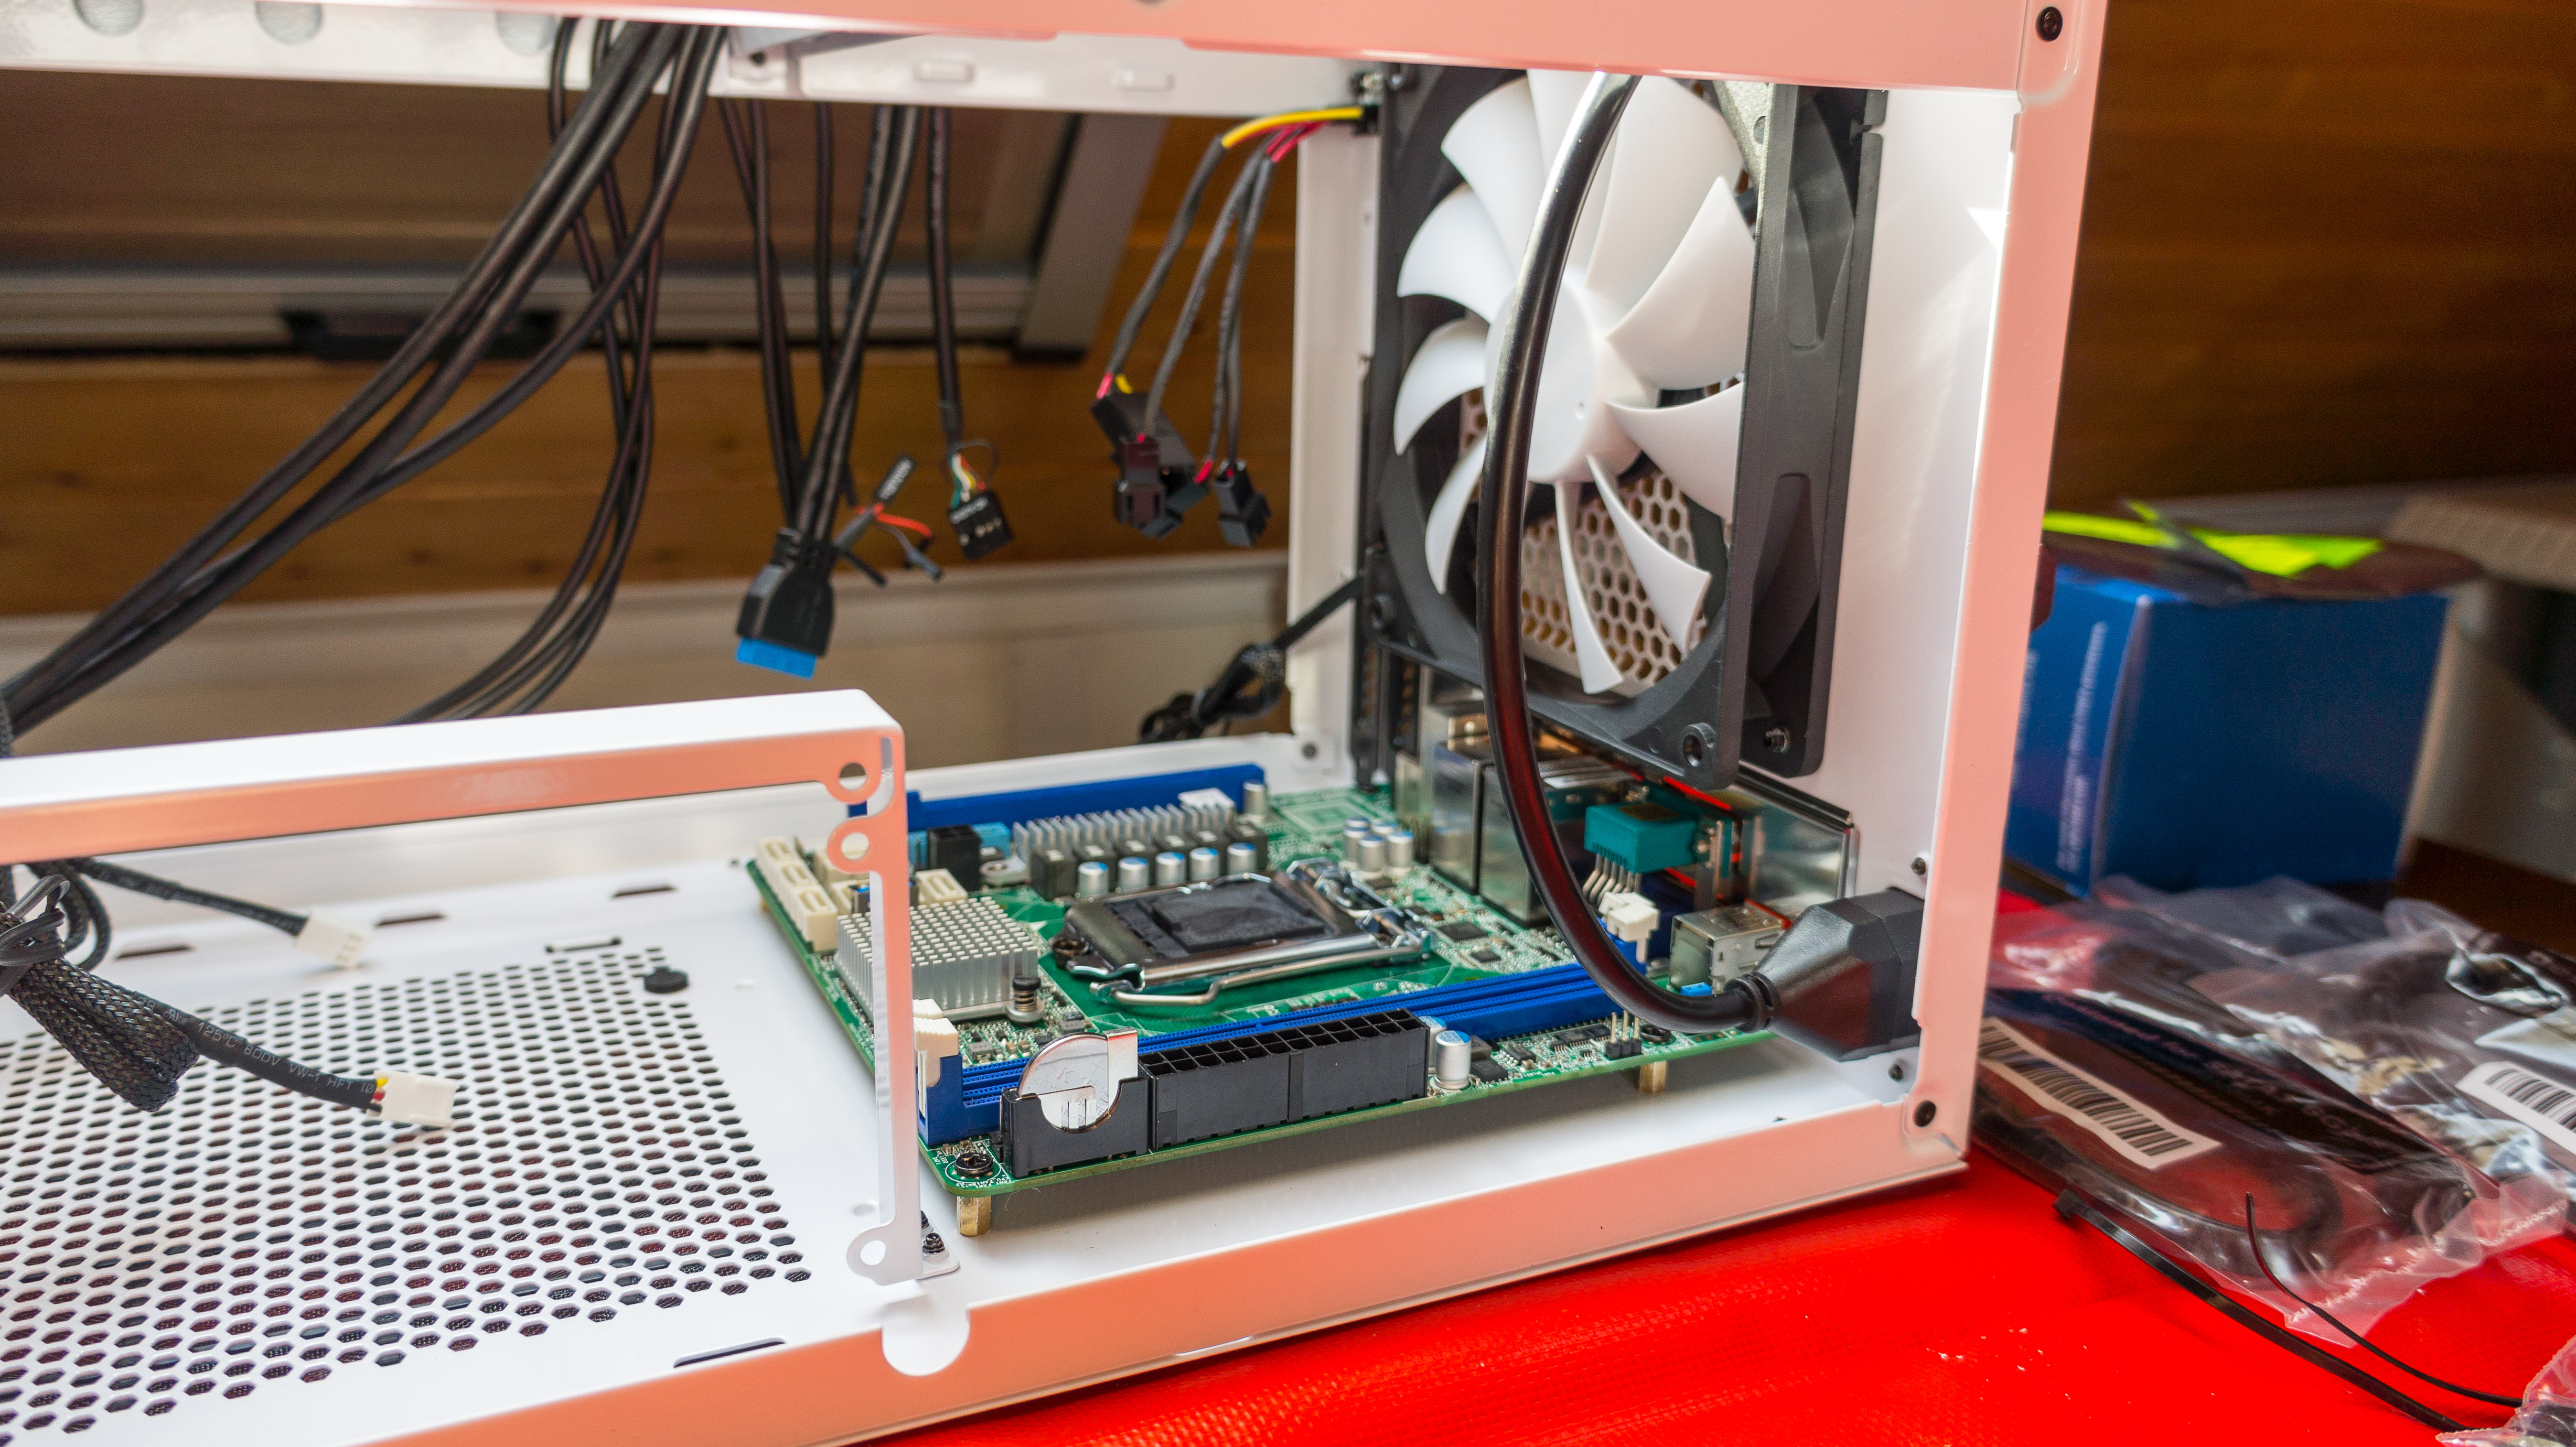
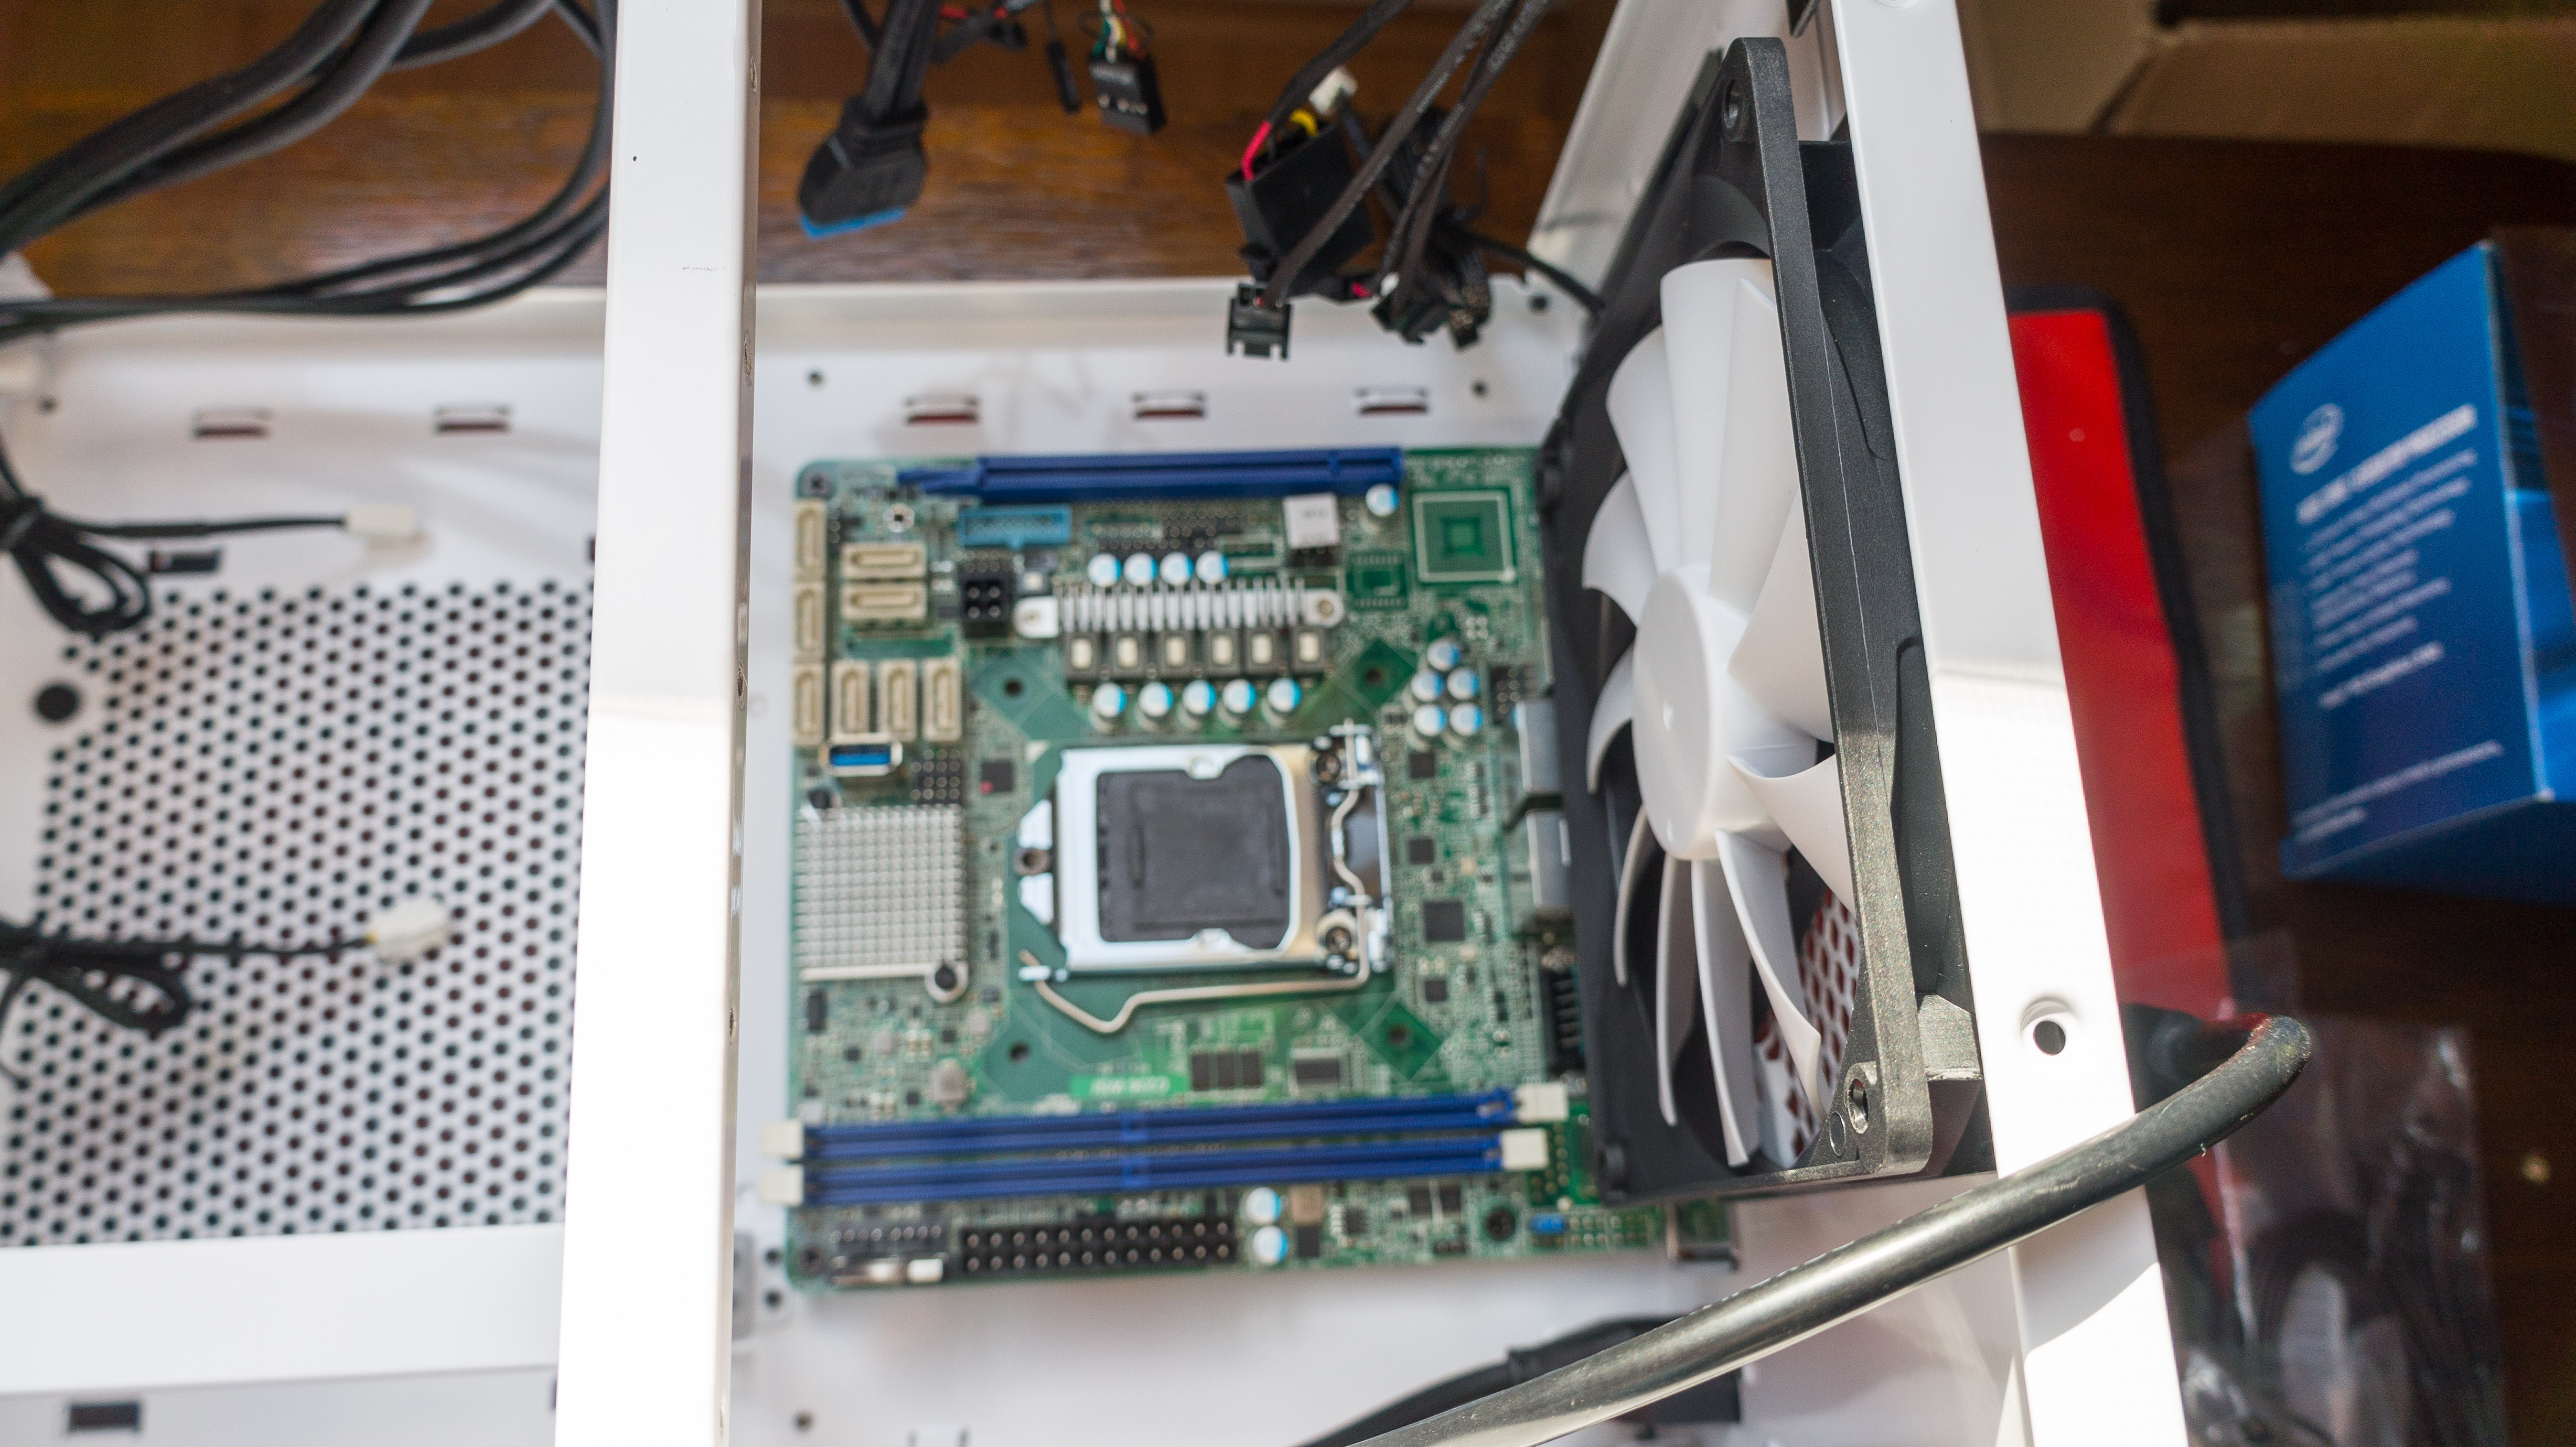
CPU Assembly
Time to assemble the CPU with the boxed cooler.
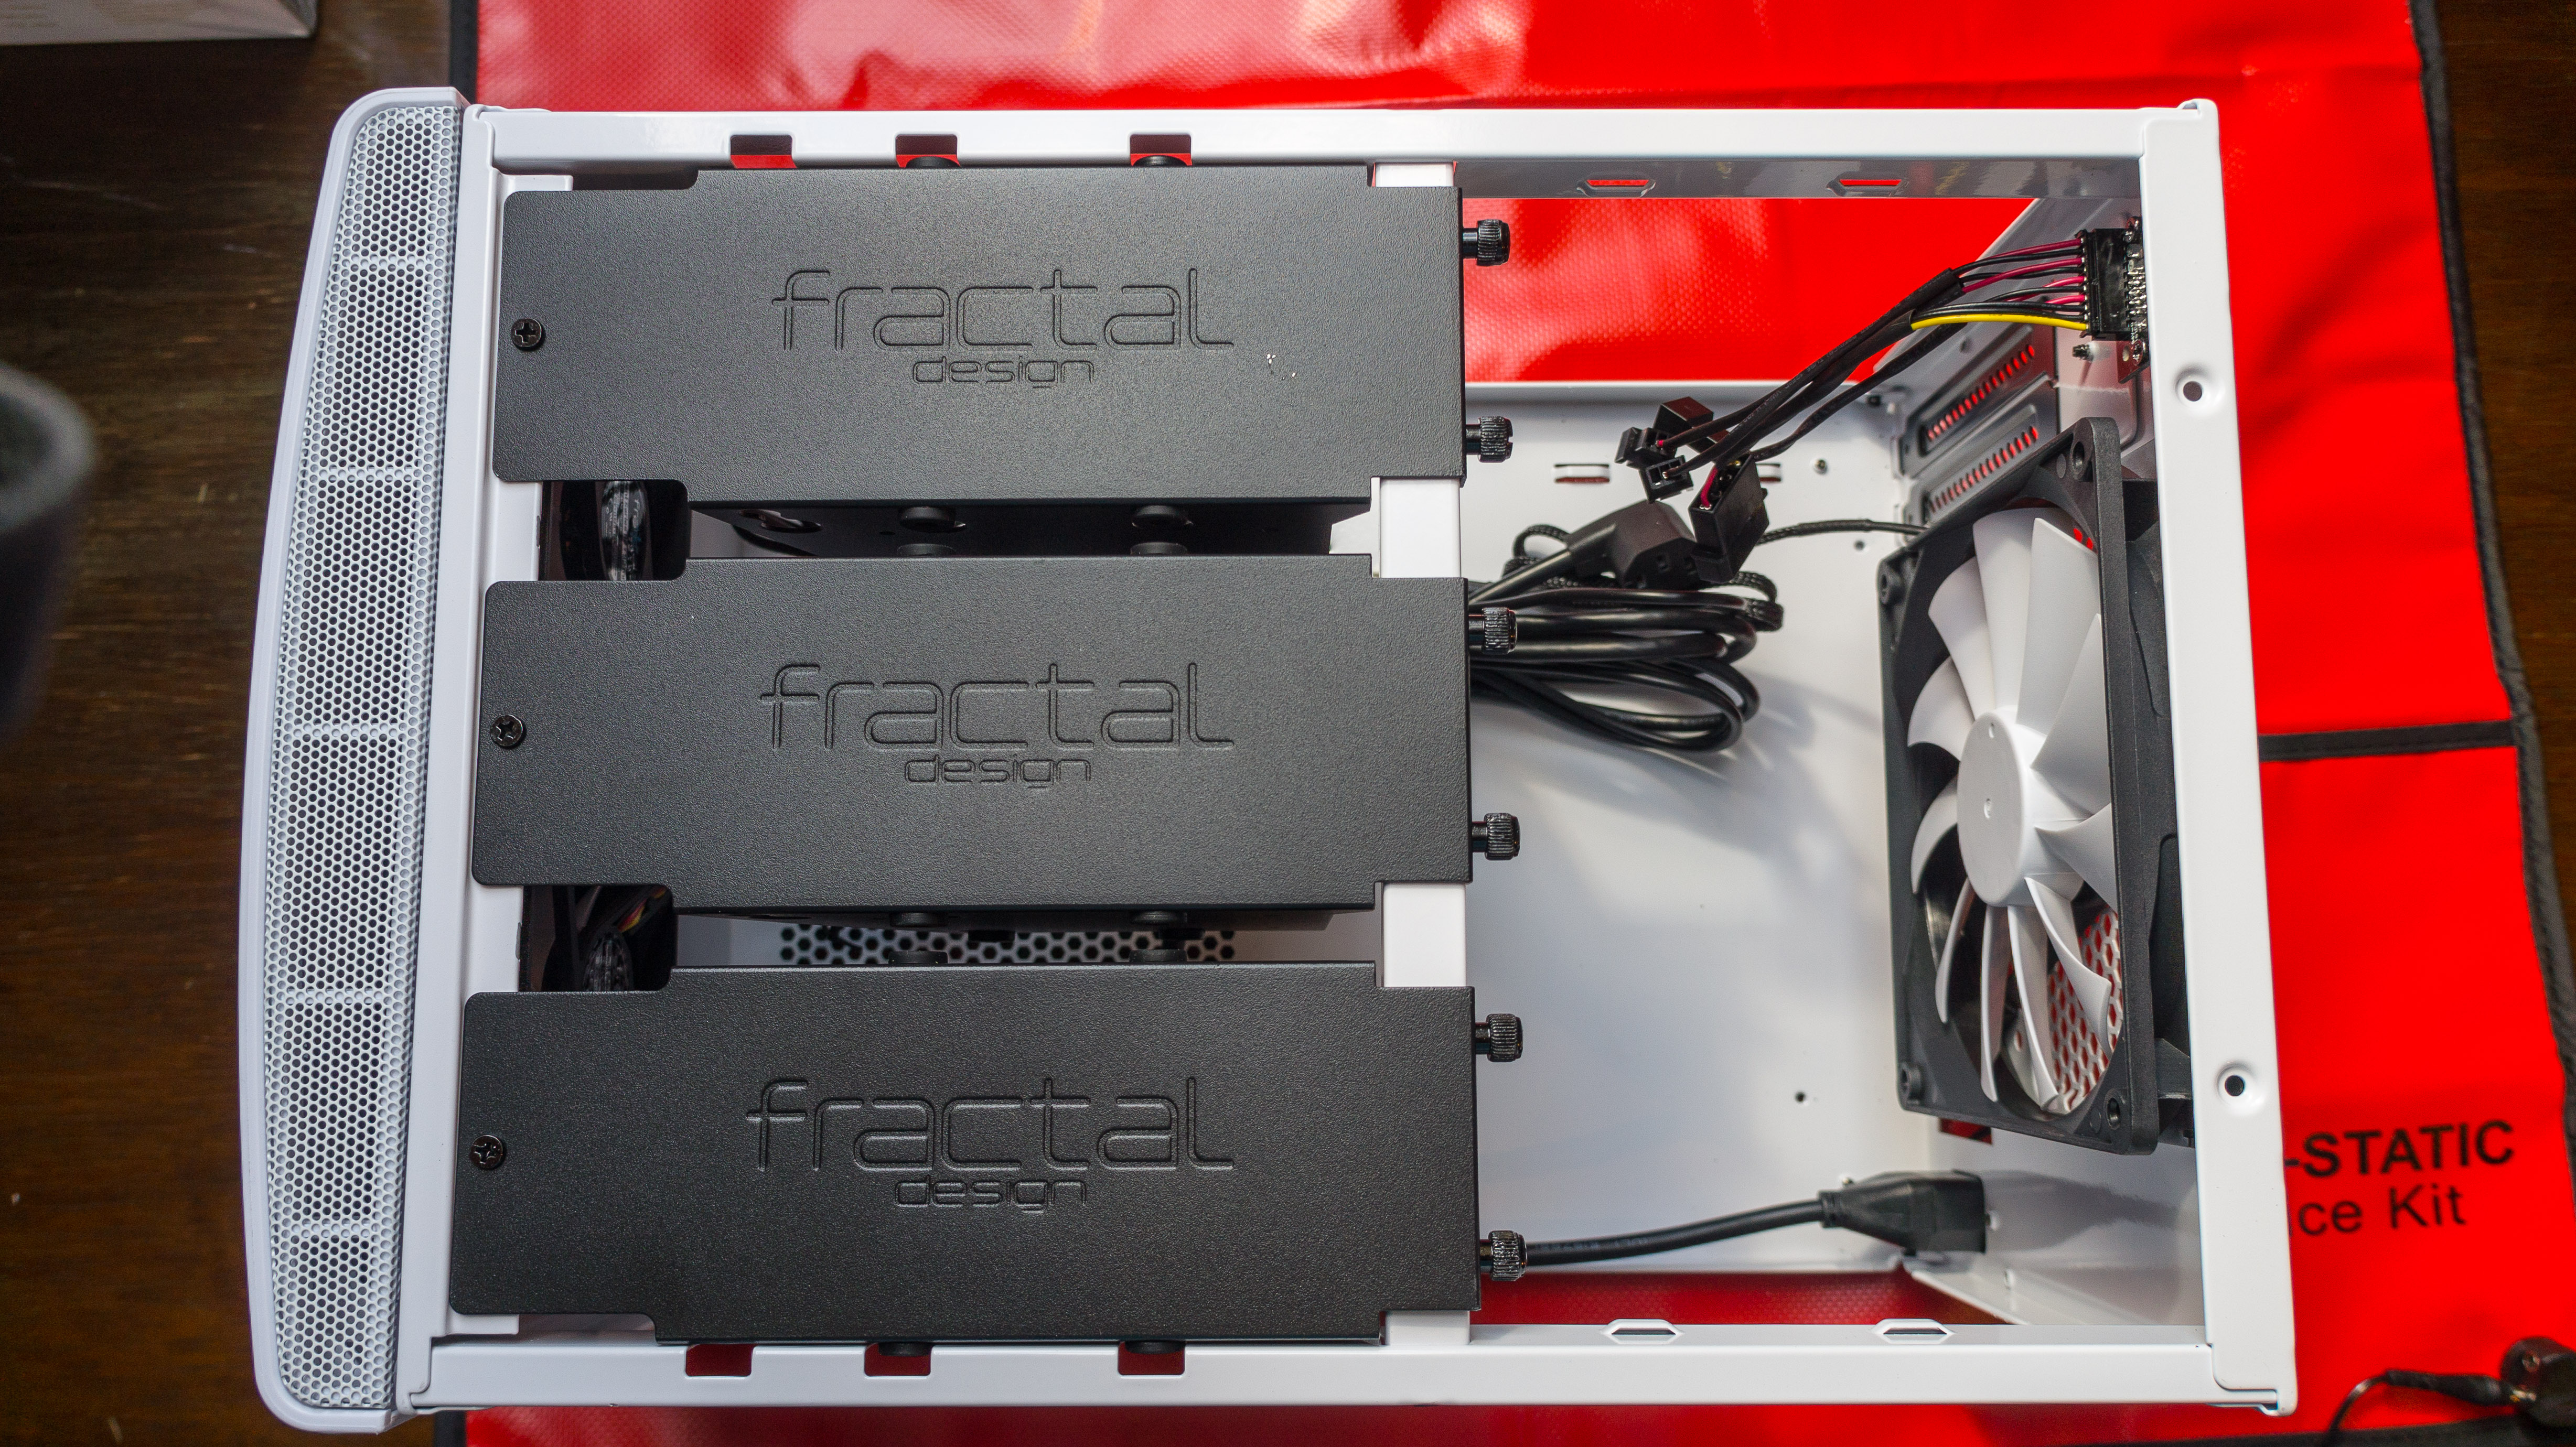
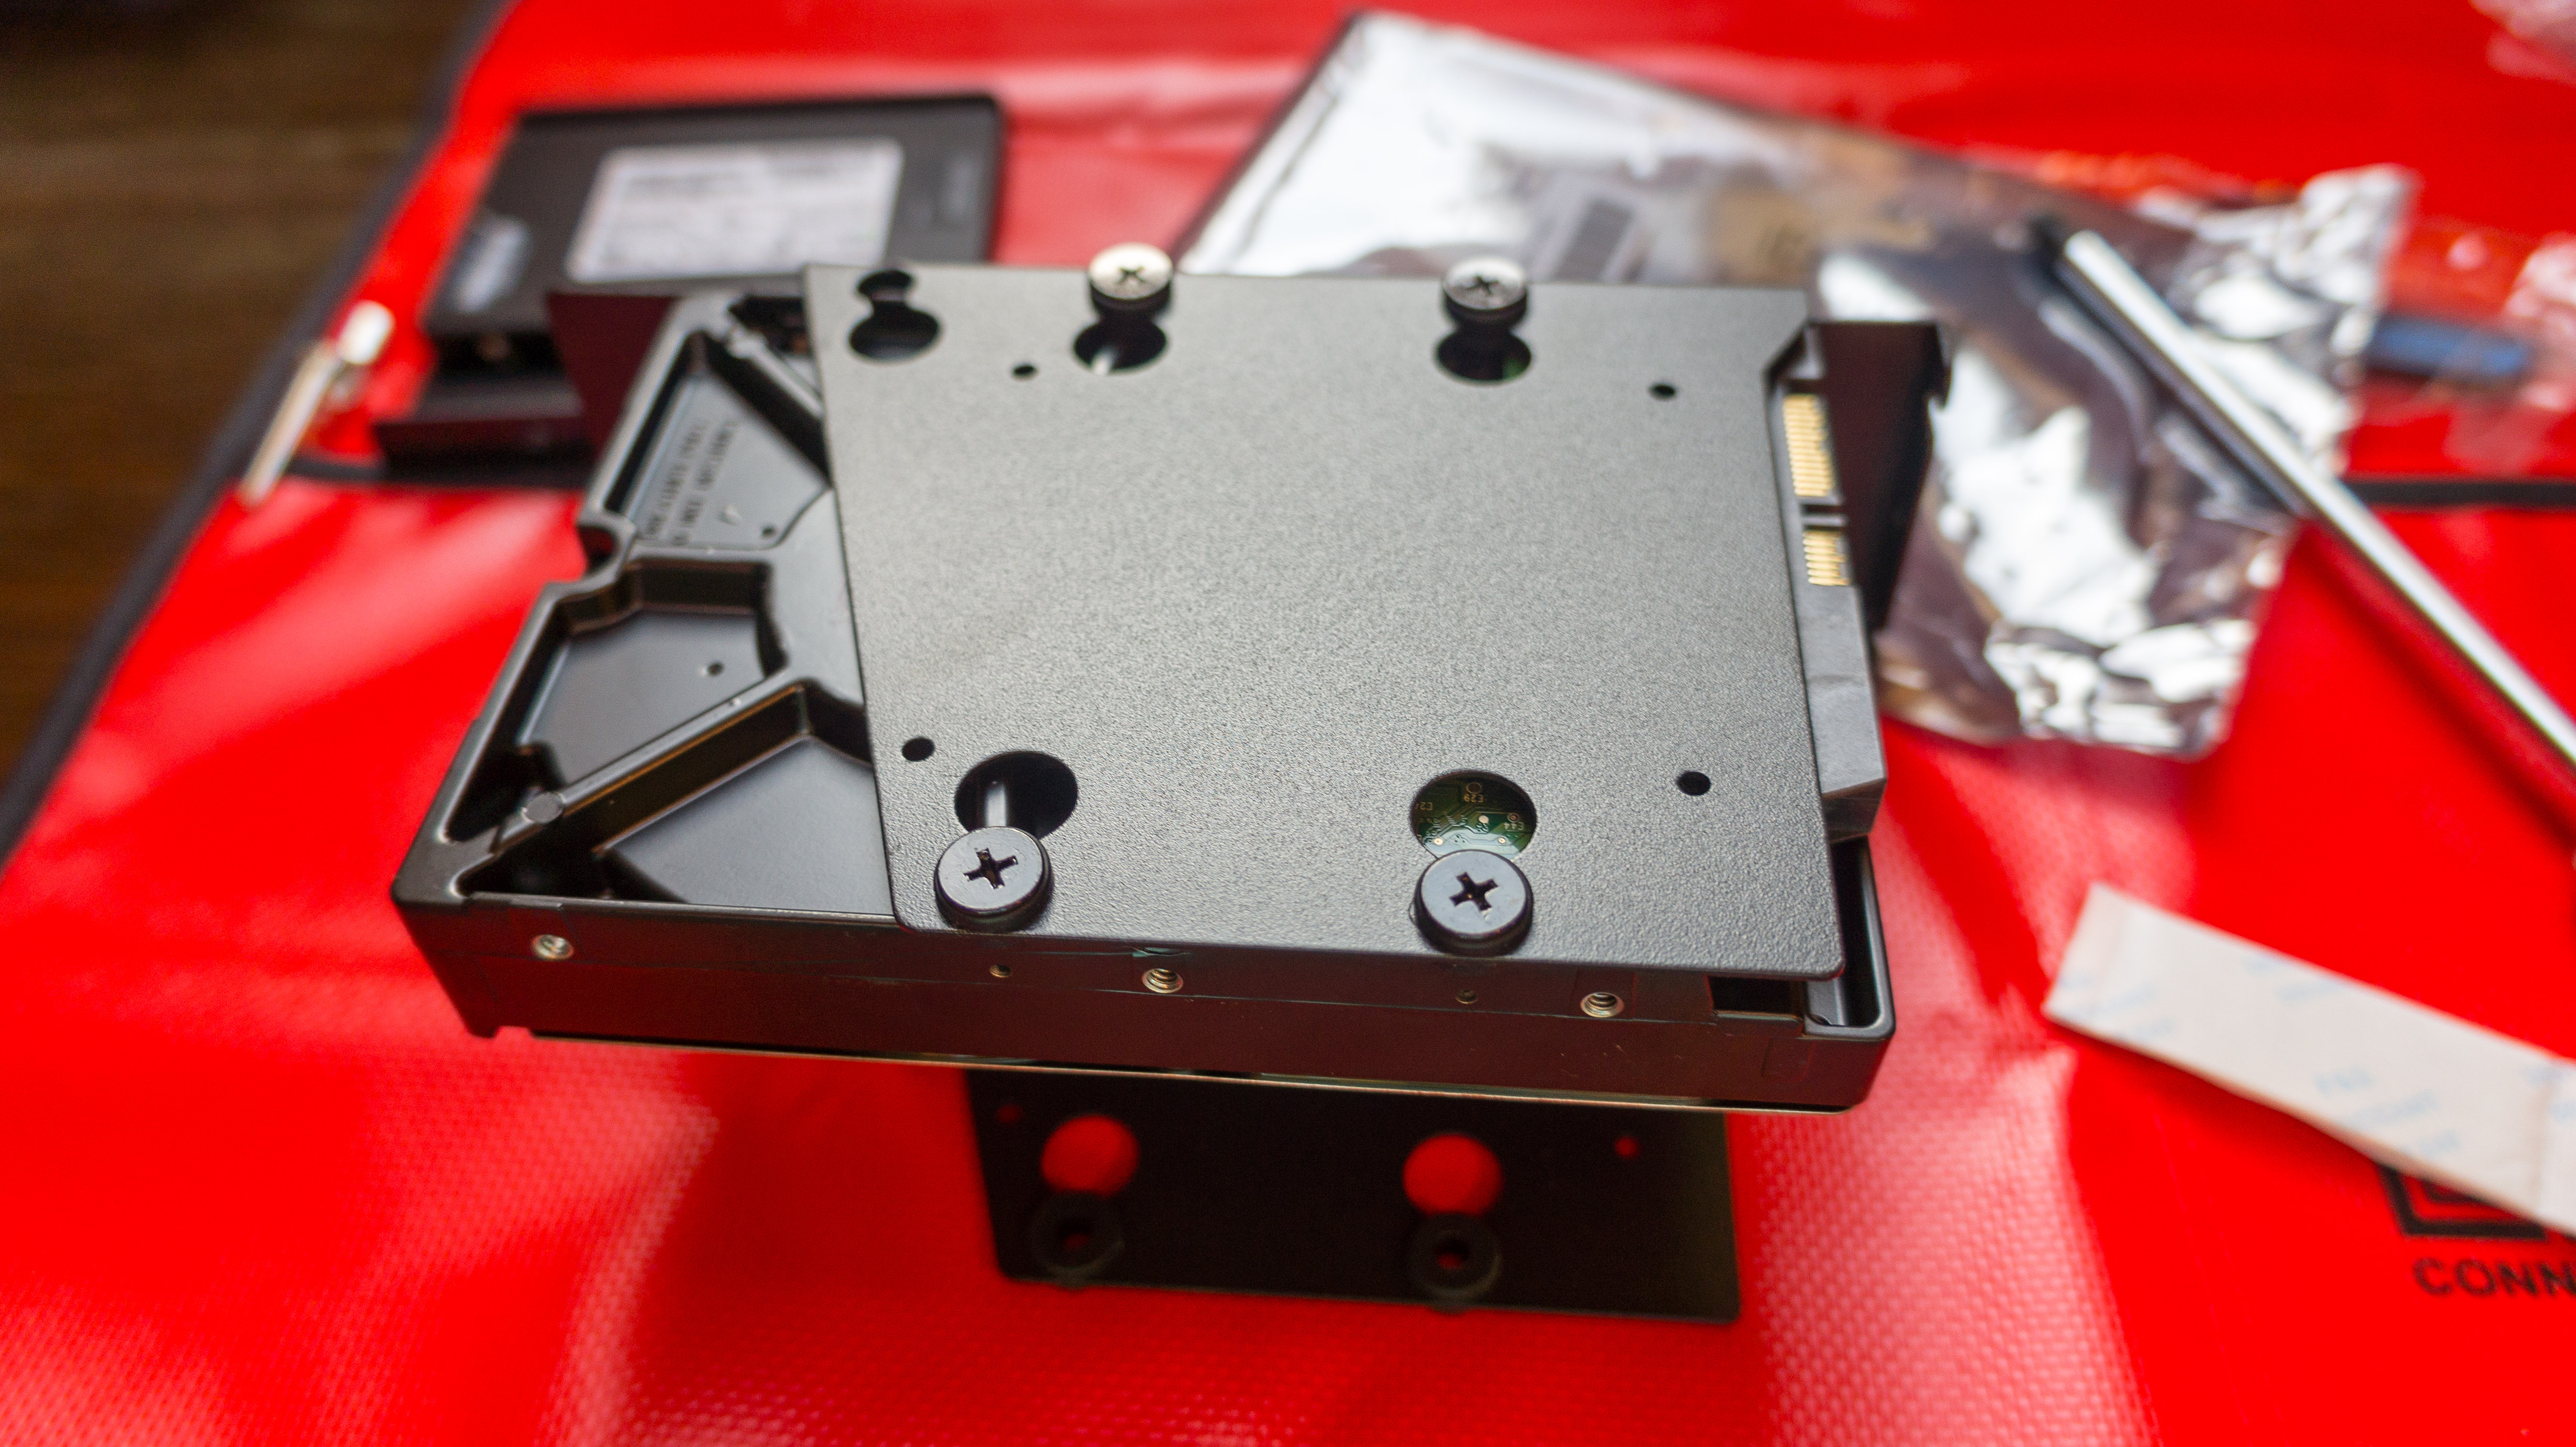
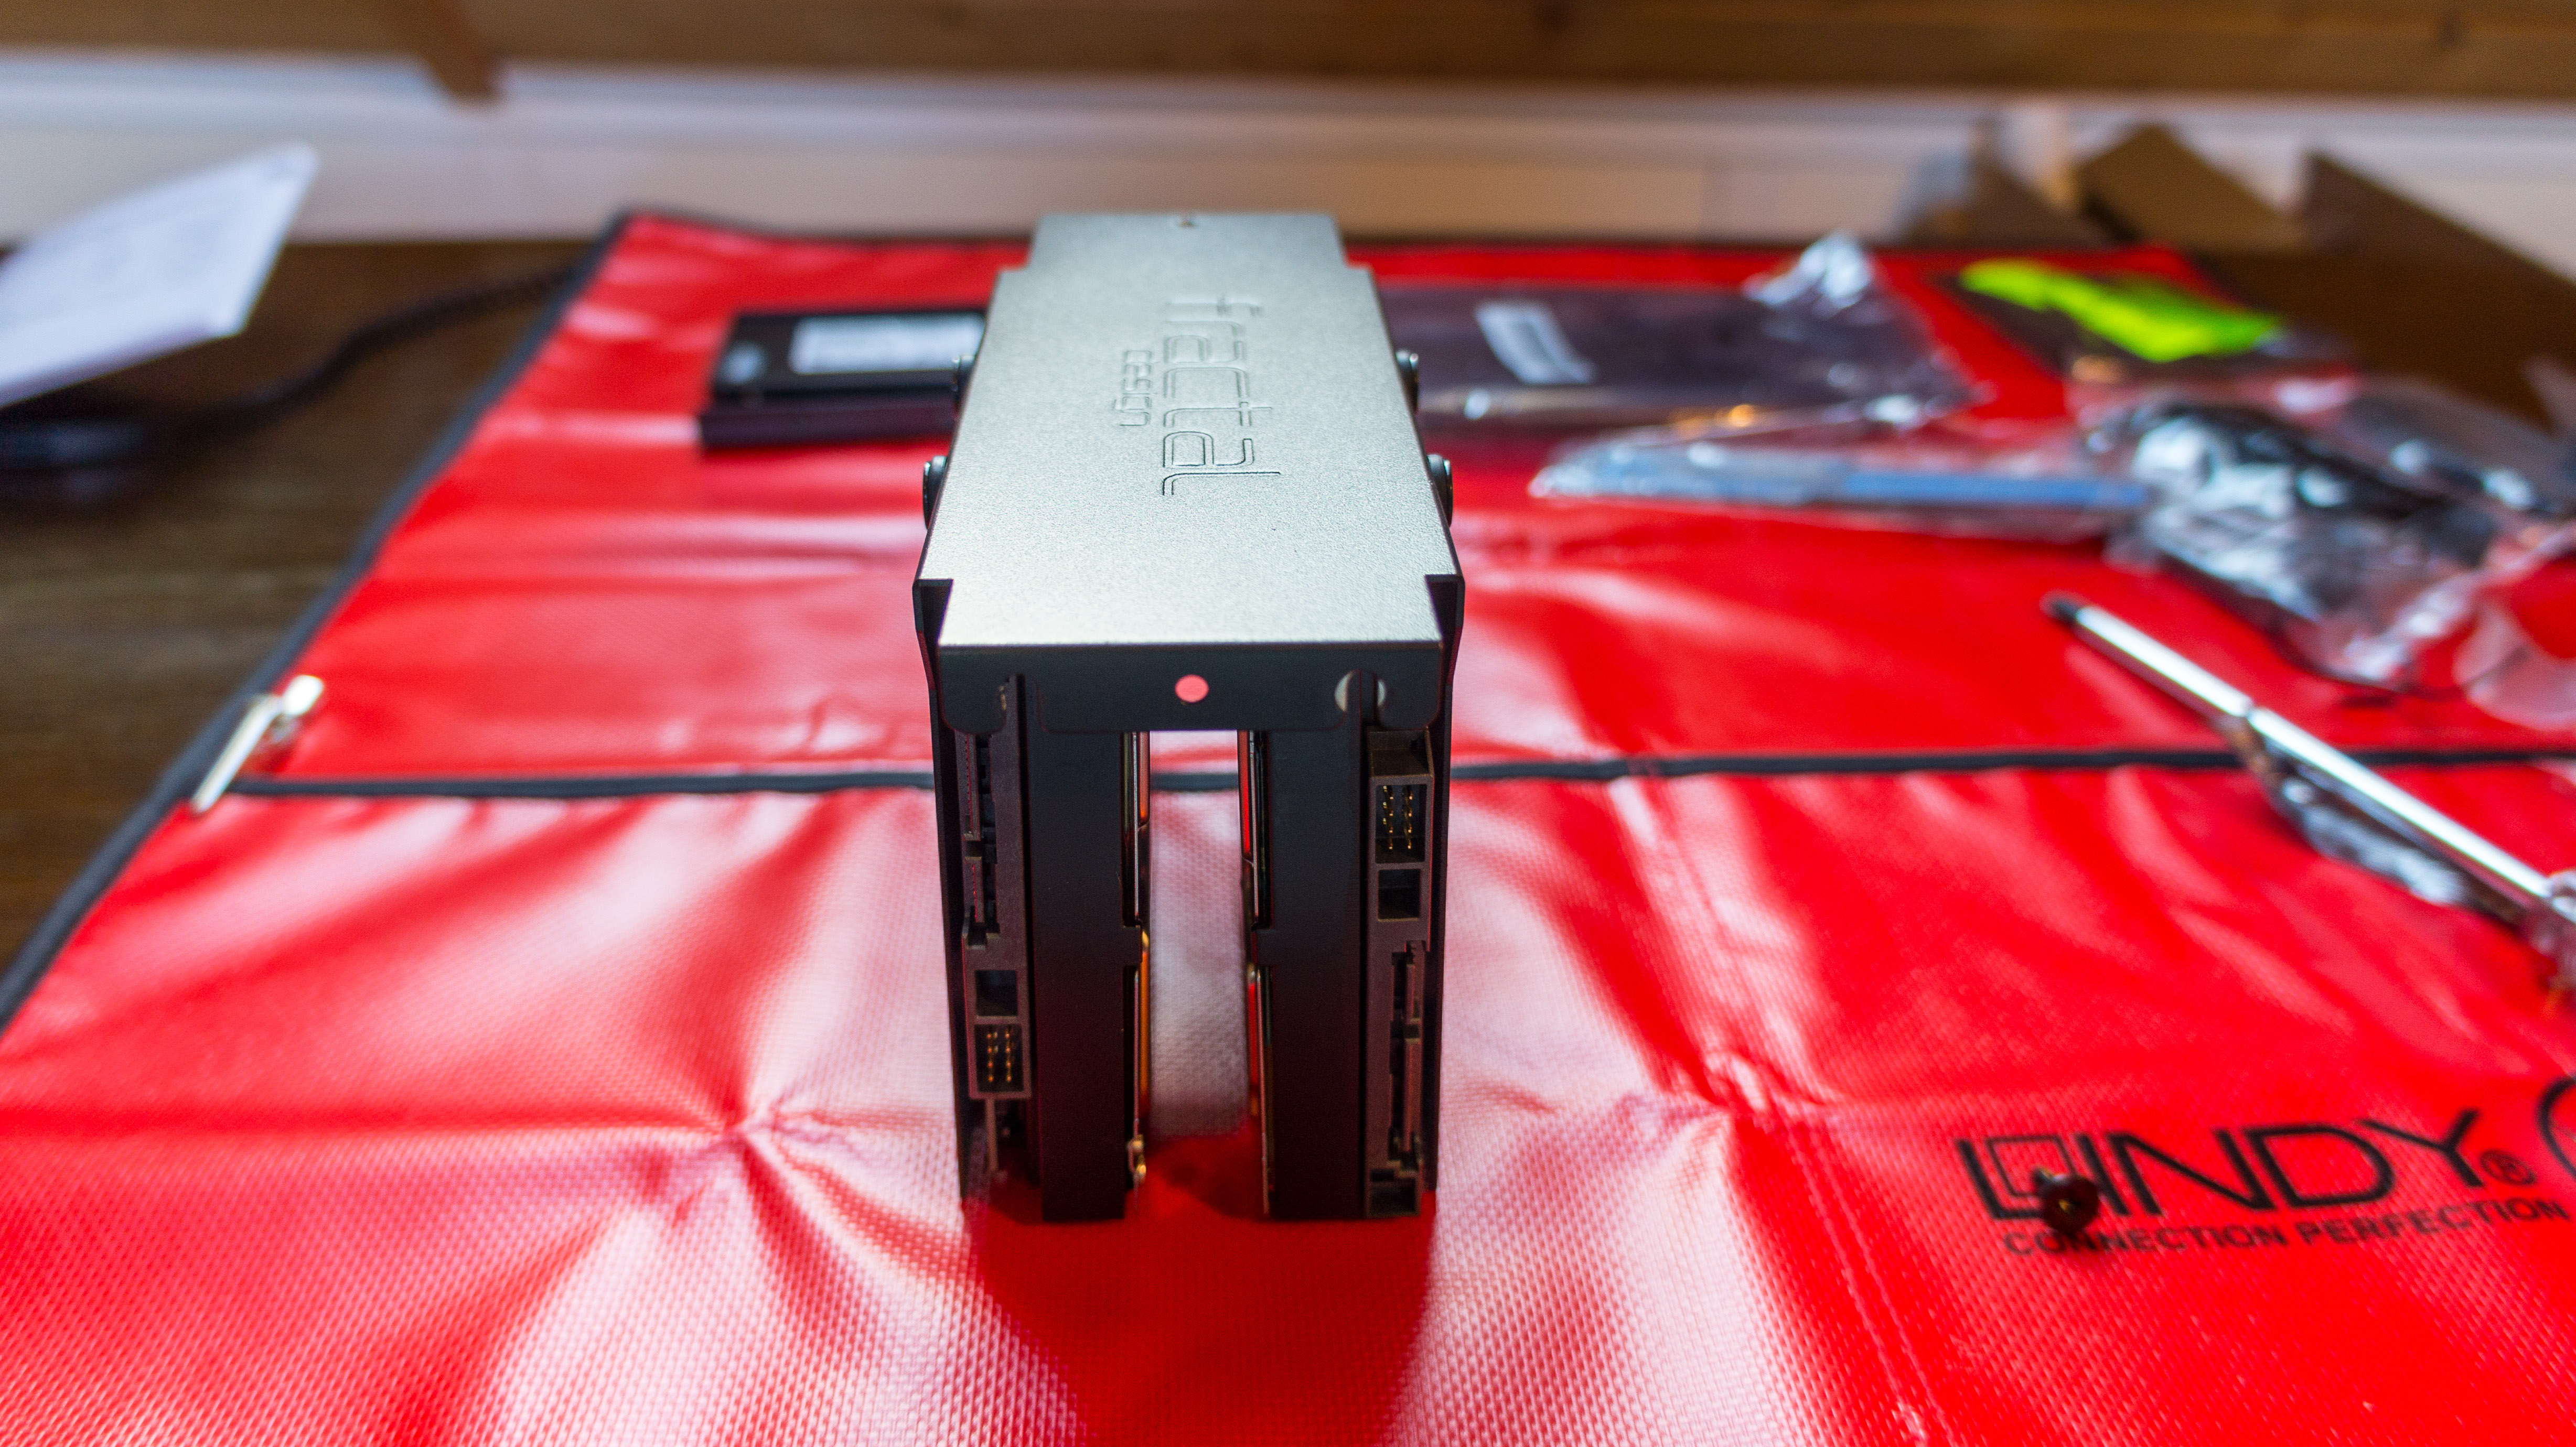
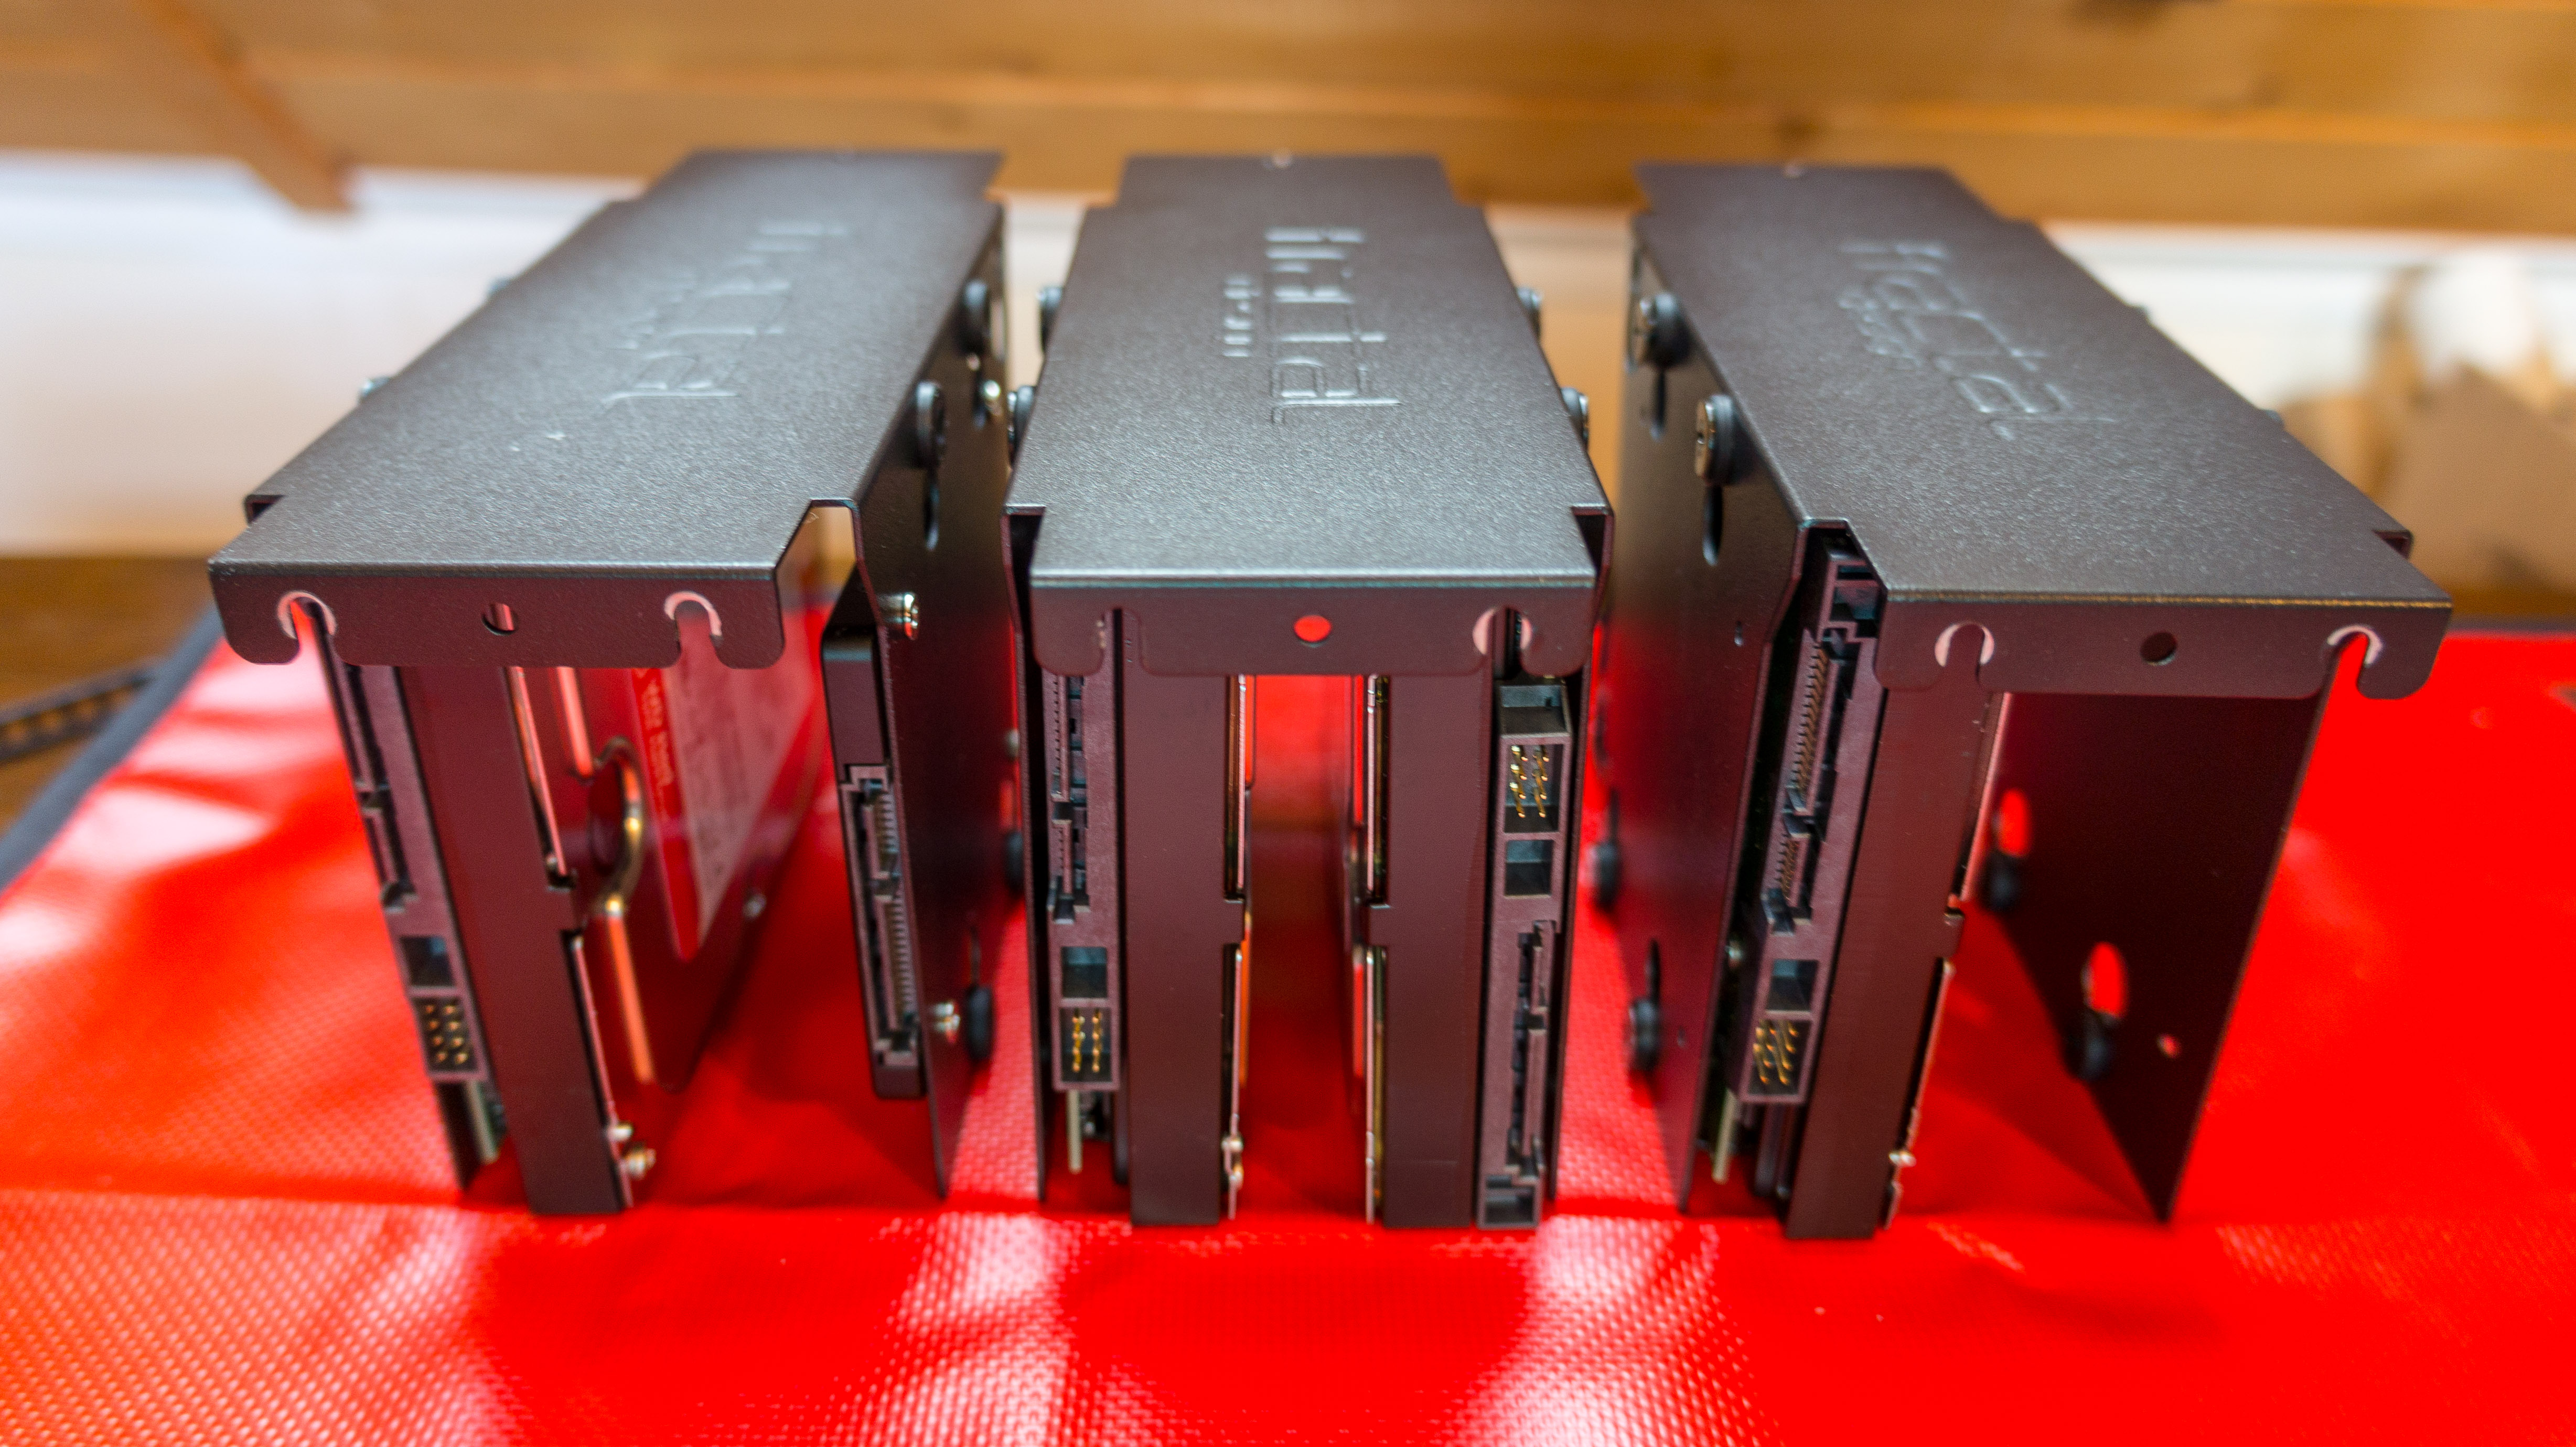
Hard Drive Assembly
Now the fun begins! Time to screw the HDDs on the designated spaces. If you don’t use the full 6 slots, make sure you leave some space between your drives to provide better airflow and overall cooling.
Neat!
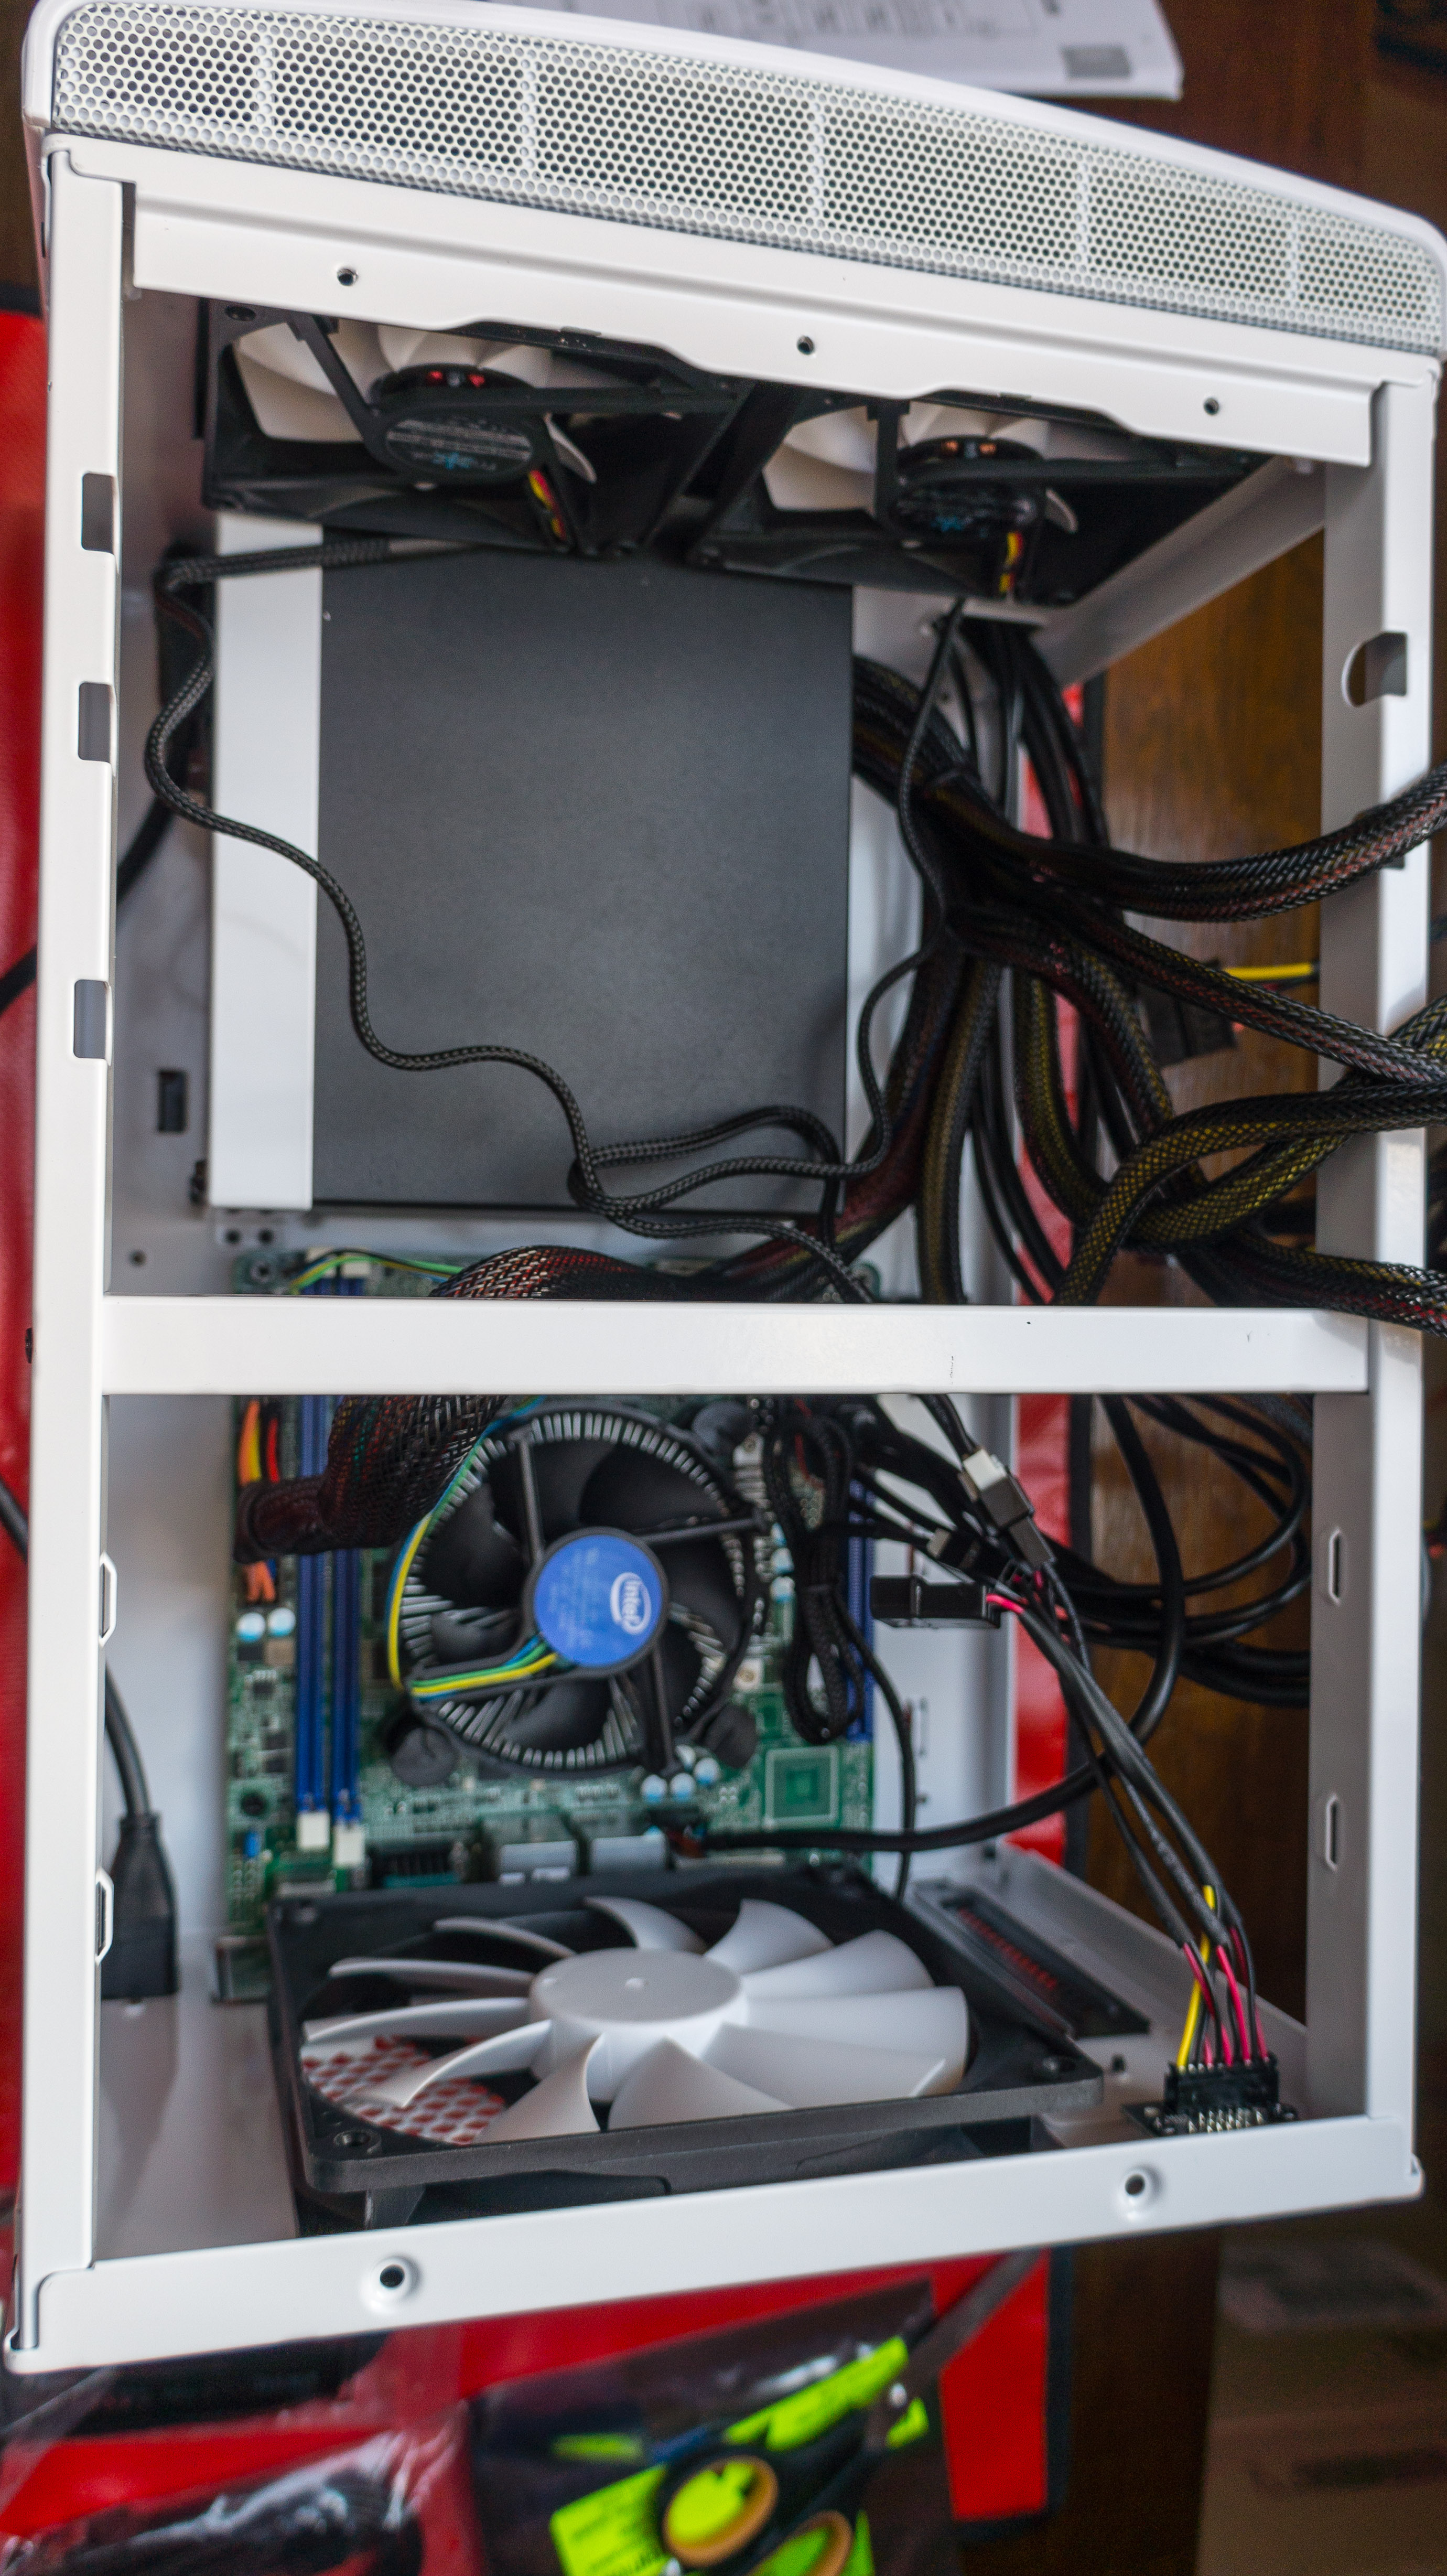
Finishing the Build
Now let’s put it all together. Side and top view.
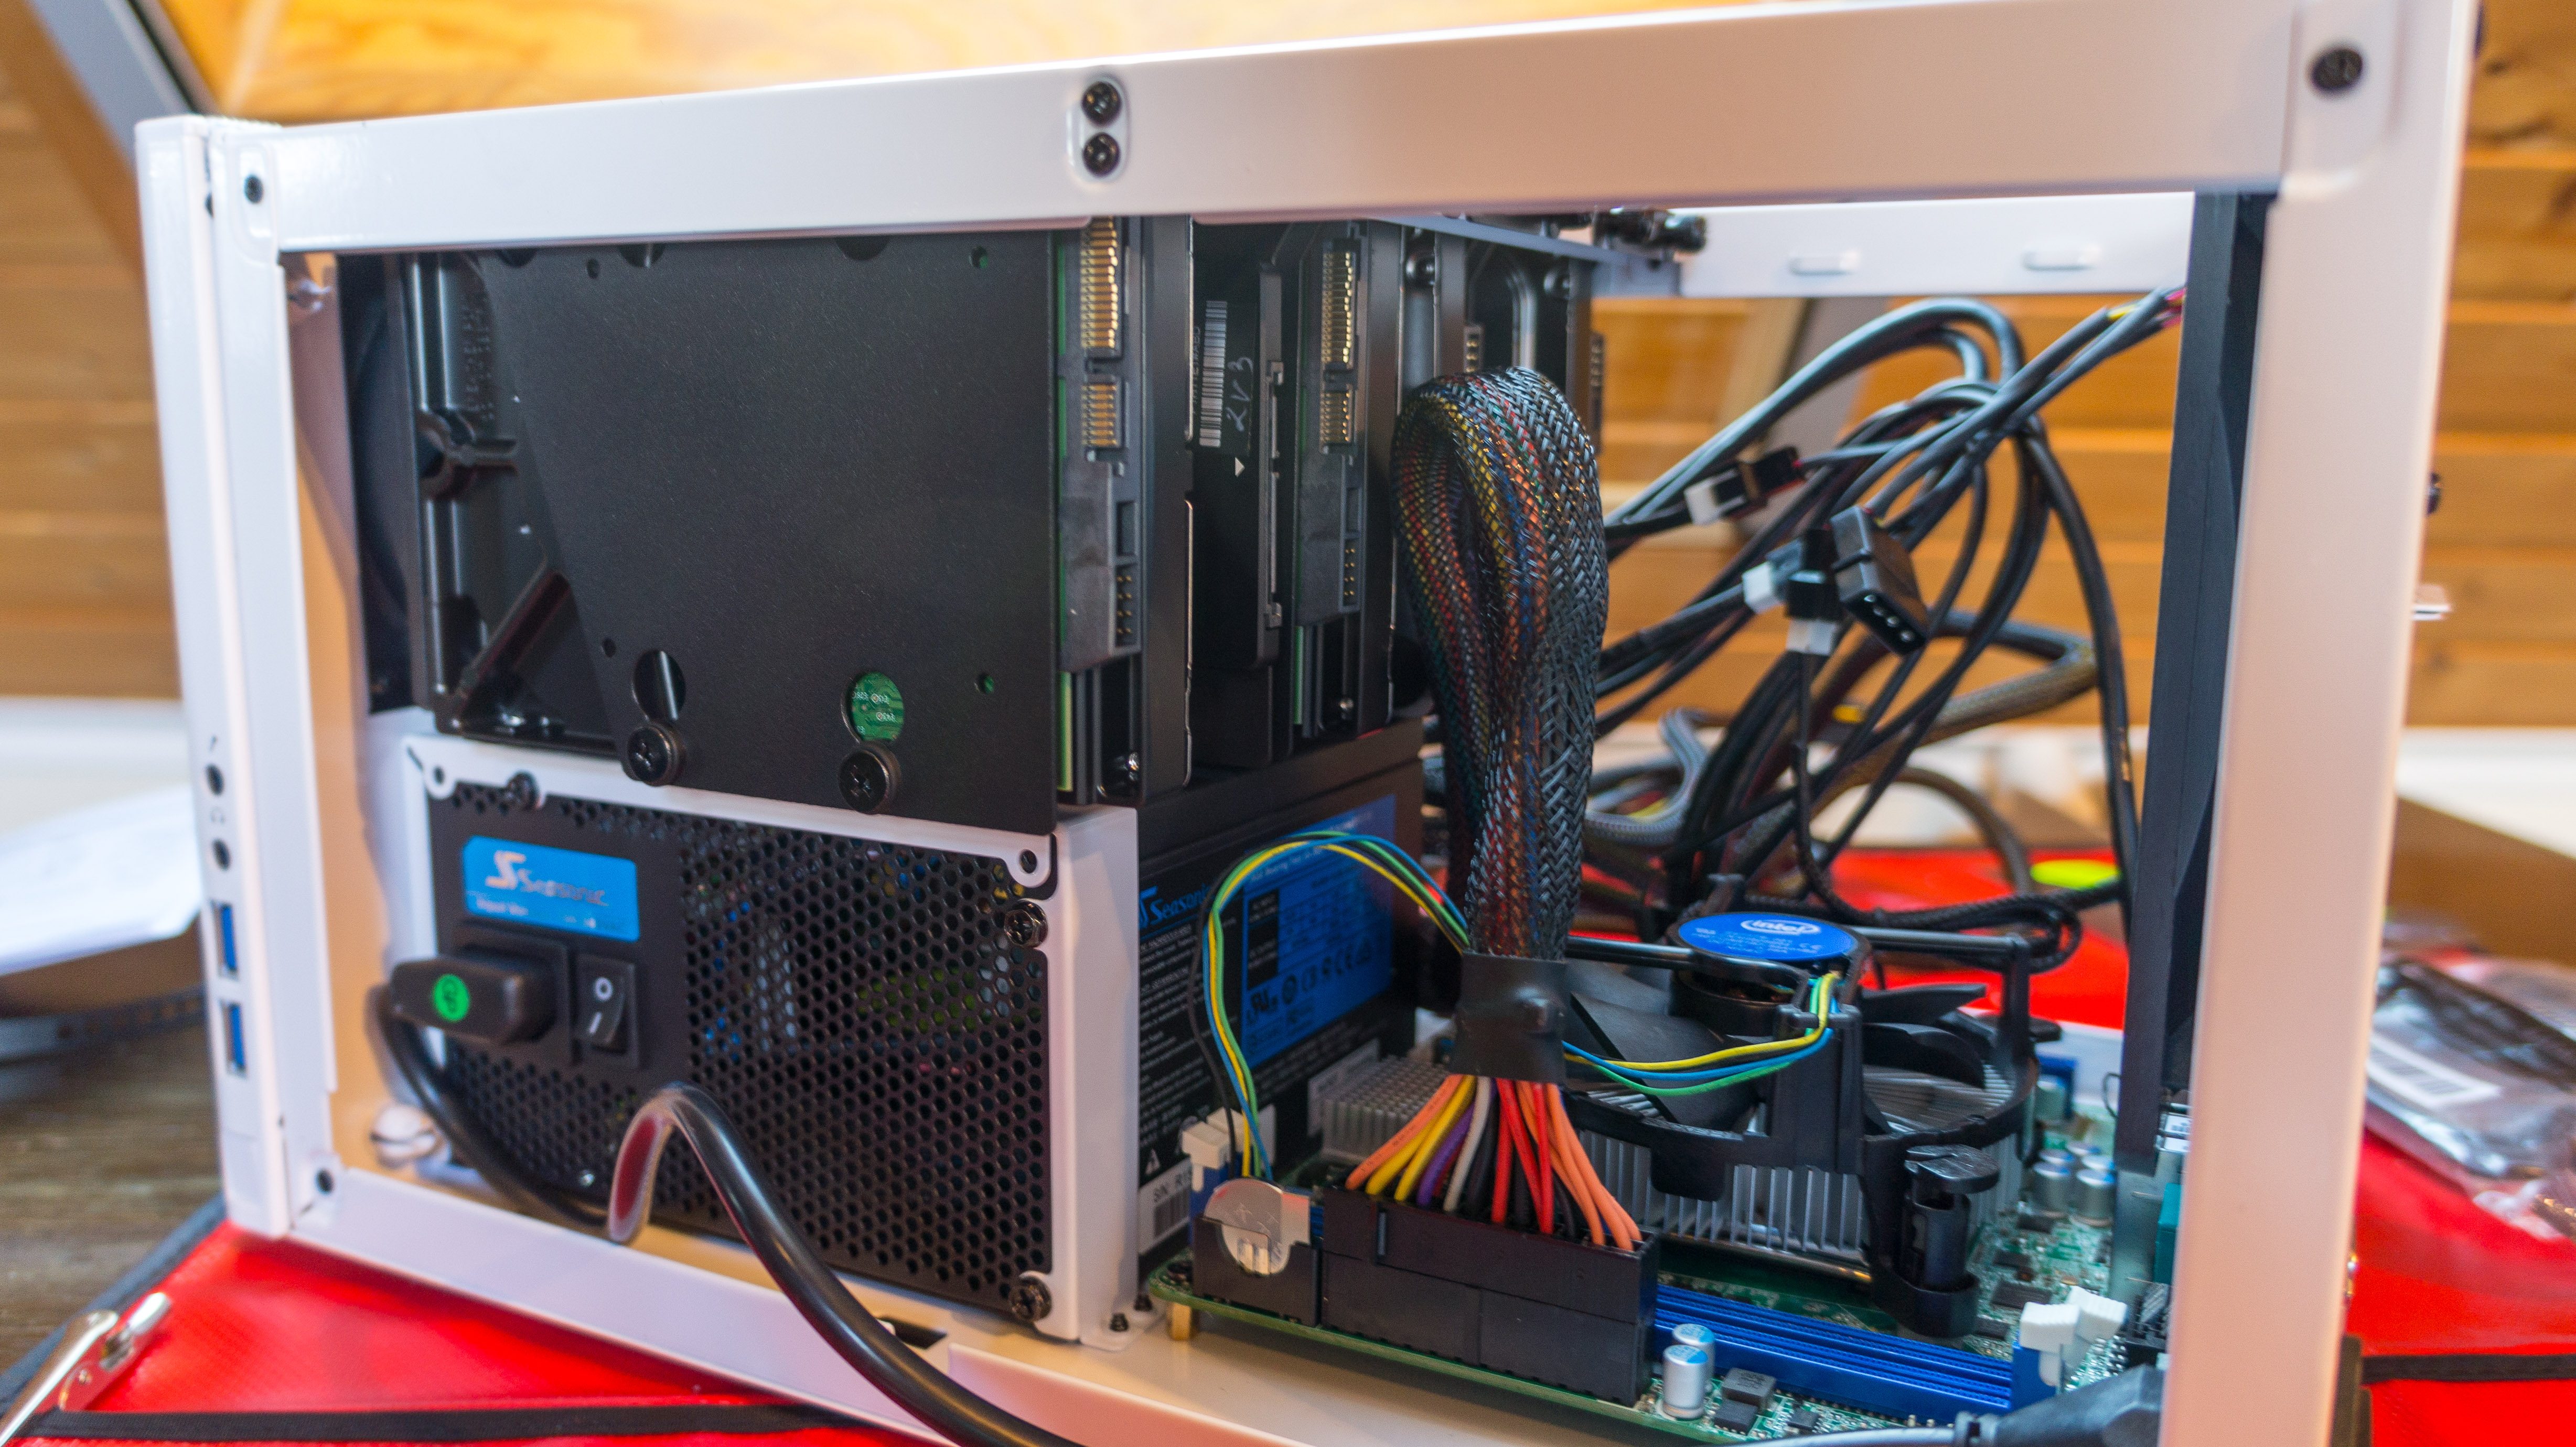
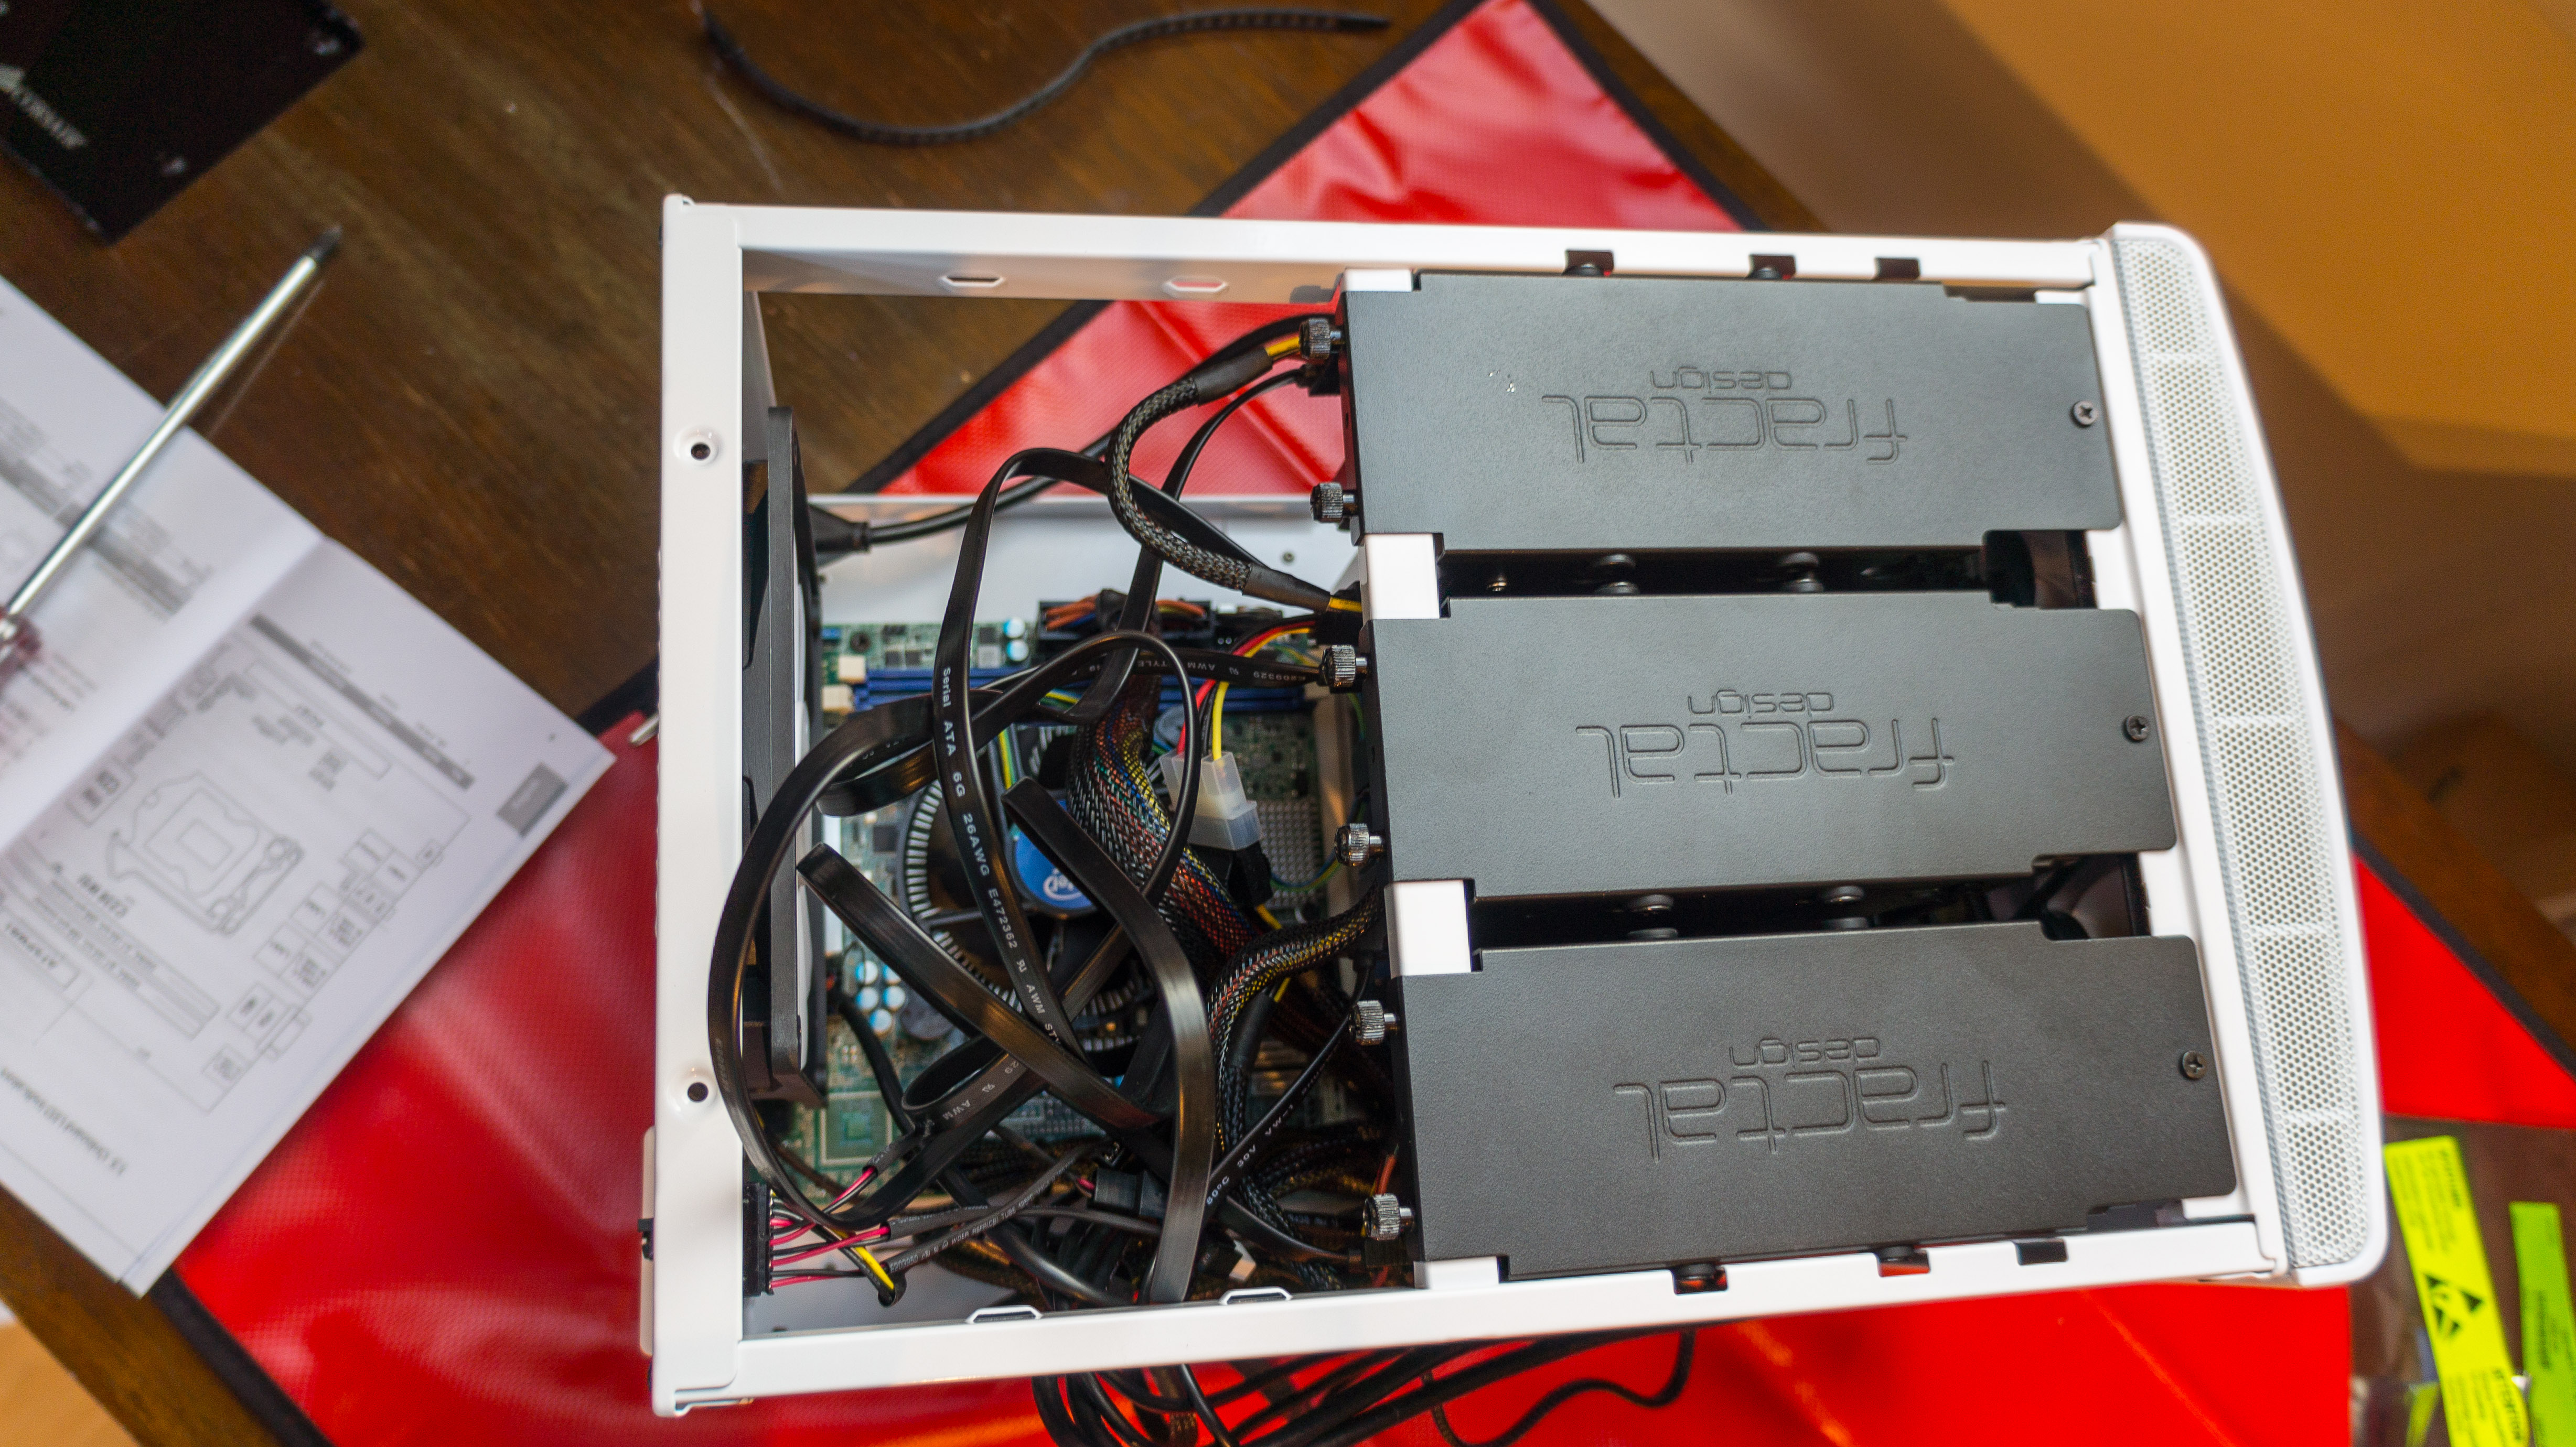
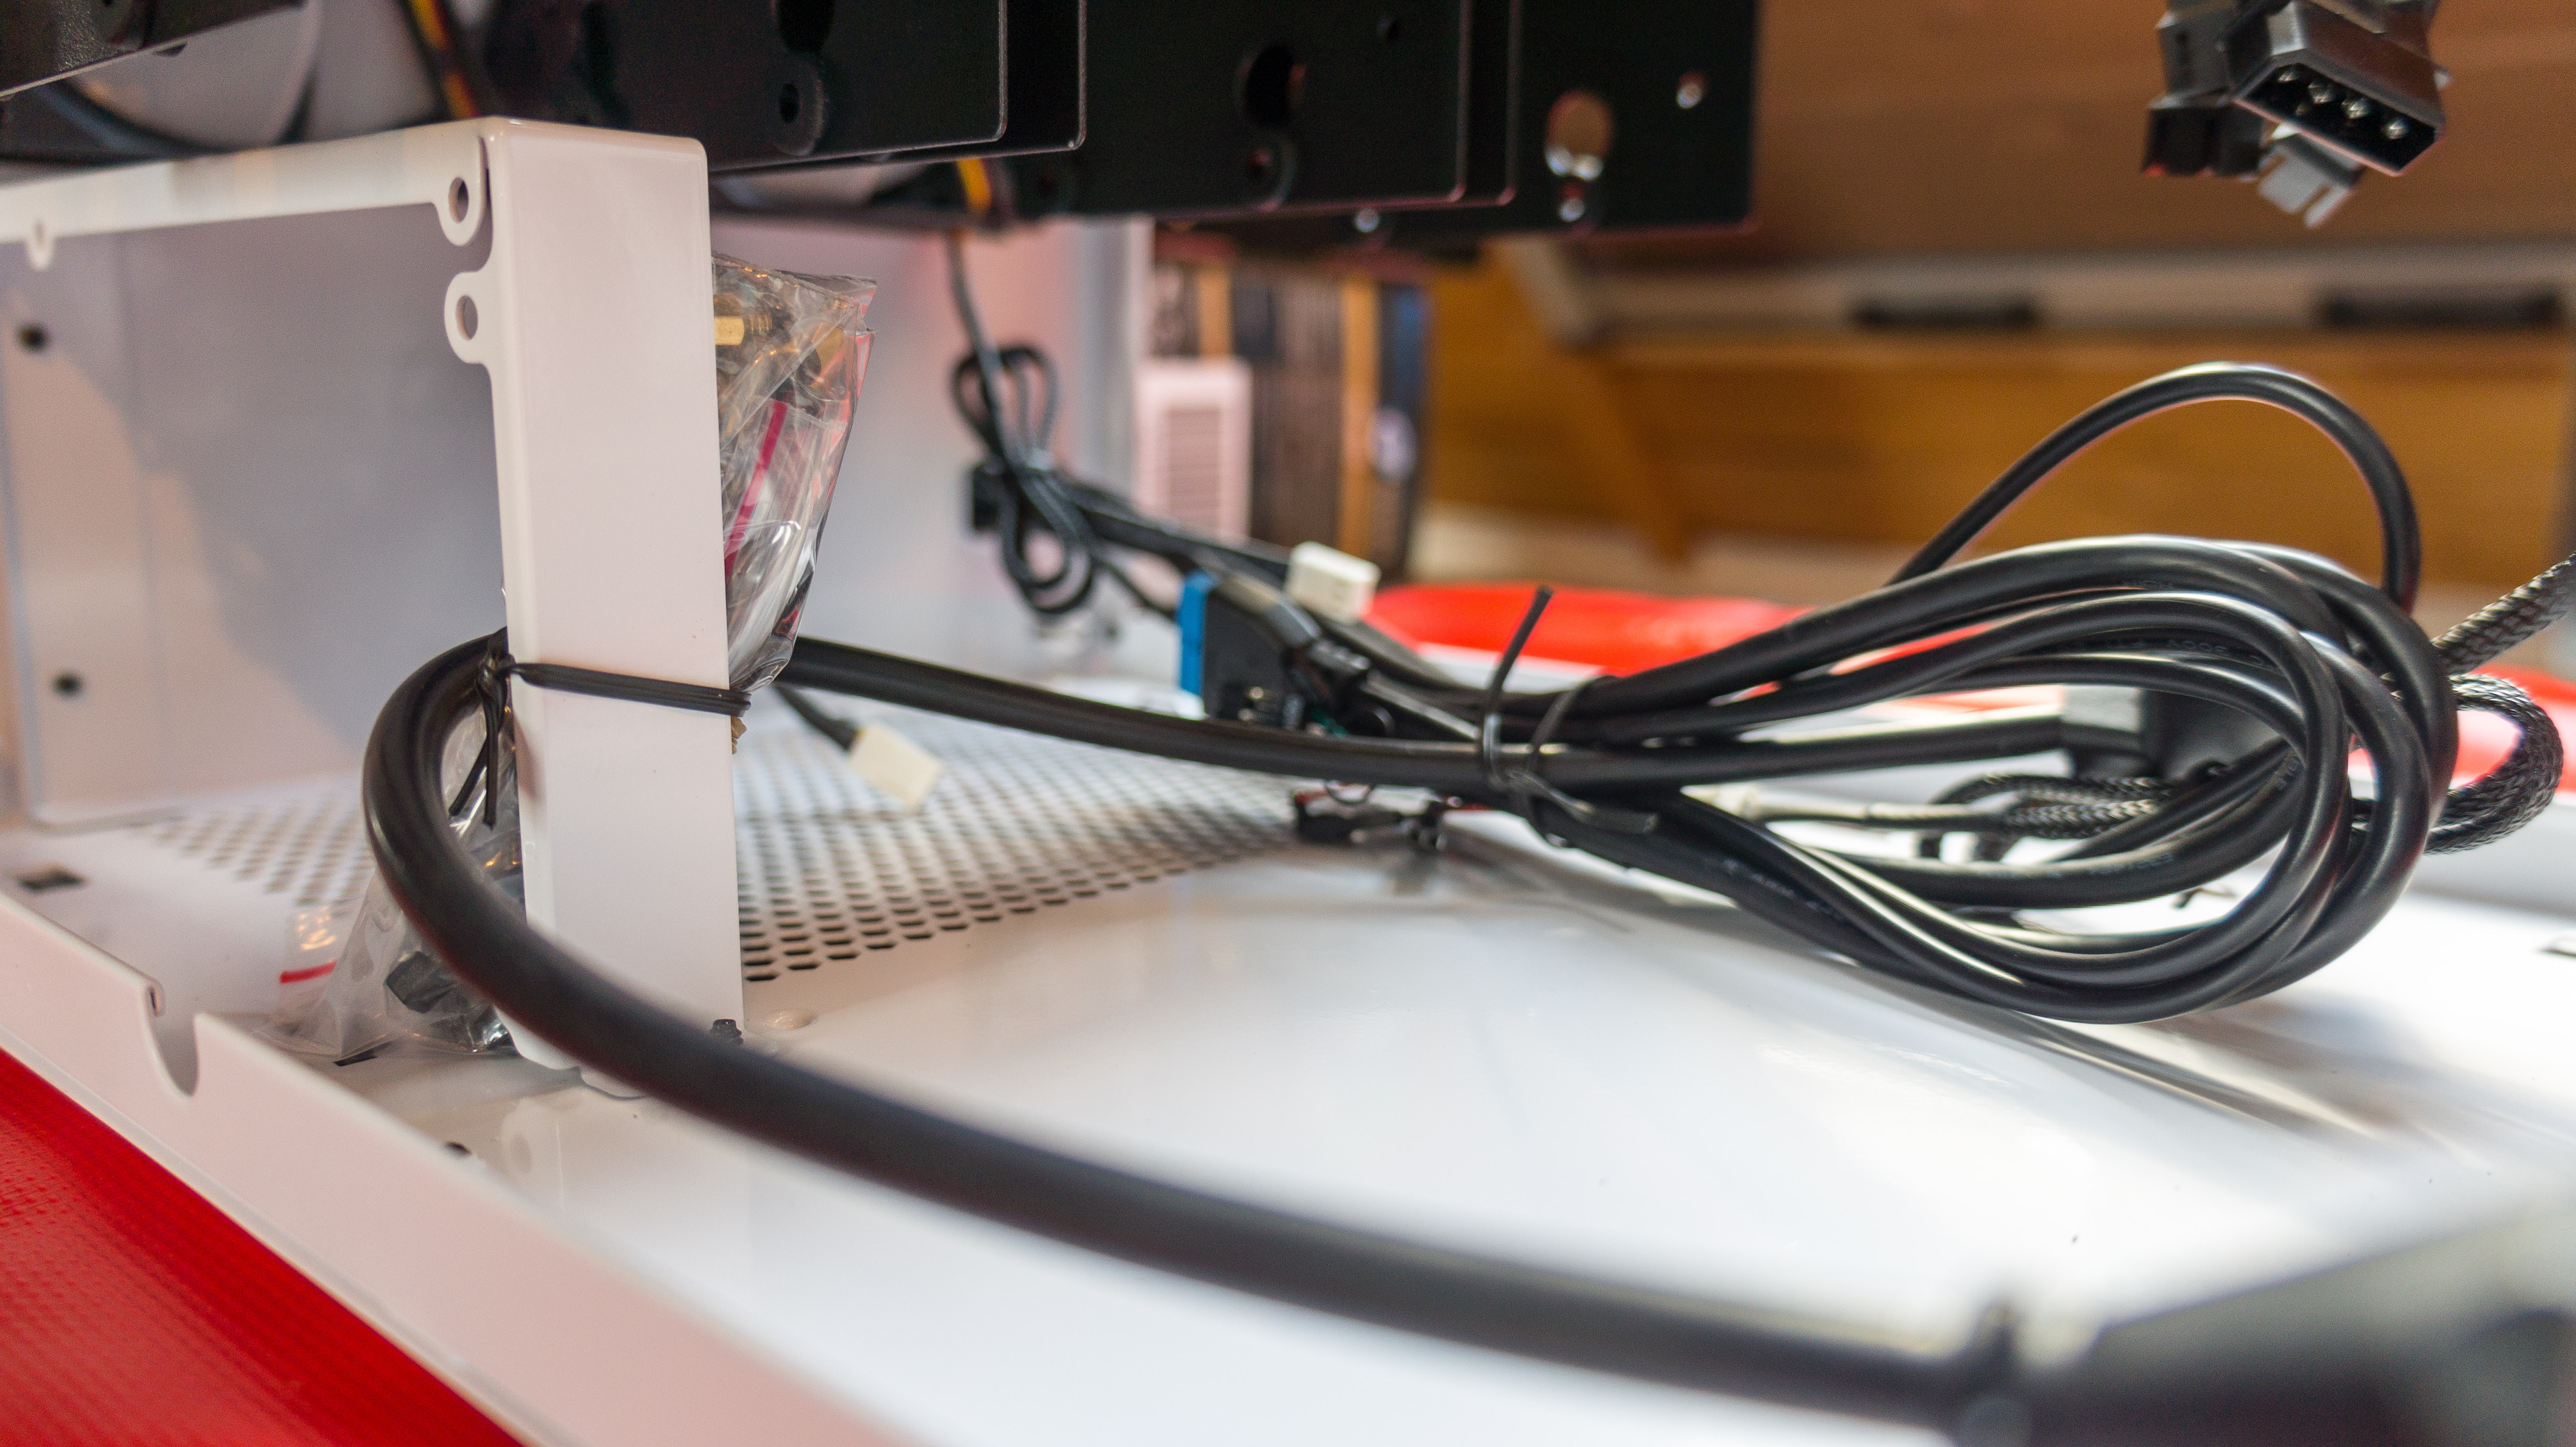
Hard to do a proper cabling job on that, I put my maximum effort into it, but there is simply not enough space 🙂
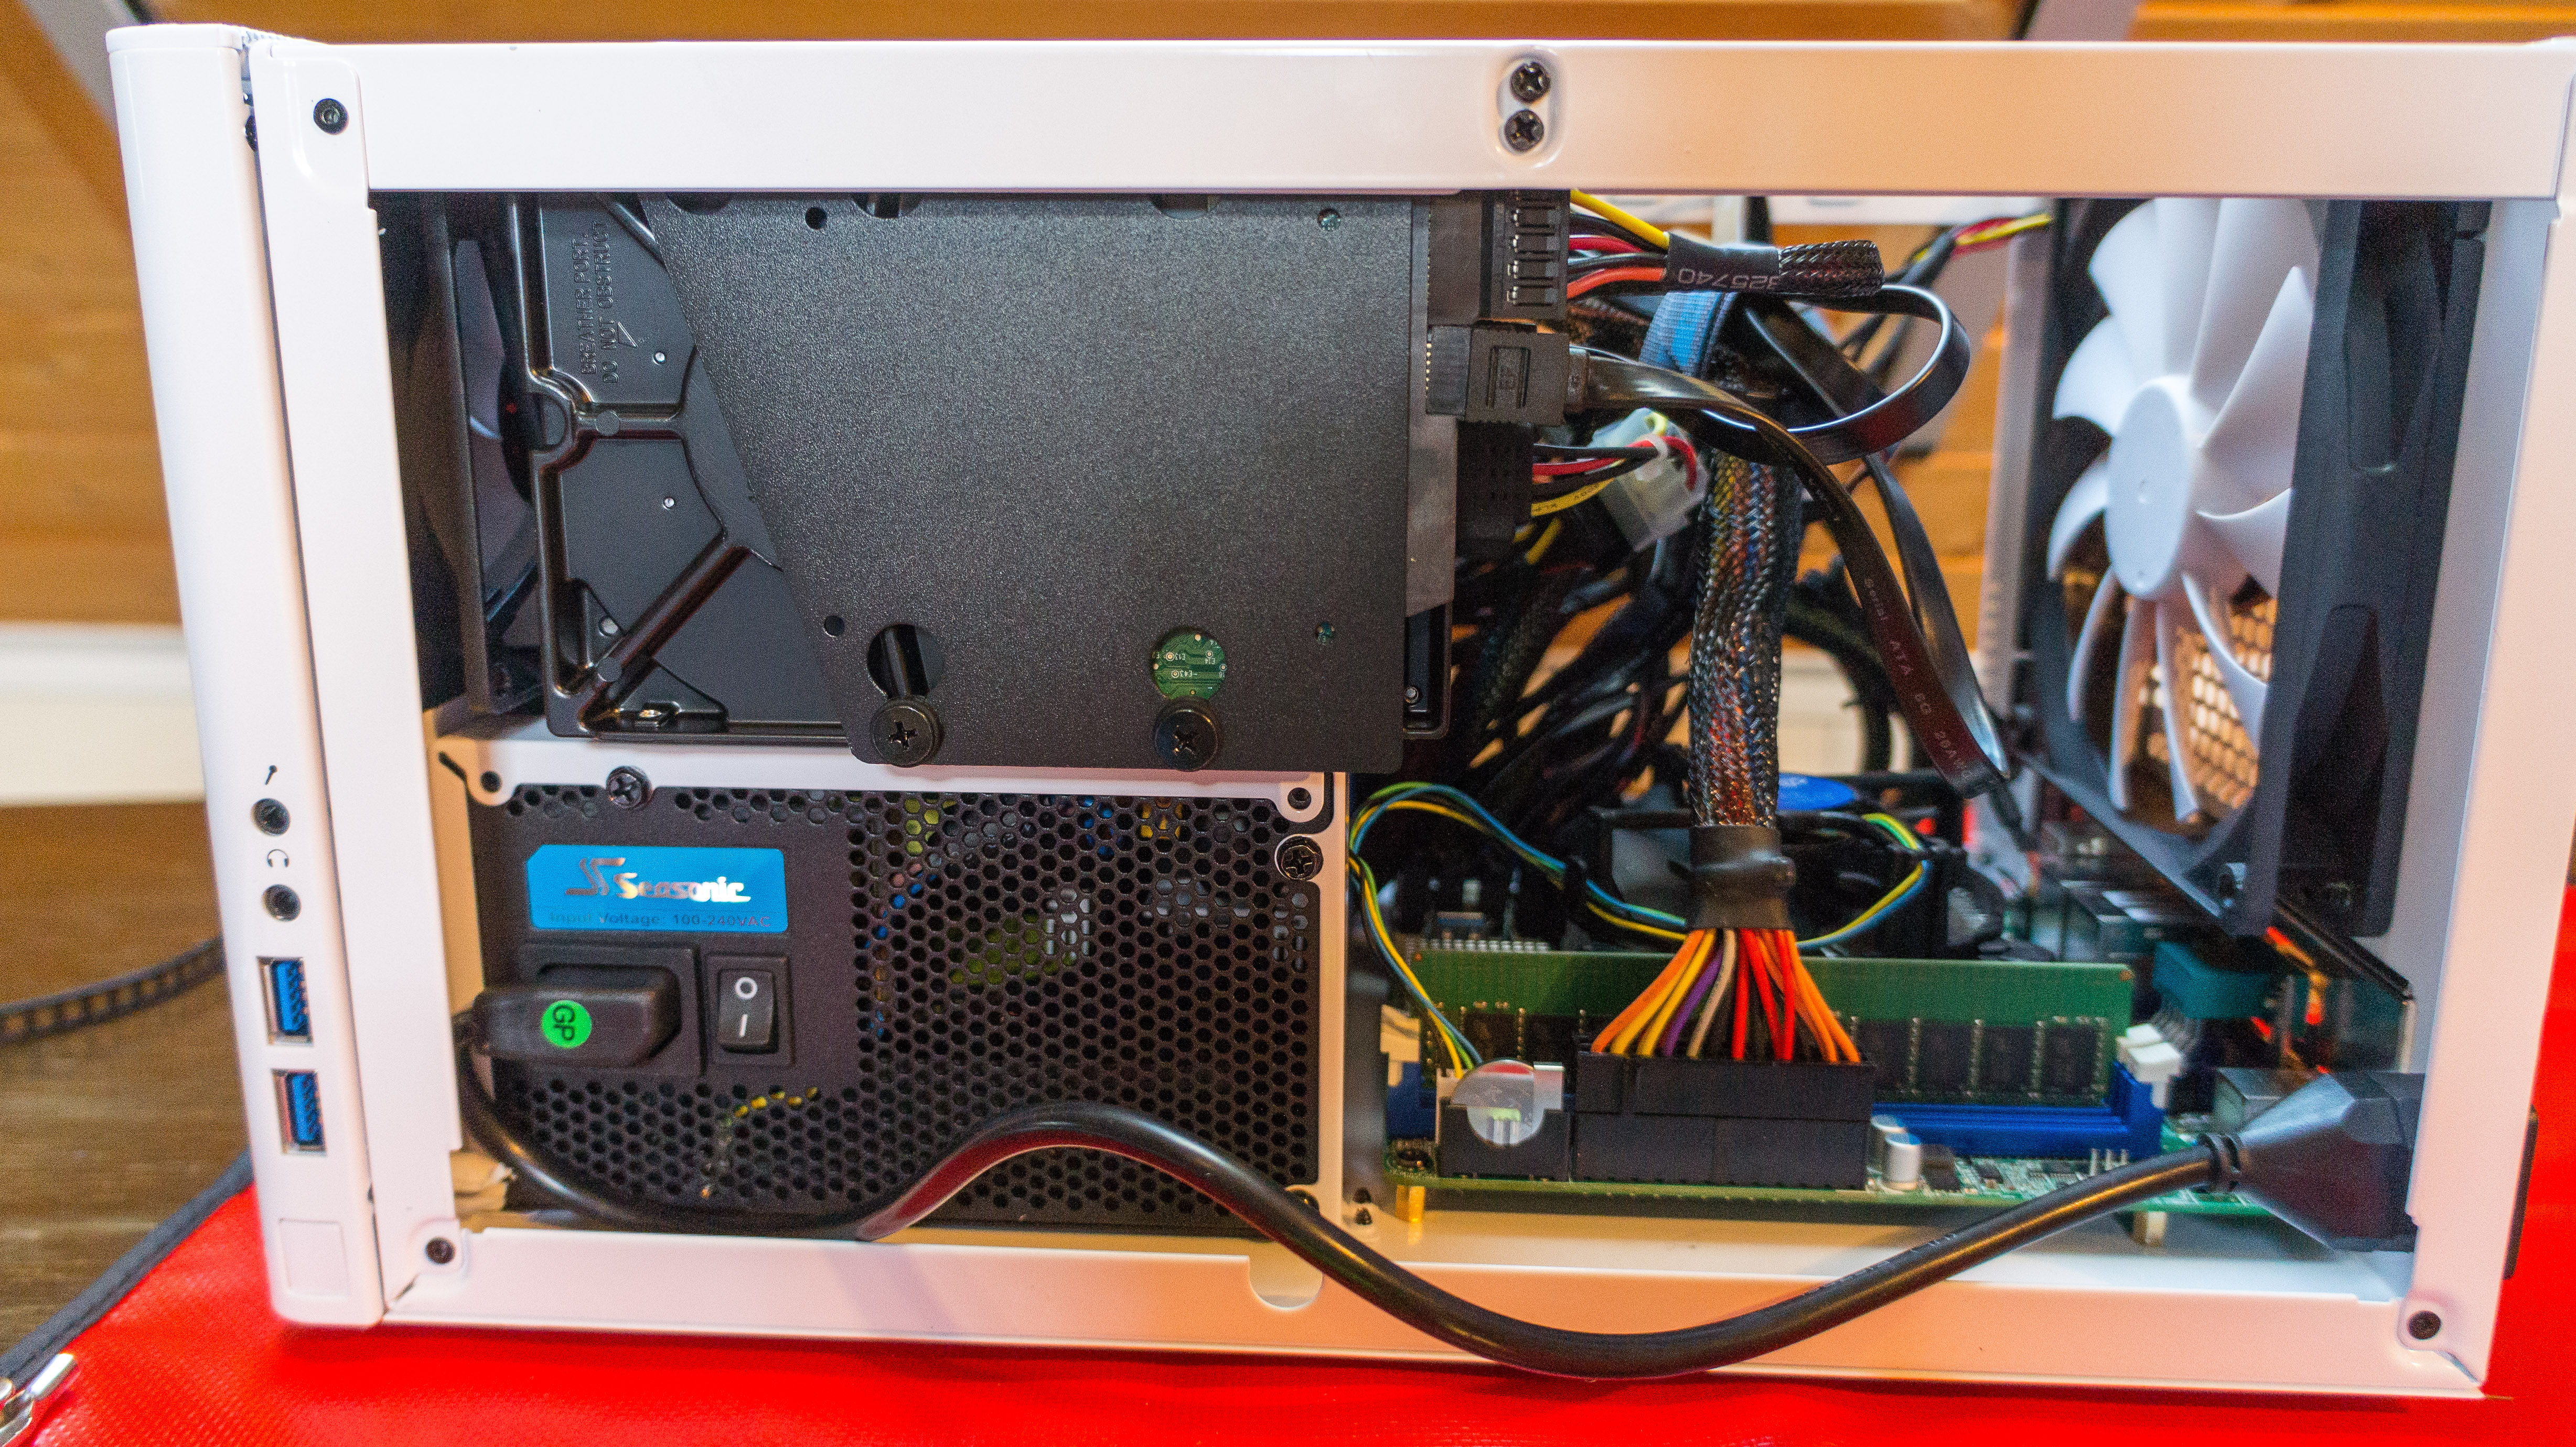

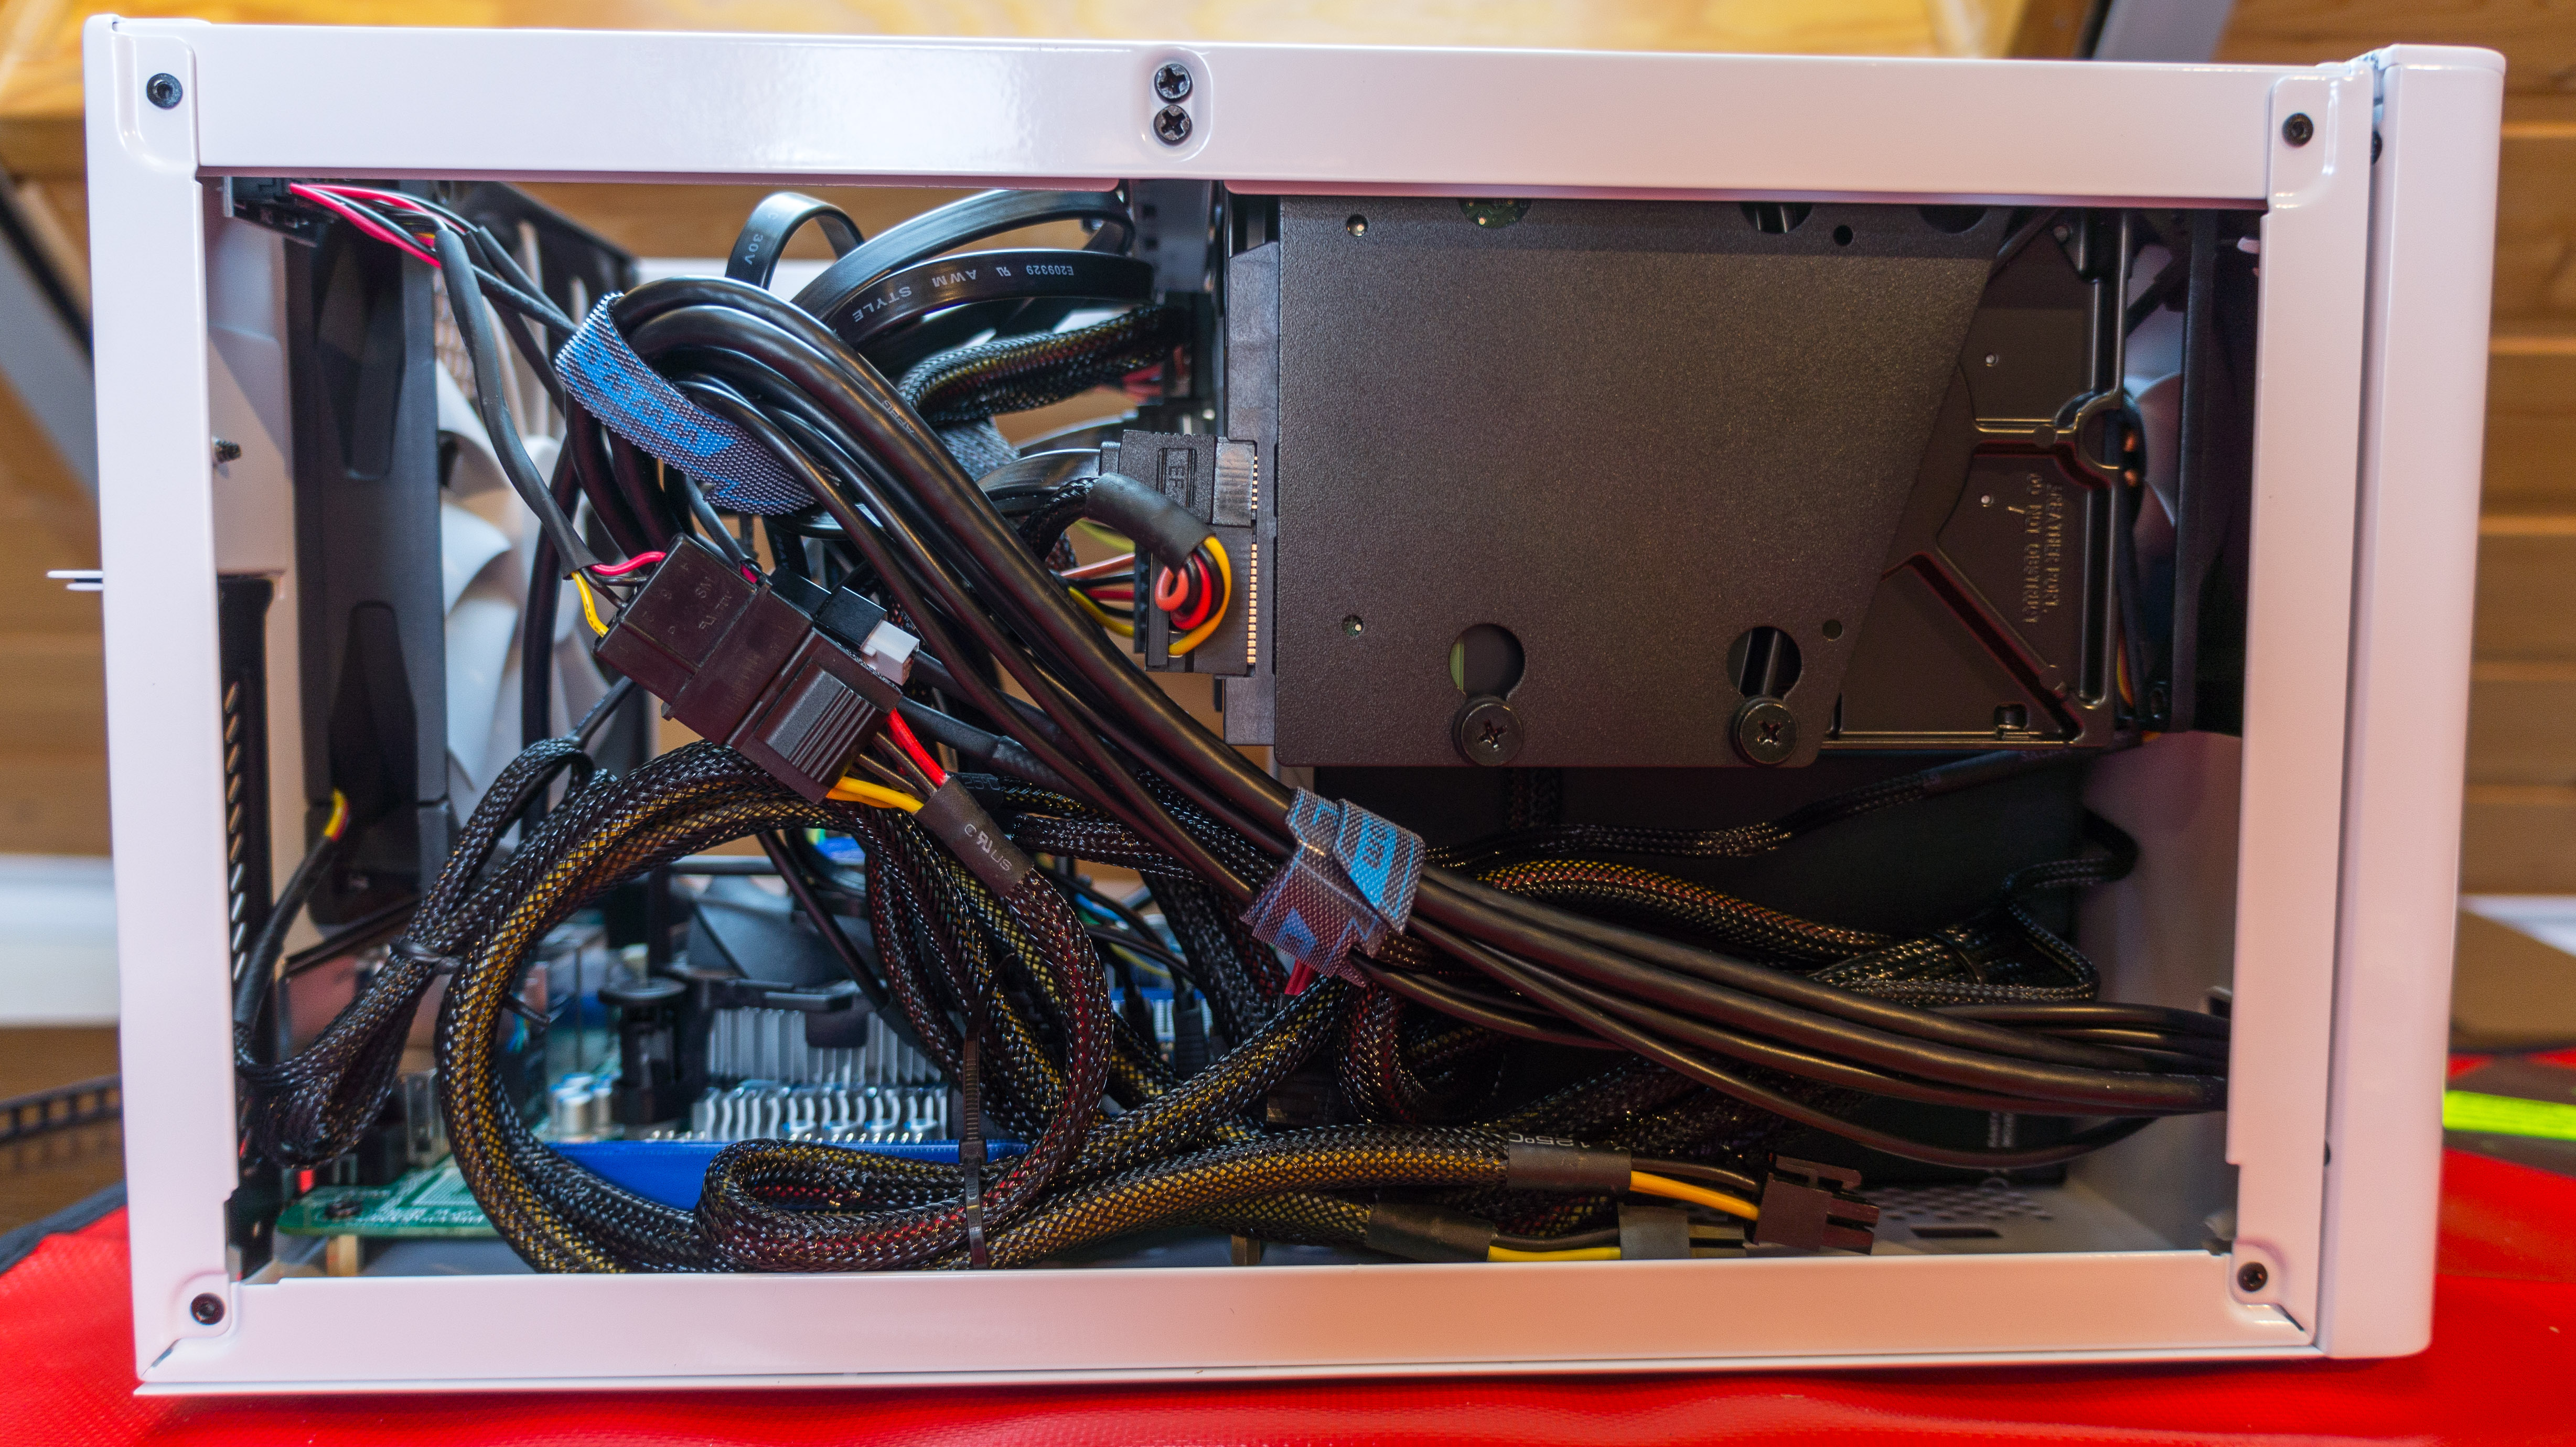
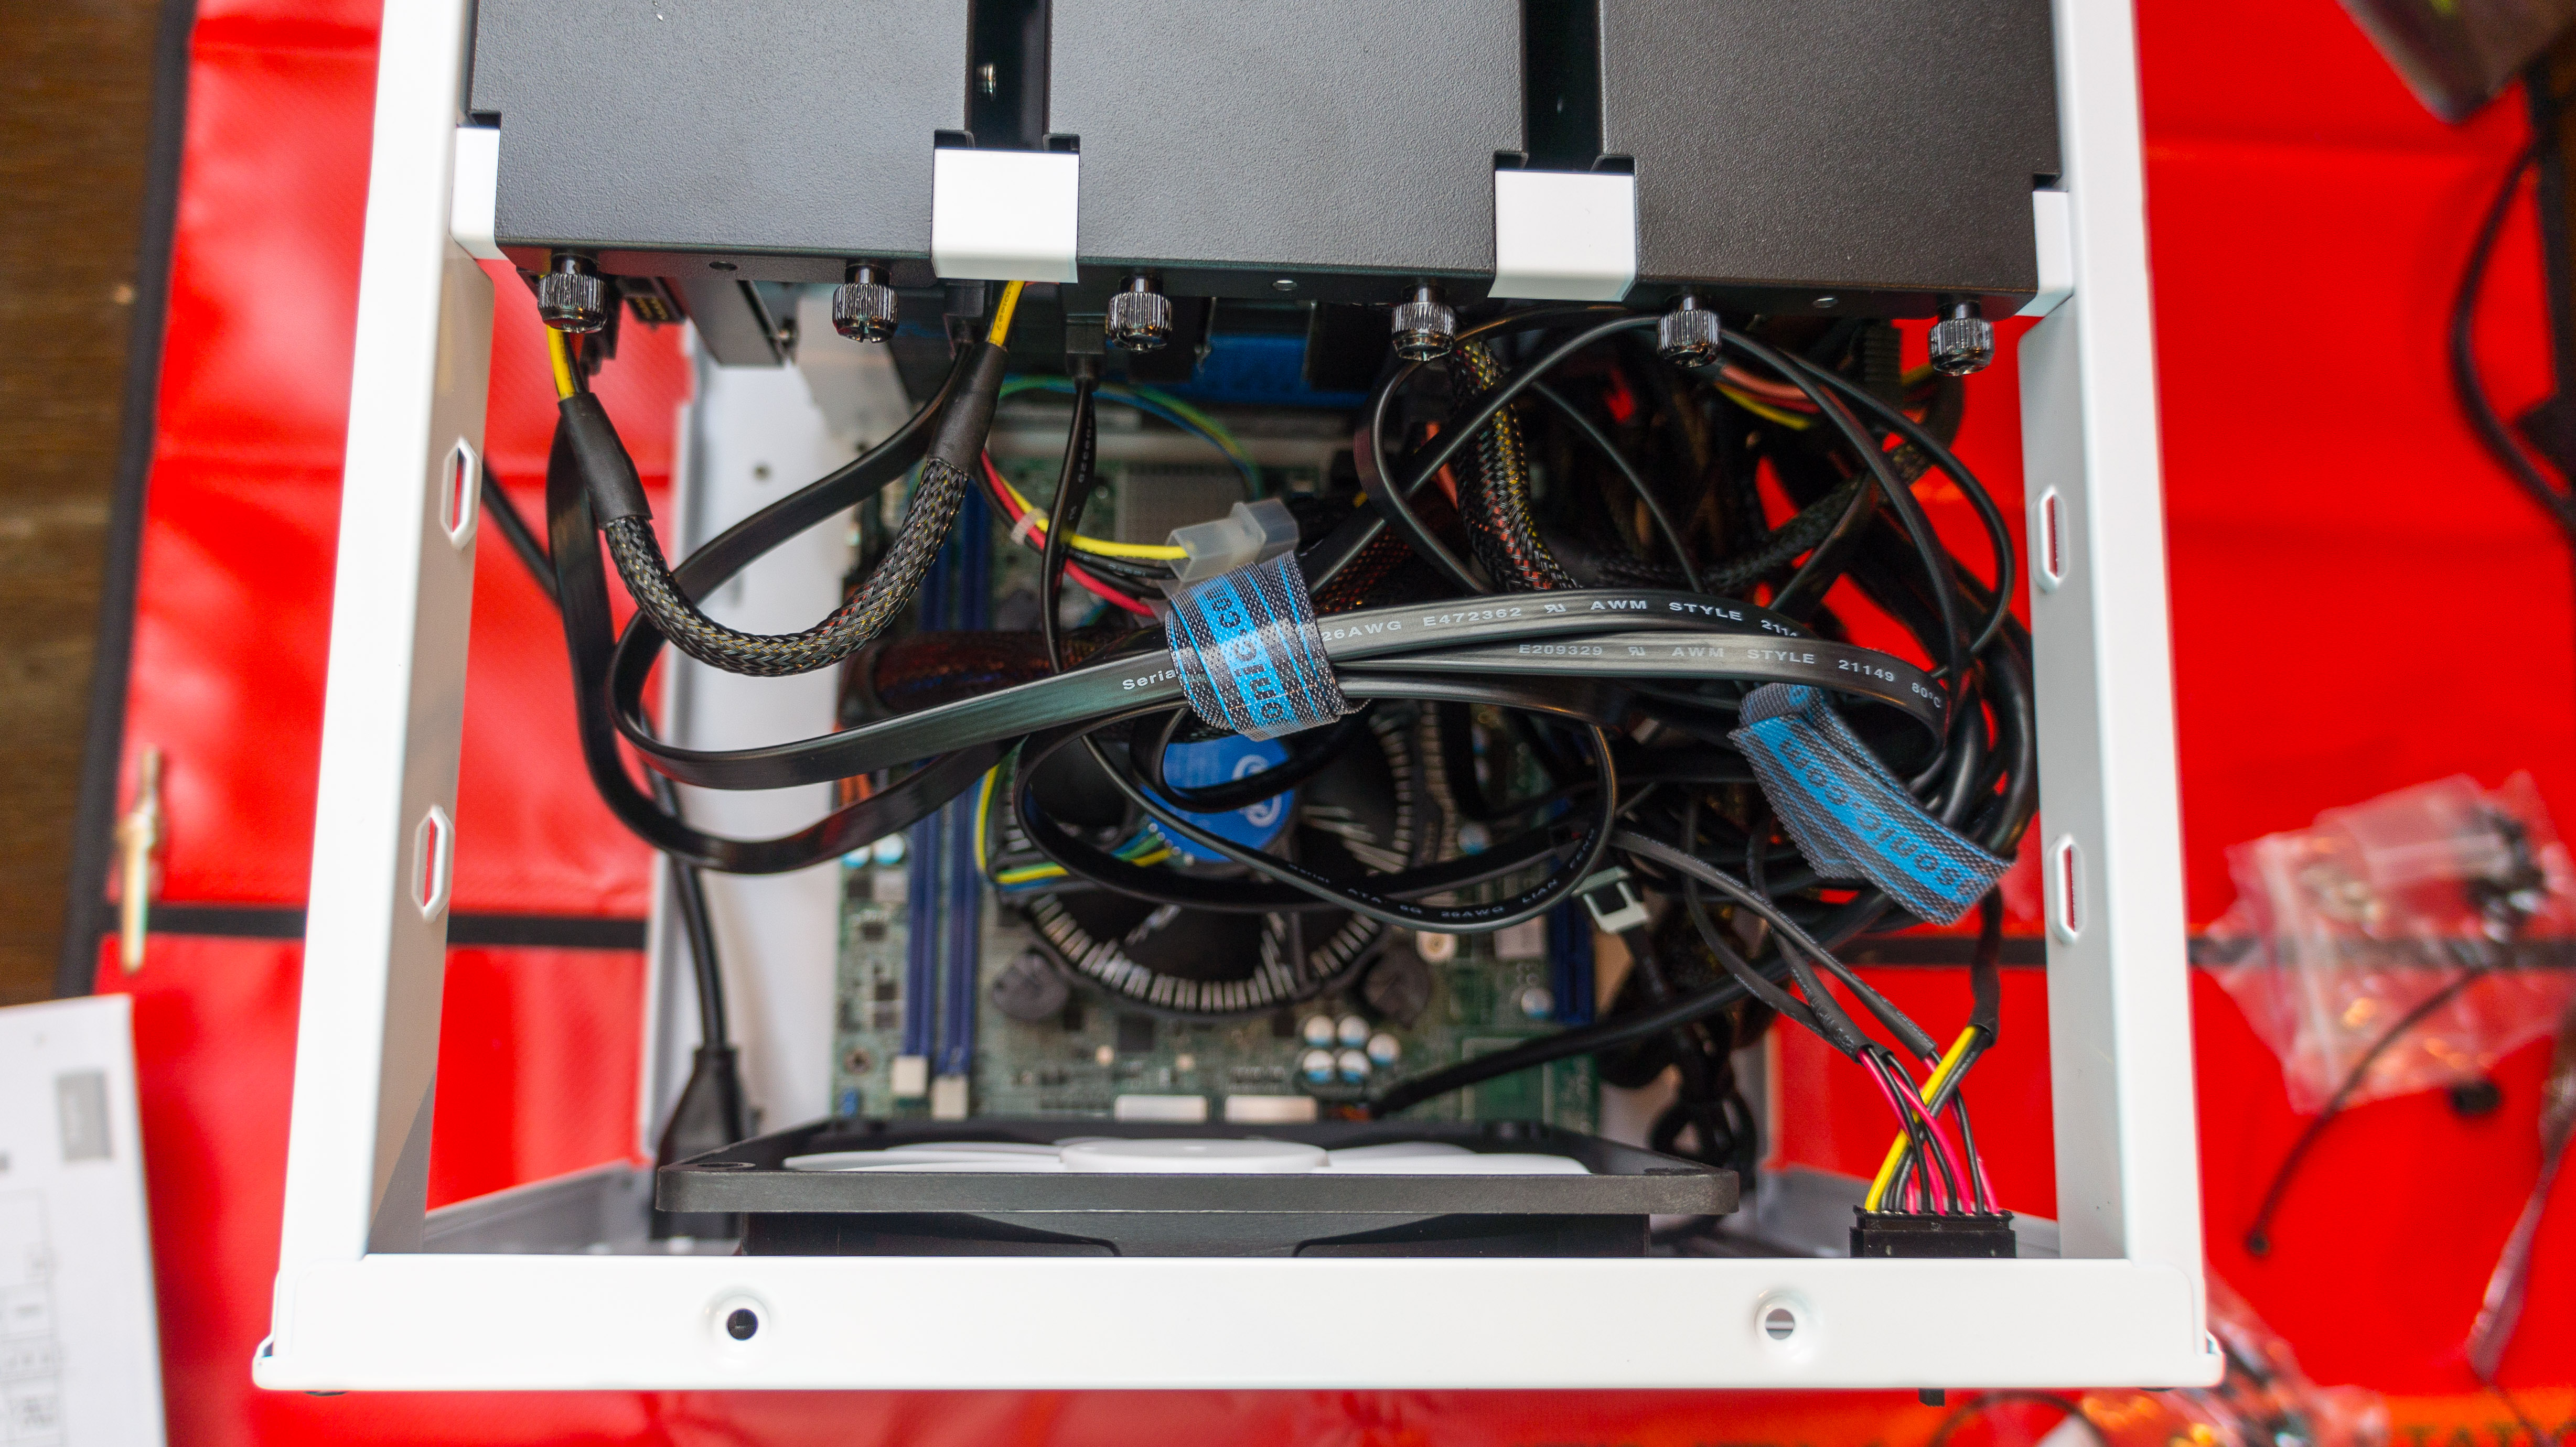
Still not too bad! After putting it all together and switching it on I proceeded to install Freenas.
What do I use my NAS for?
As of 2023, I mainly use my NAS as data storage for my work and my YouTube channel. I have been previously using it for running Plex Media Server, but since the rise of streaming services, that has been too much hassle to maintain for me.
DIY NAS Conclusion
This DIY NAS Freenas Server has been running continuously since 2016 without failing even once. I didn’t have to do any kind of maintenance apart from the occasional FreeNAS update.
I have been heavily using this NAS in the past 6 years for photography, lots and lots of video editing, and running a Plex Media Server on it. I usually only shut it down when I went on longer vacations; apart from that, it was always running.
I couldn’t be happier with the investment I made in the time and money of building my own DIY NAS Server. I can highly recommend it to anyone interested!
ℹ️ Related Articles
👉 My Popular DIY FreeNAS Build
👉 Use FreeNAS as an UniFi Controller
👉 FreeNAS Smart Tests & Scrubs
👉 How to install Plex Media Server on FreeNAS
👉 How to install FreeNAS
👉 How to create Windows Shares on FreeNAS
👉 Manually Update Plex Media Server on FreeNAS
👉 Upgrade FreeNAS to TrueNAS
I built mine on an HP Proliant DL-380eG8 server with 14 LFF bays. I have a dozen drives in the front that are the active ones. Six for Nextcloud, and six for Plex. They are hot swap drives and are used. I get them cheap ($50 for 3T) and using the built in RAIDZ2 of TrueNAS Core it provides adequate warning of a drive fail. I figure two or more failing at once is not happening. I can put a new drive in and resilver in a few hours. Cooling is great and power consumption isn’t a big issue. The system has 64G of ECC Ram and e5-2450L CPU’s with 32 threads… I really think this was an effective way to build. Total cost was $800USD. An occasional drive fail is a $50 replacement… and a few minutes of my time.
Hey Dave!
Thanks for sharing this. This sounds amazing. I didn’t go for an old server I had laying around because of power consumption.
Glad to hear your build is working well!
Hello! I am quite new to this side of the world of tech, and ran into your website by chance. I absolutely love the content you have here, and would love to know more/get a tutorial about setting this up. Keep up the awesome work!!!
Hello Joseph,
sorry for the late reply! Thank you very much for that! 🙂