Up until now, I was running FOG Server inside of a Virtual Machine in VirtualBox. This worked well and still does, but having a VM on a local computer is not really the way I want it to be. Because I rely heavily on AWS with my infrastructure, it was finally time to migrate the local VM to AWS. I first thought I would run into a lot of issues, as I have struggled with the initial installation of FOG back when I first tried it. Gladly, that was not the case at all. The process is very straightforward and easy to do. I will show you how to install FOG on Ubuntu 18.04 on AWS EC2.
Enough of the introduction; let’s get our hands dirty with some good old honest terminal work!
I assume you know the following:
- How to create an EC2 instance
- How to connect to it
If you are not able to do this, do another Tutorial first!
Table of Contents
- Part 1 – Creating a EC2 Instance
- Part 2 – Updating the Server and downloading FOG
- Part 3 – Install FOG on Ubuntu 18.04 on AWS EC2
- Part 4 – Final Steps
- Part 5 – OPTIONAL – Only for pfSense Users
Part 1 – Creating a EC2 Instance
This is pretty straight-forward and you should know how to do this already. I recommend the following:
- Image: Ubuntu Server 18.04
- Instance Type:
- If you are still in the 12 Months Free-Tier period: t2.micro
- If not: t3.micro
- Hard Drive: 50GB (You could go for less depending on the size of your FOG Images)
I tried running FOG on t2.nano at first but with 0,5GB Ram it’s impossible. MySQL will crash and it won’t work. For the Hard Drive sizing, this highly depends on your use-case. I only have one single ~17GB Windows 10 Image, so 50GB is plenty of headroom for me.
You can always increase your Hard Drive space, later on, so rather choose for something lower and upgrade once you reach its limit.
Part 2 – Updating the Server and downloading FOG
Once your instance is created, connect to it via SSH or PuTTy. First the usual:
sudo apt-get update -y && sudo apt-get upgrade -yCode language: JavaScript (javascript)If you get asked if you want to install a newer version of GRUB, either choose to keep the local version installed or install the newer version. If you install the newer version make sure to choose the correct location for GRUB (usually the first Hard Disk in the selection menu).

Next, we are going to clone the newest version of FOG Server from their repository. The git clone link will automatically download the latest version for you.
sudo -i
cd /opt/
git clone https://github.com/fogproject/fogproject.git fog_stable/Code language: PHP (php)
Right after that we can go ahead and start the installer:
cd fog_stable/bin/
./installfog.sh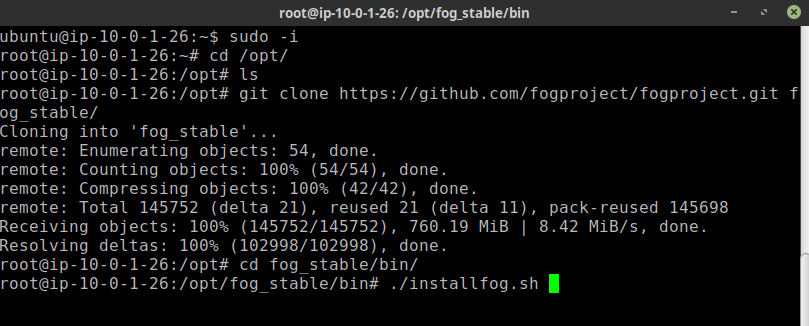
Part 3 – Install FOG on Ubuntu 18.04 on AWS EC2
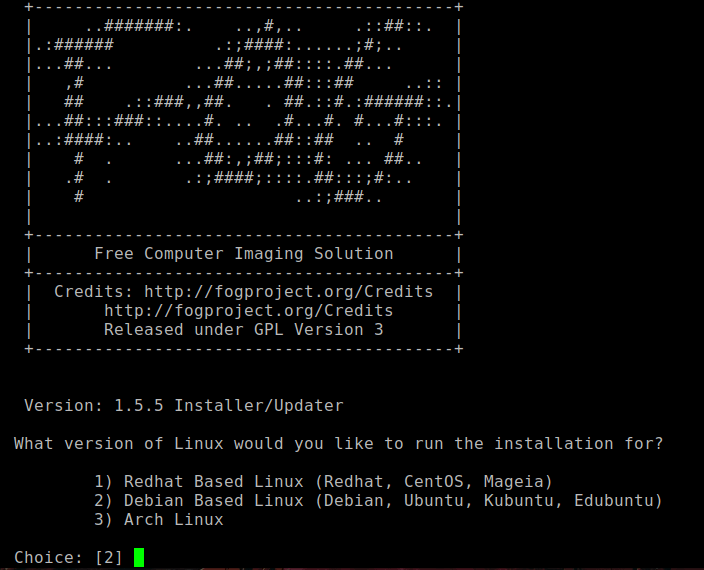
Now we have to run through the installation routine. I’ll help you through that.
For the question of “What version of Linux would you like to run the installation for?”, choose:
- 2) Debian
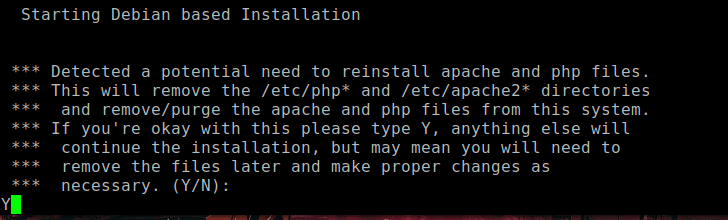
Next, you will get asked that there is a potential need to reinstall Apache and PHP files. Agree with Y. Be aware that if you do install this on an existing server that has applications running on either Apache or PHP, you are setting yourself up for trouble.
Now you’ll have to run through a couple of questions which you can answer like below:
- What type of installation would you like to do? [N/s (Normal/Storage)]
- Choose: N
- What is the IP address to be used by this FOG Server? [YourServerIP]
- Confirm with Enter
- Would you like to change the default network interface from [YourNetworkInterfaceName]?
- Choose: N
- Would you like to setup a router address for the DHCP Server? [Y/n]
- Choose: Y and enter the IP Address of your Router / DHCP Server
- Would you like DHCP to handle DNS?
- Choose: Y
- What DNS address should DHCP allow? [IP of your Router or DNS Server you use]
- Confirm with Enter or Change the IP Accordingly
- Would you like to use the FOG Server for DHCP Service? [y/N]
- Choose: N
- This version of FOG has internationalization support, would you like to install the additional language packs? [y/N]
- Choose: N, or Yes if you need it.
- Are you sure you wish to continue (Y/N)
- Check if everything is correct and confirm with Y

FOG will now run through its installation routine. This will take some time. At the end of the process, you will get asked for update / install the Database. Once this screen appears:
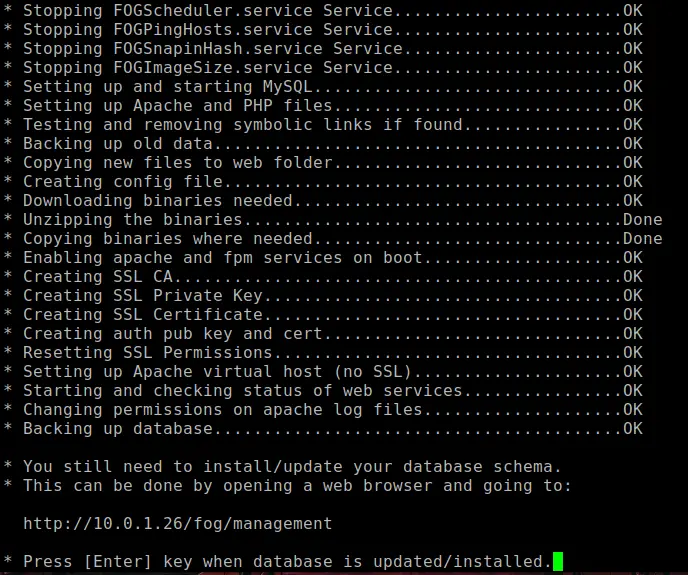
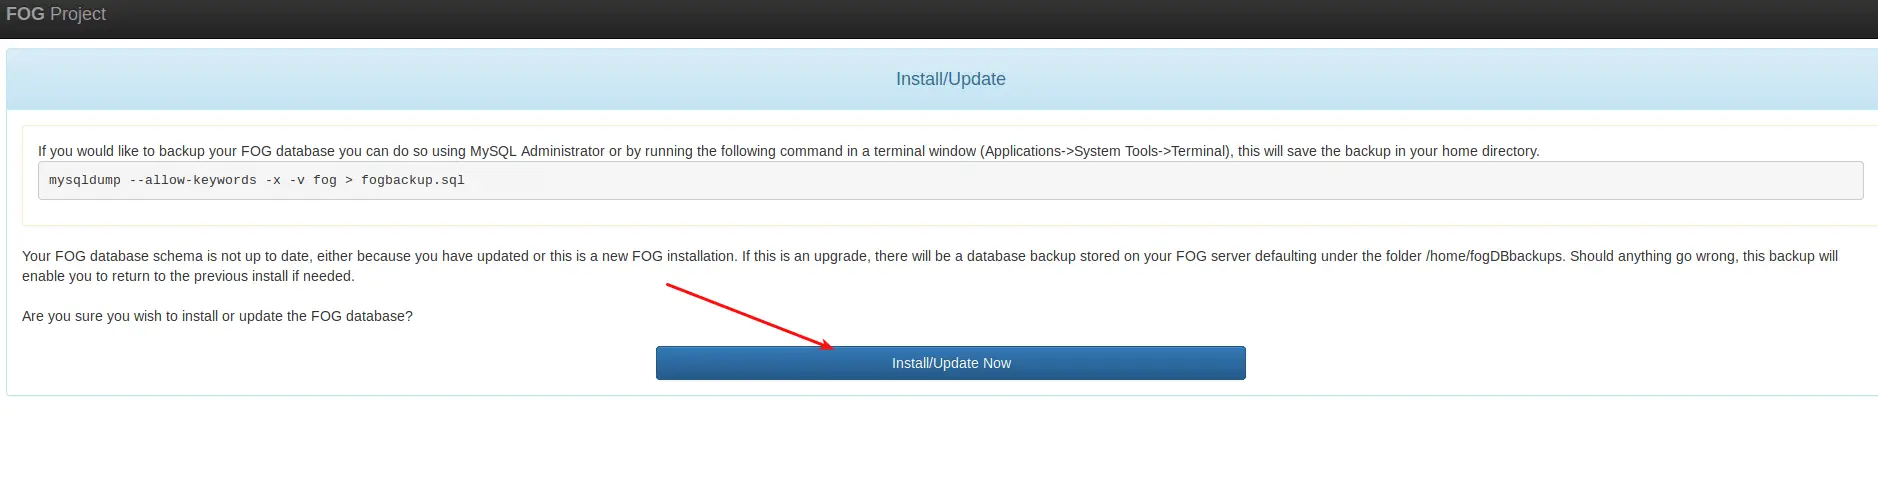
Head to the URL you are presented with, in my case http://10.0.1.26/fog/management and click on Install/Update Now.
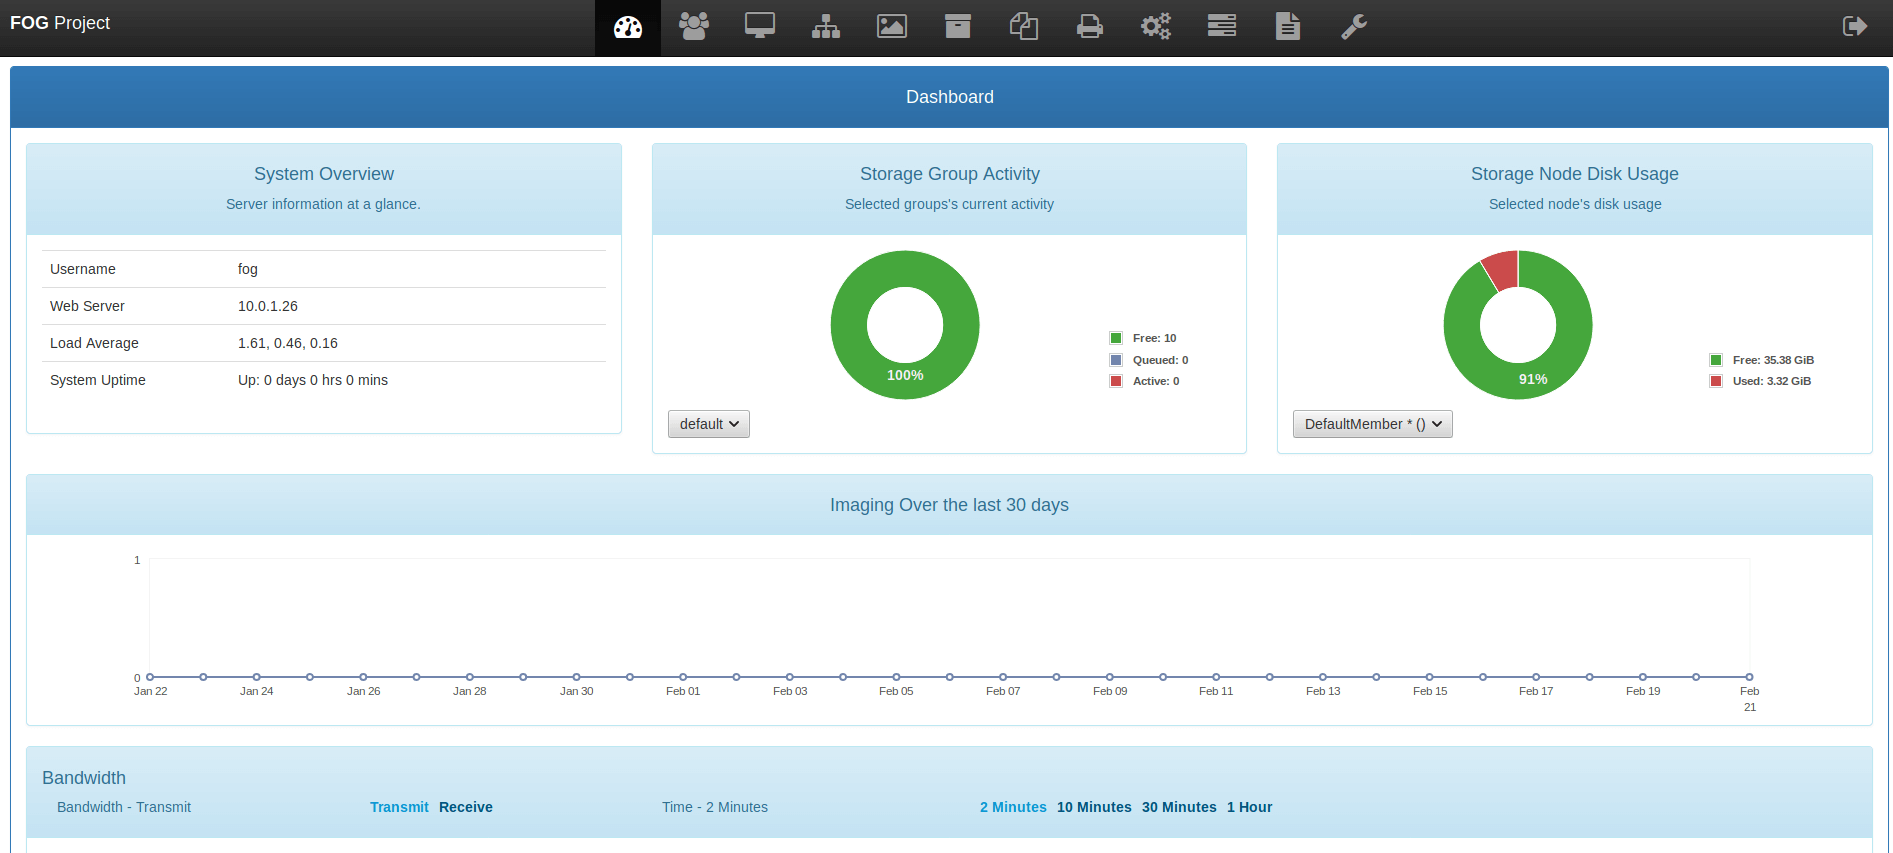
Once this is done, head back to your terminal and confirm by pressing Enter. You are now done with the installation and you are able to login to your FOG Server by visiting http://10.0.1.26/fog/management with the default credentials: fog/password
Part 4 – Final Steps
The first thing you should obviously do is change the default password. Head to User Management, click on the fog account and select change password. If you have a pfSense firewall, continue with Step 5. If not, depending on what Router / DHCP Server / DNS Server you use, you need to figure out how to Network Boot (PXE boot) in your environment. I believe there are plenty of guides for all kinds of environments out there.
If you want to learn how to create a generalized Windows 10 Image and how to capture + deploy it with FOG, check out my thorough tutorial on that.
Part 5 – OPTIONAL – Only for pfSense Users
It’s pretty straight forward to set up PXE Boot with pfSense. Assuming you set your pfSense IP as DHCP Server / Router / DNS Server during the FOG Setup, you simply have to log in to your pfSense firewall and navigate to Services / DHCP Server. Scroll down until you find Network Booting and click on Display Advanced.
Enter the following:
- Next Server: The IP of your FOG Server
- Default BIOS file name: undionly.kpxe
- UEFI 32bit file name: ipxe32.efi
- UEFI 64bit file name:ipxe.efi
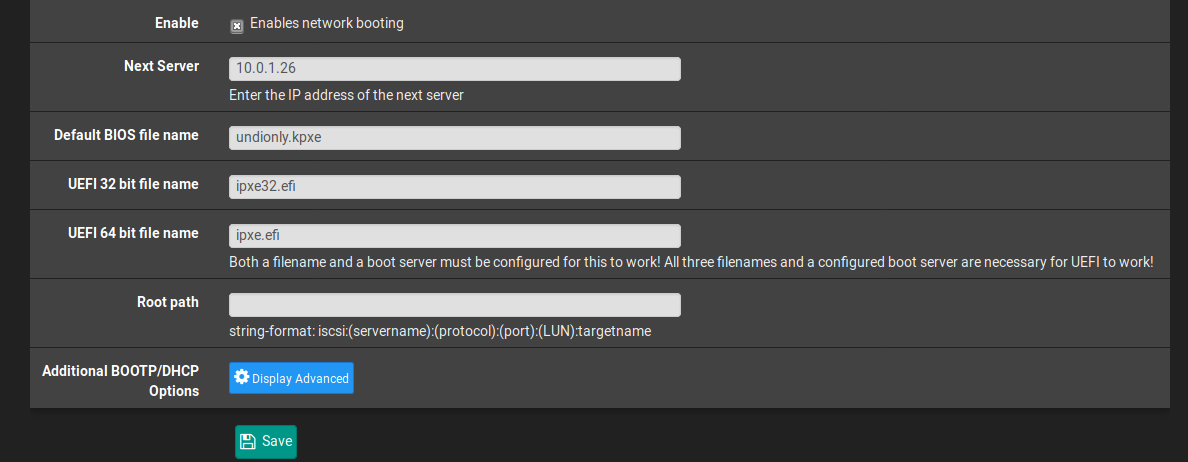
Make sure to click on Save and Apply Changes.
And that’s it. Your clients are now forwarded to your FOG Server when trying to boot via LAN.
This concludes the install FOG on Ubuntu 18.04 on AWS EC2 Tutorial. If you also want to learn how to install FOG Server on Ubuntu, check out this tutorial.