Welcome to the second part of the Astro LinkTree clone tutorial. In this part of the series, we are going to upgrade our LinkTree clone to use Netlify CMS to create, edit and delete links.
Table of Contents
- How This Works
- Installing Astro Netlify Integrations
- Configuring The Astro Config
- Creating The Links Folder
- Dynamically Creating Link Cards
- Netlify CMS
- Deploying Changes To Netlify
- Netlify Identity Integration
- Conclusion
You can clone the finished project on GitHub. Make sure to checkout the part-2 branch!
How This Works
Netlify CMS isn’t exactly designed for what we are going to build with it. Netlify CMS is mostly used on blogs (which we cover in a later tutorial series). We can, however, leverage its functionality for our cause.
Netlify CMS creates markdown files in our Astro project. These markdown files are usually used to write the content of your blog posts. We can, however, create markdown files with only frontmatter code.
This frontmatter code will contain the Link Title, Link Description, and the Link URL. Utilizing the Astro.glob() object, we are able to pull these values into our index.astro file and use them to create dynamic Links.
It sounds a bit complicated, but it really isn’t, as you will see shortly.
Installing Astro Netlify Integrations
If you have followed the last part of the series, you should already have your LinkTree clone deployed on Netlify.
Now we are going to install the Astro Netlify CMS integration:
npm i astro-netlify-cms
Code language: Bash (bash)
Agree to each prompt by pressing enter. This will automatically take care of our configuration.
Configuring The Astro Config
To be able to use Netlify CMS, we need to add some code to the astro.config.mjs file. Here, we need to define so-called collections as well as the backend.
I highly recommend watching the video, where I will explain all of this in greater detail.
Open the astro.config.mjs file and make sure to use the code below:
import { defineConfig } from "astro/config"
import NetlifyCMS from "astro-netlify-cms"

// <https://astro.build/config>
import tailwind from "@astrojs/tailwind"

// <https://astro.build/config>
import netlify from "@astrojs/netlify/functions"

// <https://astro.build/config>
export default defineConfig({
  integrations: [
    tailwind(),
    NetlifyCMS({
      config: {
        backend: {
          name: "git-gateway",
          branch: "part-2",
        },
        collections: [
          {
            label: "Links",
            name: "links",
						slug: "{{linkTitle}}",
            folder: "src/pages/links",
            create: true,
            delete: true,
            fields: [
              {
                label: "Link Title",
                name: "linkTitle",
                widget: "string",
              },
              {
                label: "Link Description",
                name: "linkDescription",
                widget: "string",
              },
              {
                label: "Link URL",
                name: "linkURL",
                widget: "string",
              },
            ],
          },
        ],
      },
    }),
  ],
  output: "server",
  adapter: netlify(),
})
Code language: JavaScript (javascript)
If you want to know what all of these values do, check out the official Netlify CMS documentation.
The important part here is the branch. As you can see, I set the value to part-2, which is the branch I am currently working on.
If you are working with your own repository, this branch should be set to either main or master, depending on which one you are using in your repository. So make sure to adjust this value accordingly!
Creating The Links Folder
All of the links we create using Netlify will be markdown files (.md). We want to make sure to store them in a separate folder.
Create the folder src/pages/links for this purpose.
Dynamically Creating Link Cards
Now that we have everything set up, we need to modify the index.astro file. So far, we have created the link cards by manually typing in linkTitle, linkDescription and linkUrl.
From now on, we are going to do this by using Netlify CMS. Open the index.astro file and delete everything between the <LinksLayout> layout and add the following code:
---
import MainLayout from "@layouts/MainLayout.astro"
import Avatar from "@components/Avatar.astro"
import FeaturedCardsLayout from "@layouts/FeaturedCardsLayout.astro"
import FeaturedCard from "@components/FeaturedCard.astro"
import LinksLayout from "@layouts/LinksLayout.astro"
import Link from "@components/Link.astro"
import Social from "@components/Social.astro"
const links = await Astro.glob("./links/*.md")
---

<MainLayout title='Astro LinkTree Clone'>
  <Avatar />
  <FeaturedCardsLayout>
    <FeaturedCard
      featuredCardIcon='logos:patreon'
      featuredCardTitle='Support Us!'
      featuredCardLink='https://www.patreon.com/stefanrows'
    />
    <FeaturedCard
      featuredCardIcon='logos:discord-icon'
      featuredCardTitle='Join the Community!'
      featuredCardLink='https://www.discord.com'
    />
  </FeaturedCardsLayout>
  <LinksLayout>
    {
      links.map((link) => {
        return (
          <Link
            linkTitle={link.frontmatter.linkTitle}
            linkDescription={link.frontmatter.linkDescription}
            linkUrl={link.frontmatter.linkURL}
          />
        )
      })
    }
  </LinksLayout>
  <Social />
</MainLayout>
Code language: JavaScript (javascript)
Make sure that you also add the line const links = await Astro.glob(”./links/*.md”) in your frontmatter. This will allow us to use the JavaScript map() function to render everything inside of the src/pages/links folder.
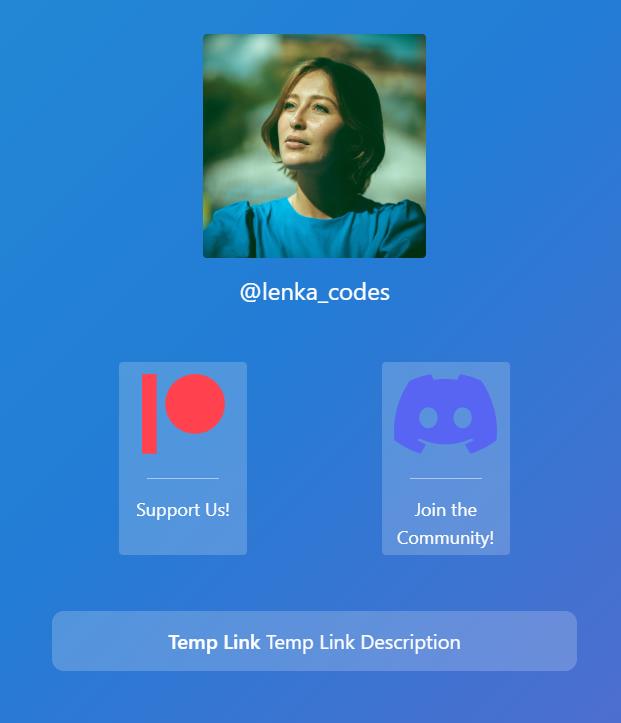
Since we can’t run our application with an empty src/pages/links folder, we are going to create a temporary link manually. (If the map function can’t find anything to map, it will throw an error preventing our app from starting).
Create the file src/pages/links/link-1.md with the following content:
---
linkTitle: "Temp Link"
linkDescription: "Temp Link Description"
linkURL: "Temp Link URL"
---
Code language: JavaScript (javascript)
Now run the dev server:
npm run dev
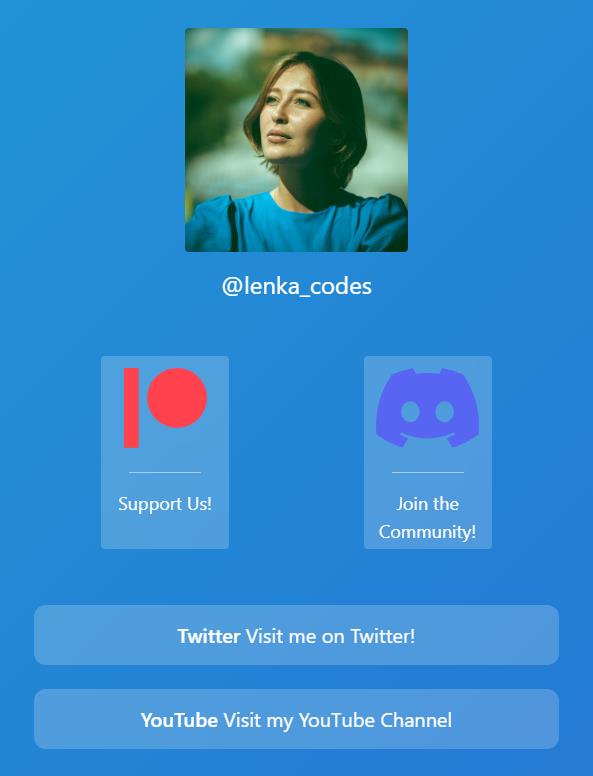
Code language: Bash (bash)If you open http://localhost:8888/, you should see the link showing up:
Netlify CMS
Now that we have everything set up, it’s time to create some links using Netlify CMS. Open the admin panel at http://localhost:8888/admin
You should be logged in automatically. After deploying the final version of the app, you can access the same admin panel by using your respective Netlify URL with the admin route. For example https://mynetlifyurl.netlify.app/admin
You will be able to log in using GitHub integration, which we will set up in a second.
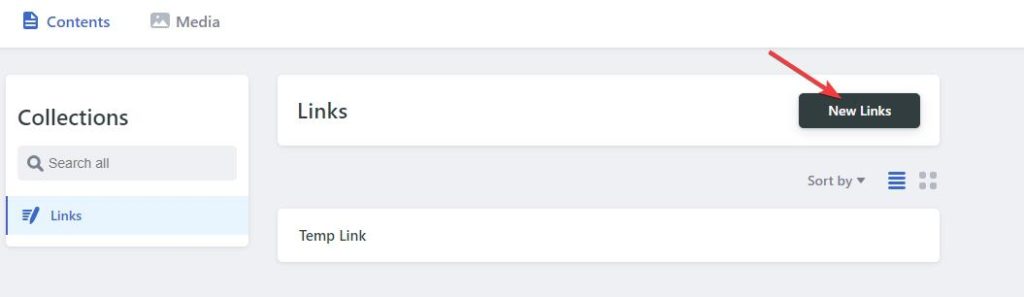
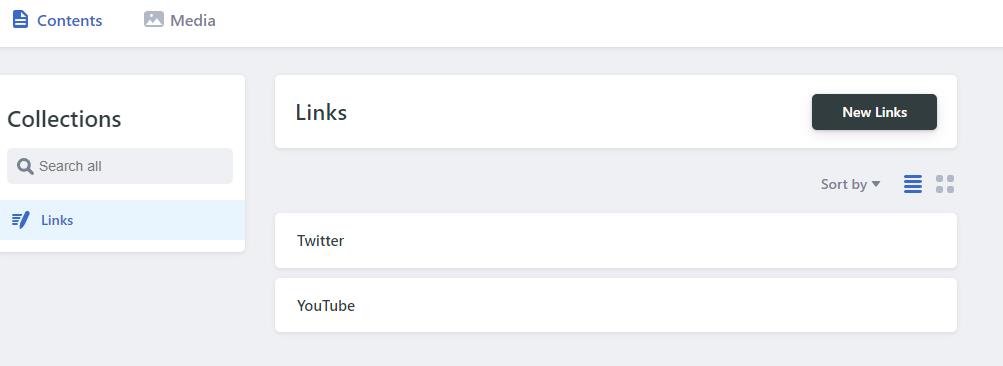
Once you are logged into the admin panel, things are very easy and straightforward. You can see the Temp Link we have just created, and if you click on it, you can edit or delete it.
But before we delete the temporary link, we are going to create a new link first. Click on New Links to create a new link:
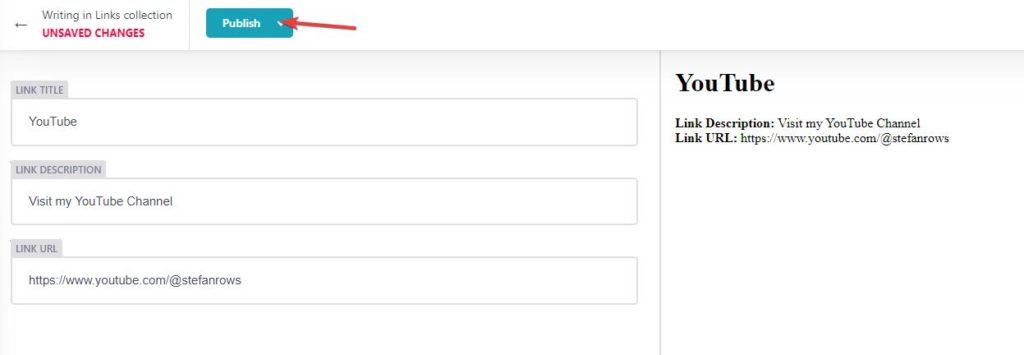
After you have entered all of the details, click on Publish → Publish Now.
Note: Sometimes Netlify CMS offers you to recover a backup of some entries; I don’t know why this happens. Just click on Cancel if it does.
Let’s repeat this process and create another link. Now, either directly delete the src/pages/links/link-1.md file inside of VS Code, or delete it via the Netlify admin panel by clicking on it and clicking on Delete entry on top.
For Netlify CMS, it does not matter if you delete links directly inside of your links folder or via the CMS. Just make sure there is at least always 1 link present in the folder!
After doing this, we should be left with our two links:
If we now open up our application at http://localhost:8888/, we should see both of these links showing up:
Deploying Changes To Netlify
Once you are done with all of this, you can deploy the final project to Netlify either by pushing the changes to GitHub, or by using Netlify CLI:
netlify deploy --build --prod
Code language: Bash (bash)
Netlify Identity Integration
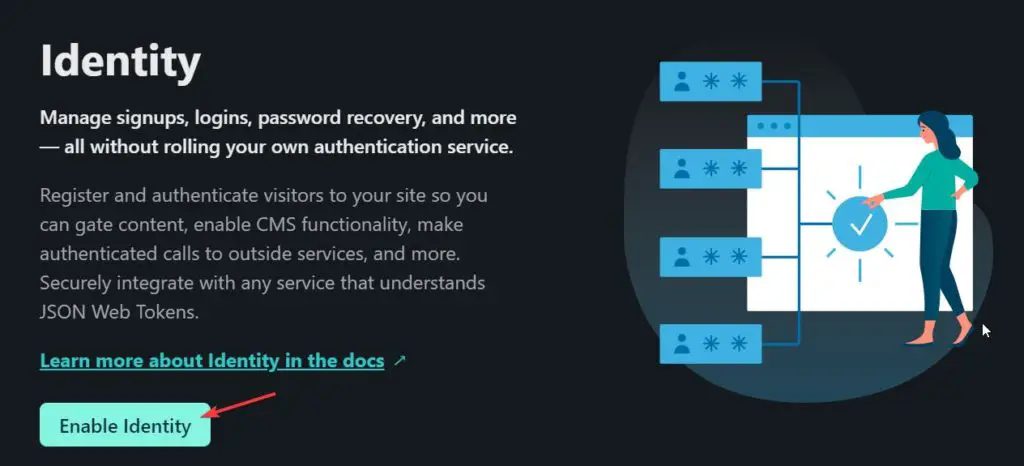
To be able to log in to our admin panel on our live site, we need to set up Netlify Identity first.
Open your site on Netlify and navigate to Site Settings -> Identity -> External Providers. Click on Enable Identity:
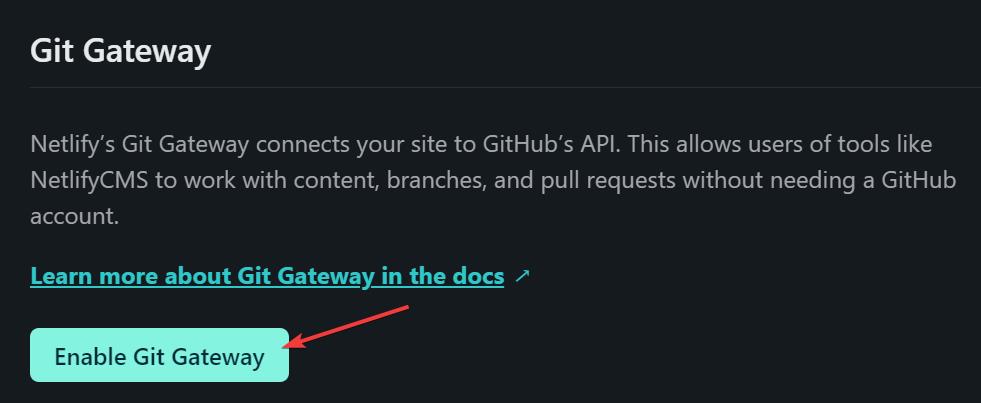
Next, scroll down and find Git Gateway. Click on Enable Git Gateway:
Now navigate to the URL of your site followed by /identity – for example: https://app.netlify.com/sites/YourSite/identity
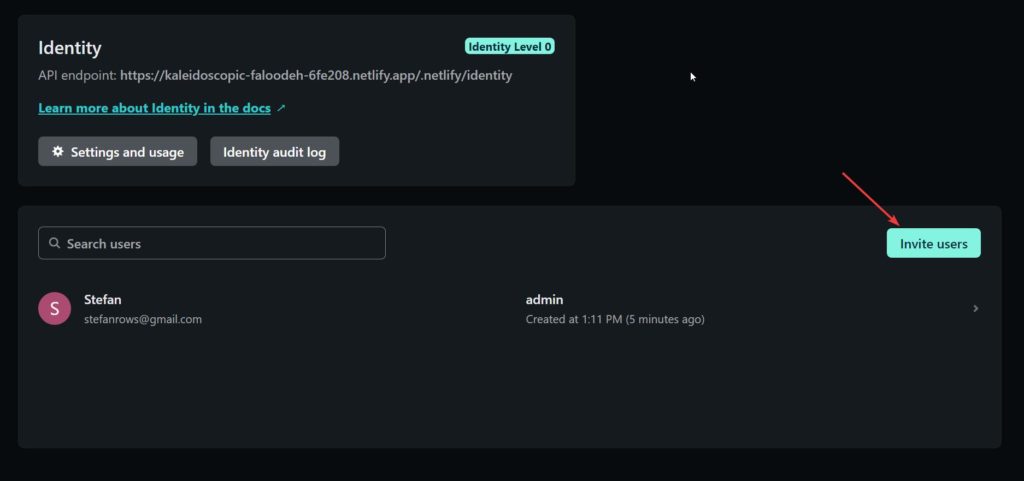
Here, click on Invite users and invite yourself to Netlify CMS. After clicking on the invite link in your email and setting a password, you are now able to log in with your email address on password by using the /admin route on your live Netlify site.
Conclusion
This should give you a good idea of what is possible by using Astro and Netlify. Even though Netlify CMS is made for blogs mainly, you can still leverage its functionality for other things.
Now, I am by no means a designer, so feel free to modify this app however you wish. (If you do, please tag me on Twitter and share it with me!)
I highly encourage you to give the Netlify CMS documentation a read so that you understand all of the different options you have for modifying your application further.
Hi Stefan,
Everything went well, up to the point where this should be installed: ‘npm i astro-netlify-cms’.
I get a screen full of warnings and eventually errors.
I tried to install as administrator, but with the same result!
What to do?
Greetings from die Niederlanden