In this tutorial, you will learn how to install Python and how to set up your computer for the use of the Python programming language. We will cover the installation on Windows, macOS, and Linux!
Table of Contents
Install Python on Windows
To install Python on Windows 10 or Windows 11, follow the steps below.
Download Python
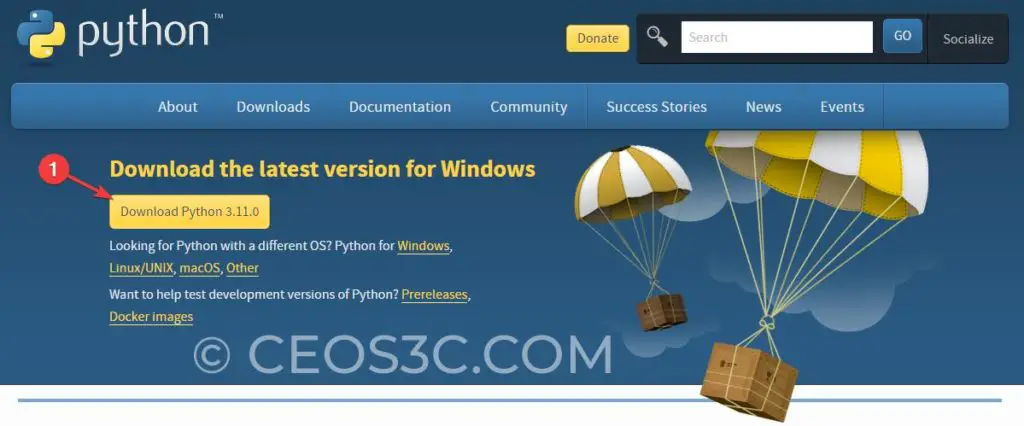
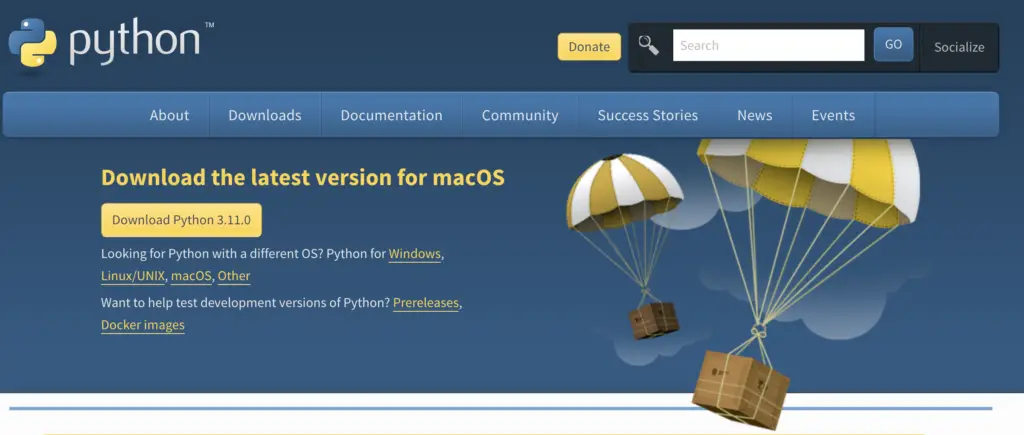
First, we need to download Python from the Python Website:
Install Python
After you have downloaded Python, open the installer. Make sure that you tick the box next to “Add python.exe to PATH,” otherwise you will run into problems later. Click on Install Now to start the installation:

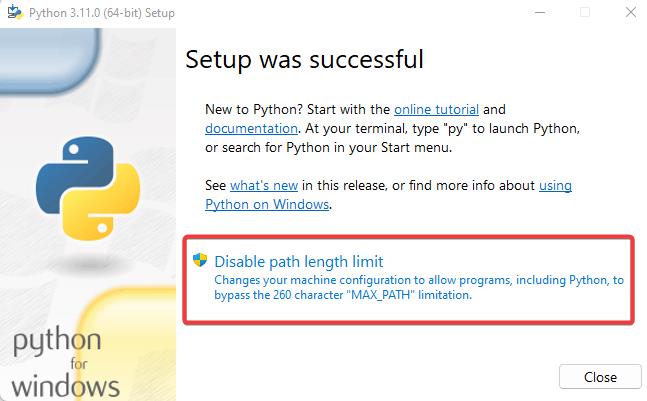
After the installation is done, make sure to click on “Disable path length limit” to finish the installation. This avoids running into path length problems later on.
Verify the Installation
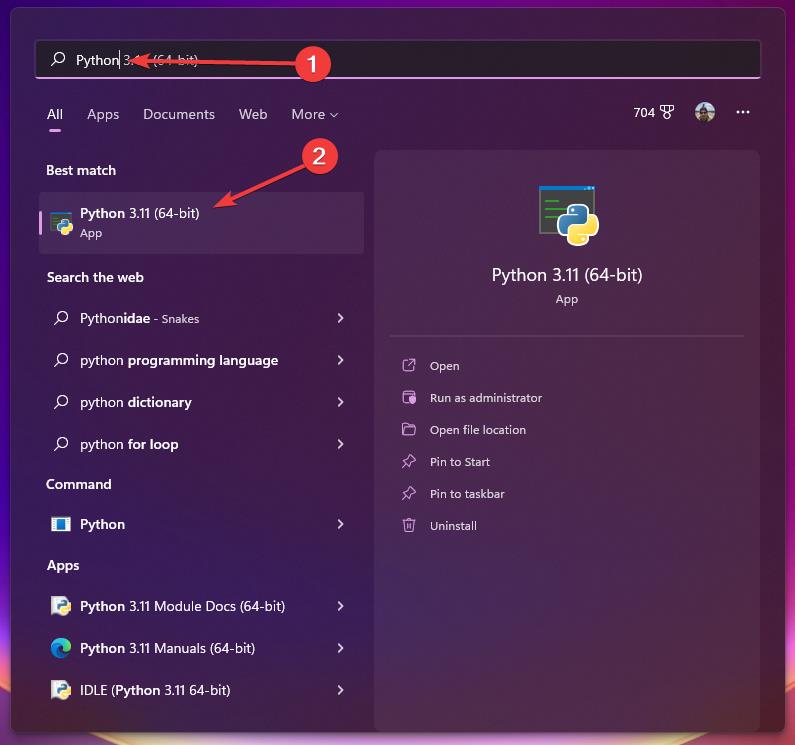
This should be all for now. To test if Python was installed successfully, press the Windows Key and search for Python. Then open the Python interpreter:
Feel free to print your first line of Python code to make sure everything works. Type the following code into the Python interpreter and press enter:
print("Hello, World!")Code language: Python (python)Output:

This concludes the installation on Windows.
Install Python on macOS
Installing Python on macOS is as easy as it is on Windows. There are two ways on how you can install Python on macOS, using the official installer from the Python website, or installing Python via terminal. You can choose which one you want to use. If you are a beginner, we recommend using the official installer!
Install Python using the Official Installer
Head over to the official Python Website and click on Download Python:
After you have downloaded the file, double-click it to start the installer. Leave everything on default and follow through with the installation.
Python is now installed on your macOS system.
Install Python using the Terminal
First, we need to install Homebrew. Open your macOS terminal and type:
$ /bin/bash -c "$(curl -fsSL https://raw.githubusercontent.com/Homebrew/install/master/install.sh)"
Code language: Bash (bash)
Set up the PATH Variable
Next, we need to set up the PATH variable so we are able to use Python from our terminal:
export PATH="/usr/local/opt/python/libexec/bin:$PATH"
Code language: Bash (bash)
Install Python on macOS using the Terminal
Finally, to install Python on macOS, we have to run the following:
brew install pythonCode language: Bash (bash)Verify the Installation
To verify if the installation was working, type the following to check the Python version:
python3 --versionInstall Python on Linux (Debian-Based)
Installing Python on Linux is very simple. These instructions are for Debian-Based systems like Ubuntu 20.XX or higher.
Install Python
To install Python on Linux, we first make sure that our APT repository is up to date:
sudo apt updateAfter this, we can install Python using the following command:
sudo apt install python3.8Code language: CSS (css)Linux Python Version Confusion
It can get a bit confusing with all the different Linux distributions out there, all supporting different versions of Python. While Ubuntu 18.XX and below usually come with Python3.6 support, and Ubuntu 20.XX and above come with Python3.8 support.
This can vary greatly from distribution to distribution. In case the above instructions do not work for you, simply Google: “Install Python3 on {insertYourDistribution+VersionHere}”. That should set you up!
Next Steps
Now that you have Python set up and ready to go, you can continue with the next step: setting up a Code Editor for Python!
2 thoughts on “Install Python – Complete Step-by-Step Tutorial”