
I made the choice to use Linux Mint for our journey into the Linux world. In this article, we will be Installing Linux Mint Cinnamon in a VM.
What you need:
- Virtual Box or VMware Player / Workstation
- The Linux Mint Cinnamon ISO file (64bit Version)
- Around 15GB free disk space
- You should have at least 8GB of RAM
Some may argue, why 8GB or RAM? I think 8GB should be kind of standard today and you want to assign at least 2GB to Mint to have a smooth experience, ideally 4.
We are aiming to use Windows and Linux at the same time, so you should be fine with 2GB/6GB on each side.
I will be using VMWare Workstation for this tutorial, but the steps should be almost similar to Virtual Box. Virtual Box is free and if you don’t have a VMware license, I would recommend Virtual Box over the free VMware Player.
For a guide on how to set up Virtual Box head over to the guide from everyday Linux user and continue with step 10 in here after that is done.
Side note: Some computers have Intel vt-x (Intel Virtualization Technology) disabled by default. So you might have to activate it first.
With all this checked, we have everything we need to get started.
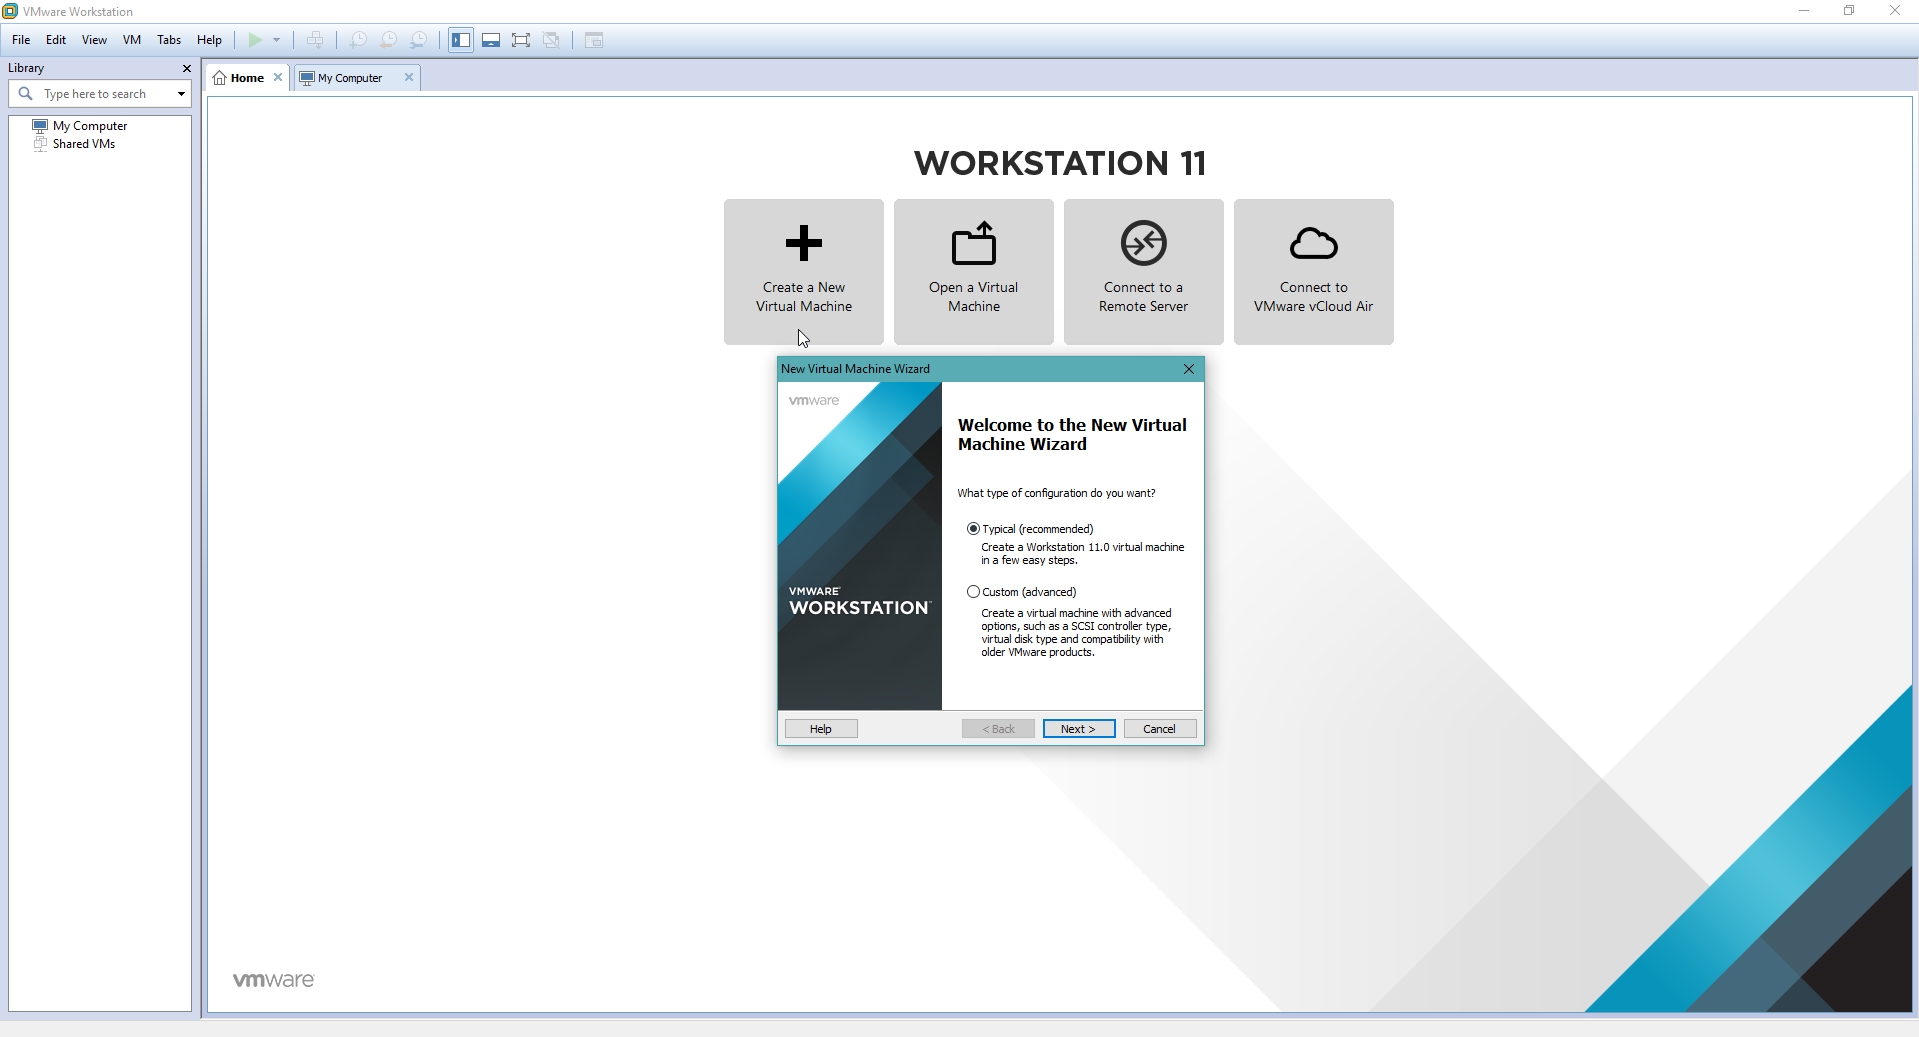
- Click on
Create a New Virtual Machineleave Typical andhit Next
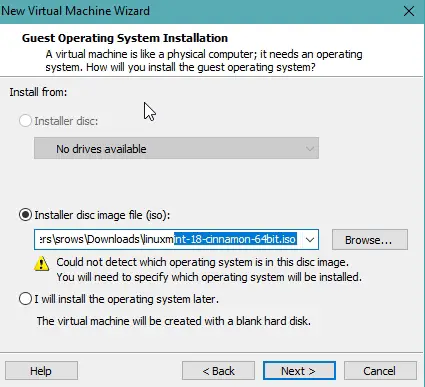
2. Select the downloaded Linux Mint Cinnamon ISO file and click Next.
3. On the next window, select Linux as a Guest Operating System, and as Version choose Other Linux 3.x kernel 64-bit (or without 64-bit if you chose the 32bit version) and hit Next

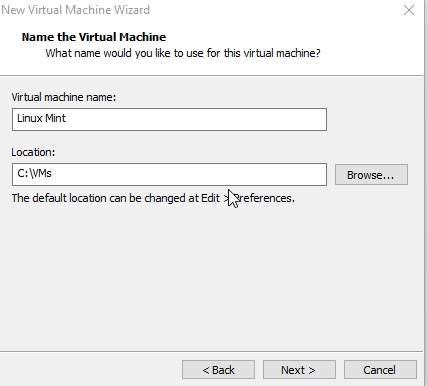
4. Now give your VM a Name and choose where you want to store it if you got an SSD I would recommend that as a location.
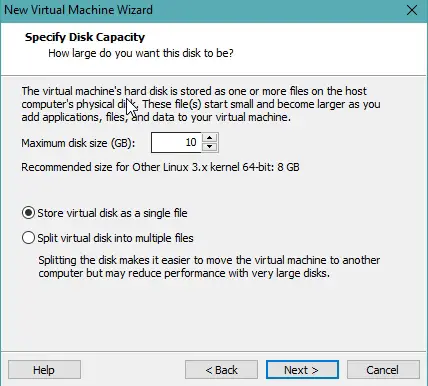
5. Now we choose the Disk Size, we give it 15GB, for now, don’t worry, we can change this later. Also, we want to select Store virtual disk as a single file.
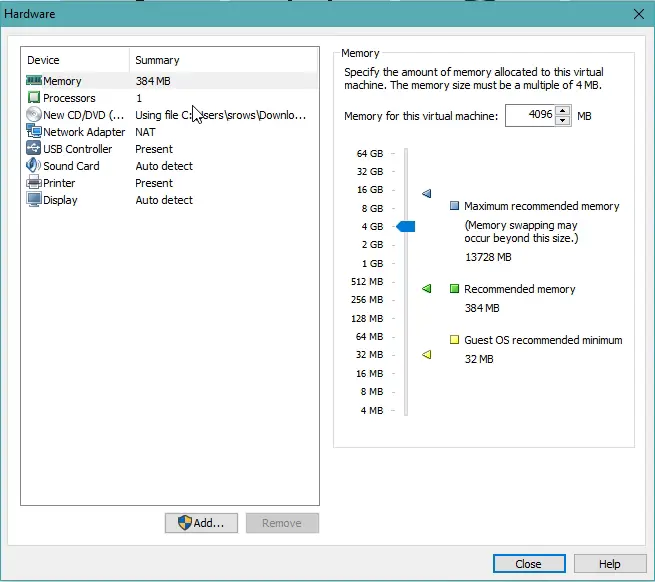
6. On the next window, we click on Customize Hardware. Now we want to assign memory, again, this is according to how much memory you got. I’d recommend if you got 8GB total assign 2GB if you got 16GB assign 4GB.
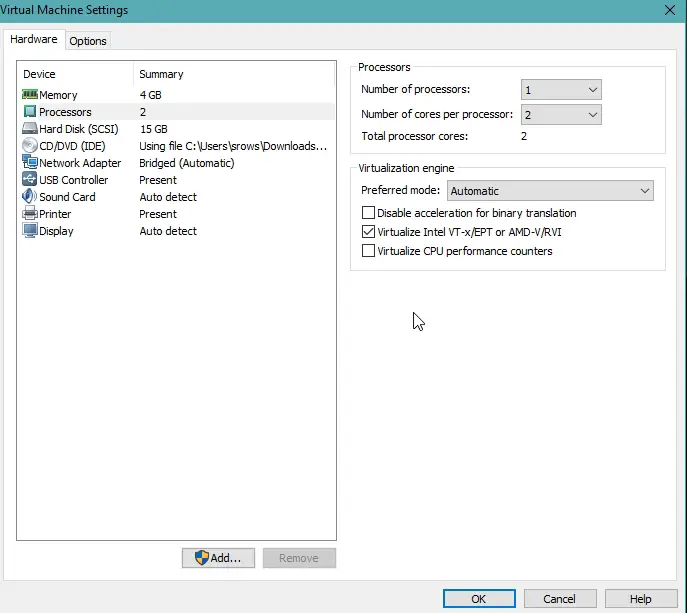
7. On the Processor Tab we assign the number of processors and cores. I assume you got at least and i3, so we are totally fine with assigning number of processors: 1 number of cores per processor: 2 and we also want to tick the Virtualize Intel VT-x/EPT or AMD-V/RVI box.
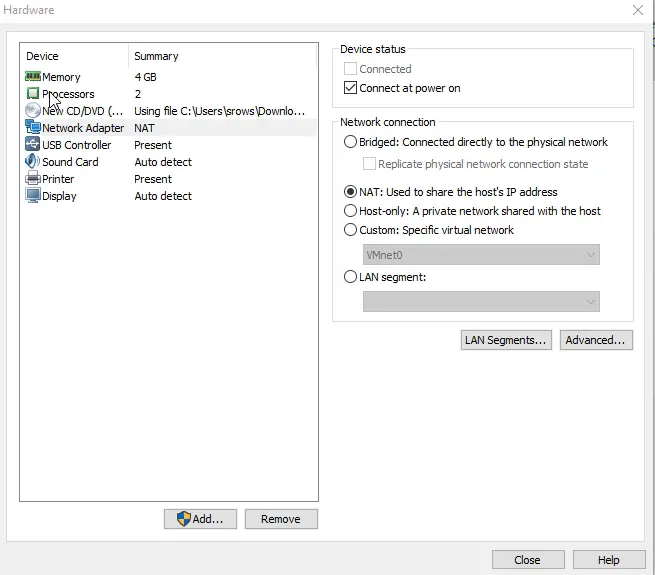
8. On the Network Adapter tab, you got a few choices. For a beginner, just leave NAT . It means Mint shares the same IP address like your own computer. Perfectly fine for you. If you want Mint to have it’s own IP address, you need to choose Bridged, this simulates a real network card including a MAC address.
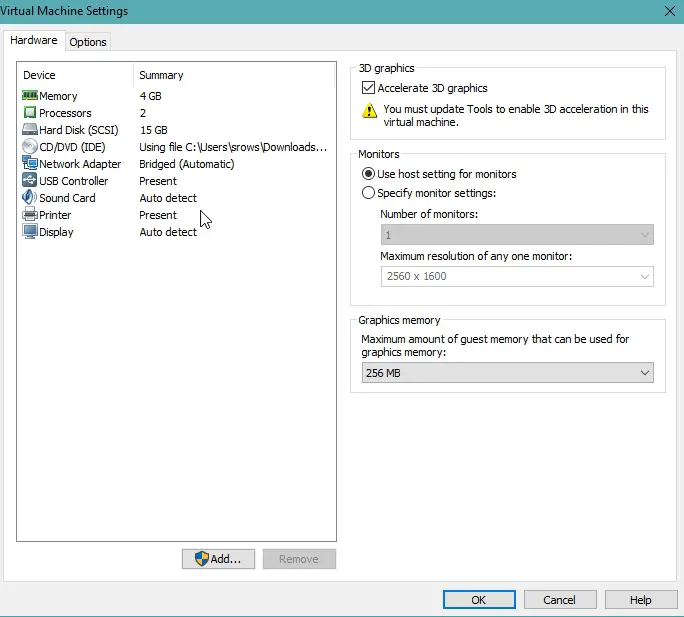
9. On the Display tab tick Accelerate 3D Graphics and assign Graphics Memory according to the size of your graphics cards memory and according to if you want to play games on it or not. I don’t play games on it so I leave it for 256mb which should suffice.
After that hit close and hit finish.
Congratulations, your VM is now ready to boot up and start the Mint installation process.
10. Power on your VM and wait for the Mint installation to start. You will end up on the Mint Desktop,double click on Install Linux Mint Choose an Language of your choice and hit Continue. Tick the Install third-party software for graphics and Wi-Fi hardware, Flash, MP3 and other media box and hit Continue.
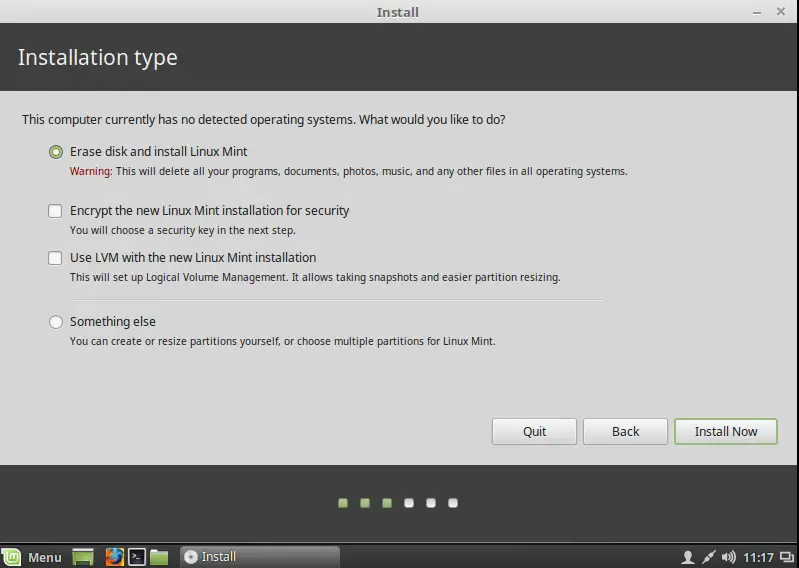
11. Tick Erase disk and install Linux Mint. You also have the choice to Encrypt your installation drive with a password. You have to specify a security key in the next step, as this is a beginner guide, we won’t do this. Finally hit Install Now to start the installation process. Confirm the Write the changes to disks? dialogue with Continue.
12. Choose your location (or not) and hit Continue.
13. Choose an Keyboard layout of your flavor.
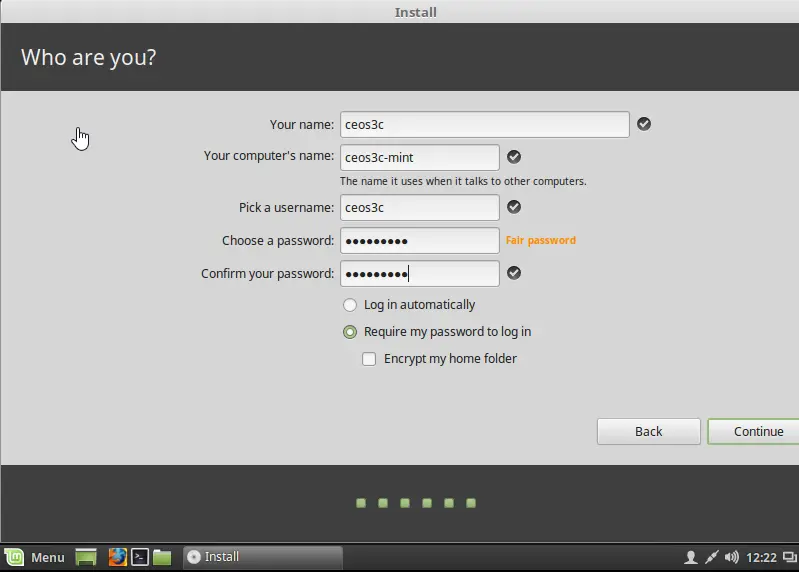
14. Enter your name and your computer's name. Choose a username and a strong password. Hit Continue.
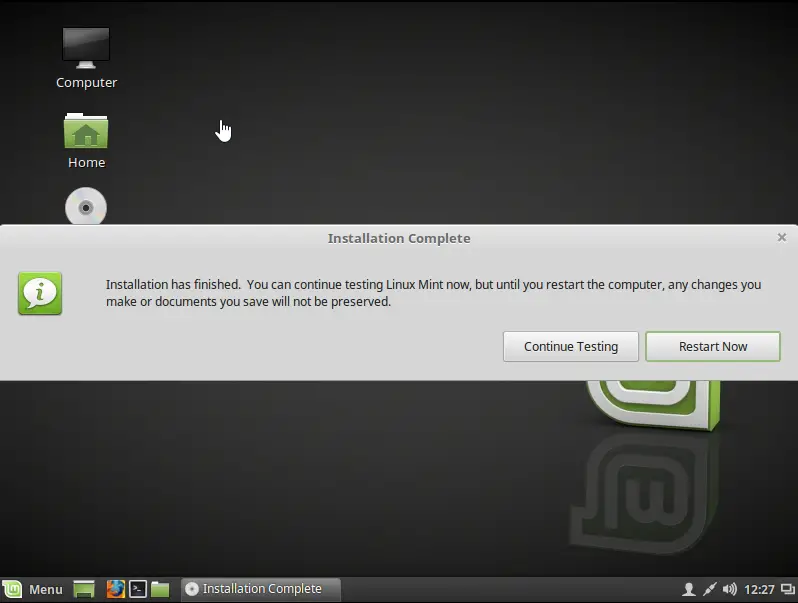
15. Now wait for the installation process to finish. After that is done hit the Restart Now button and Mint will boot up into your fresh installation.
16. Press F1 and enter the Username followed by Password you chose. You end up on your new Mint Desktop.
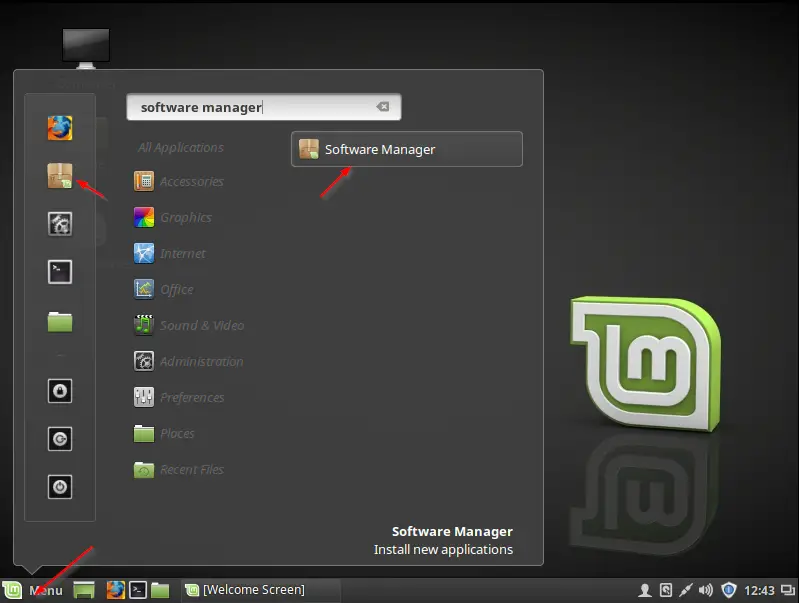
17. The first thing we want to do is to install the VMWare tools or VirtualBox Guest Auditions. These are the Virtual Drivers so to say.
Inside of your Mint installation click on Menu or hit the Windows Key on your keyboard. In the search bar type Software Manager or click on the Symbol on the left.
Enter your password for confirmation.
In the search bar on the upper right type: open-vm-tools-desktop
Double click it and hit the Install button.
After it’s done, click on Menu, hit the Power Off Symbol and select restart. After the system is rebooted, you will recognize the small window of your Mint installation became a full-screen window now. Meaning the installation of open-vm-tools was successful and you are now finished with your installation.
The next tutorial will go over the basics of your new system, in the meanwhile, you can play around a bit and get a feel for it, use it for surfing the internet for example!
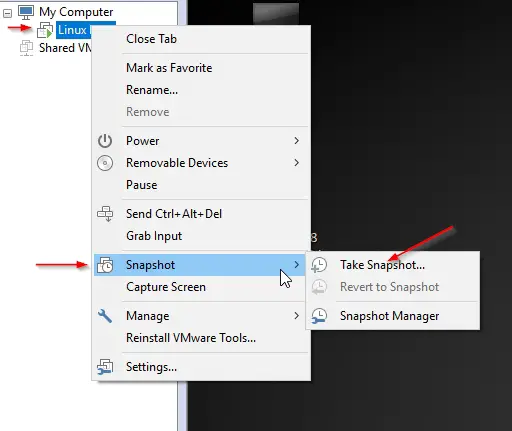
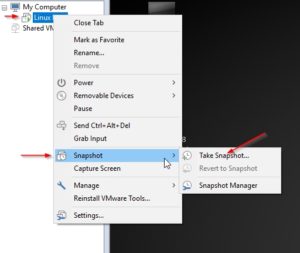
If you are scared to mess things up, take a snapshot. A wonderful feature of virtualization that lets you “save” the current state of your machine, so in case you mess things up, you can just go back in time to this working condition and be up and running again within seconds.
To do that in VMWare, right click your VM and navigate to Snapshot > Take Snapshot give your Snapshot a name and description hit Take Snapshot. Now you are safe.
I also recommend to use the fullscreen feature of either VMWare or VirtualBox to get the most out of your Linux experience, so it feels more like you would actually use the system as the main system.
Everything else will follow in the next videos. Play around with it, get a feel for it, it’s all pretty intuitive.
Very nice guide, i’m using Cinnamon in Debian instead, but the configuration of the VM is the same. Actually i’m using VMworkstation 14 Player a free licence option on Windows 7 host and it’s works great. Thanks.