This Tutorial will show you how to install Grafana on Ubuntu 18.04 using AWS EC2. We will create a low-cost Amazon Web Services EC2 instance and install the monitoring solution Grafana on it. This will be the first part of a little Tutorial Series around Grafana. I want to implement it to track my AWS EC2 Machine Performance and my Cost.
To be able to reduce cost, you first need to somehow monitor your workload to be able to adjust. That’s what Grafana is for and I’ll take you with me through this journey.
Choosing the right-sized instance
Choosing the right-sized instance is important when you want to keep cost low in the first place. It’s always possible to upgrade to a better instance if you run out of performance/disk space. You are also able to increase your disk space later on.
For this server, I went for a t2.nano with only 0,5GB of RAM and an 8GB EBS Volume. If this will turn out to be insufficient later on, I will simply upgrade to a different tier.
After installing Grafana, I still have plenty of free disk space, as you can see in the screenshot below.
Install Grafana on Ubuntu 18.04
Installing Grafana is a straight-forward and short process. I was actually surprised by how easy it was to install it, after having Zabbix installed a few weeks ago. First, we need to download the package.
Make sure you check which one the latest version is here and adjust the wget link accordingly to the newest version. Then run:
sudo wget https://s3-us-west-2.amazonaws.com/grafana-releases/release/grafana_5.2.4_amd64.deb
![]()
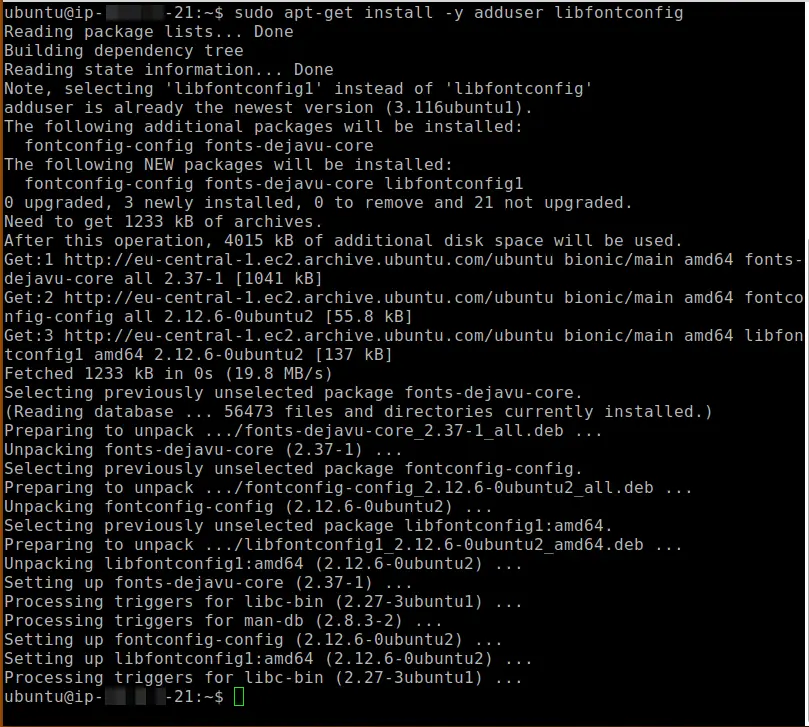
sudo apt-get install -y adduser libfontconfig
sudo dpkg -i grafana_5.2.4_amd64.deb
![]()
Adding the Grafana sources to our APT Repository
Next, we need to modify our /etc/apt/sources.list file by adding a line to the bottom of it.
sudo nano /etc/apt/sources.list
Scroll down all the way to the bottom using your down-arrow key.
Add the following line at the bottom:
deb https://packagecloud.io/grafana/stable/debian/ stretch main
When you are done with this your file should look like this:

Press CTRL+X and hit Y to confirm to save the file.
Now we need to add the Package Cloud key. This allows us to install signed packages.
curl https://packagecloud.io/gpg.key | sudo apt-key add -
![]()
Updating and verifying our installation
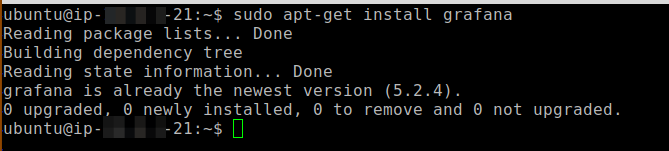
Now let’s see if we have everything successfully installed.
sudo apt-get update
sudo apt-get install grafana
If the installation went through fine, you should be presented by a message telling you that the newest version of Grafana is already installed. Good.
Starting the Grafana Server and adding it to Autostart
To start Grafana simply run:
sudo service grafana-server start
And to add it to autostart, run:
sudo update-rc.d grafana-server defaults
sudo systemctl enable grafana-server.service
![]()
Logging in to Grafana
Open a Web Browser and enter the IP of your server followed by port 3000, like so: http://IpOfYourServer:3000
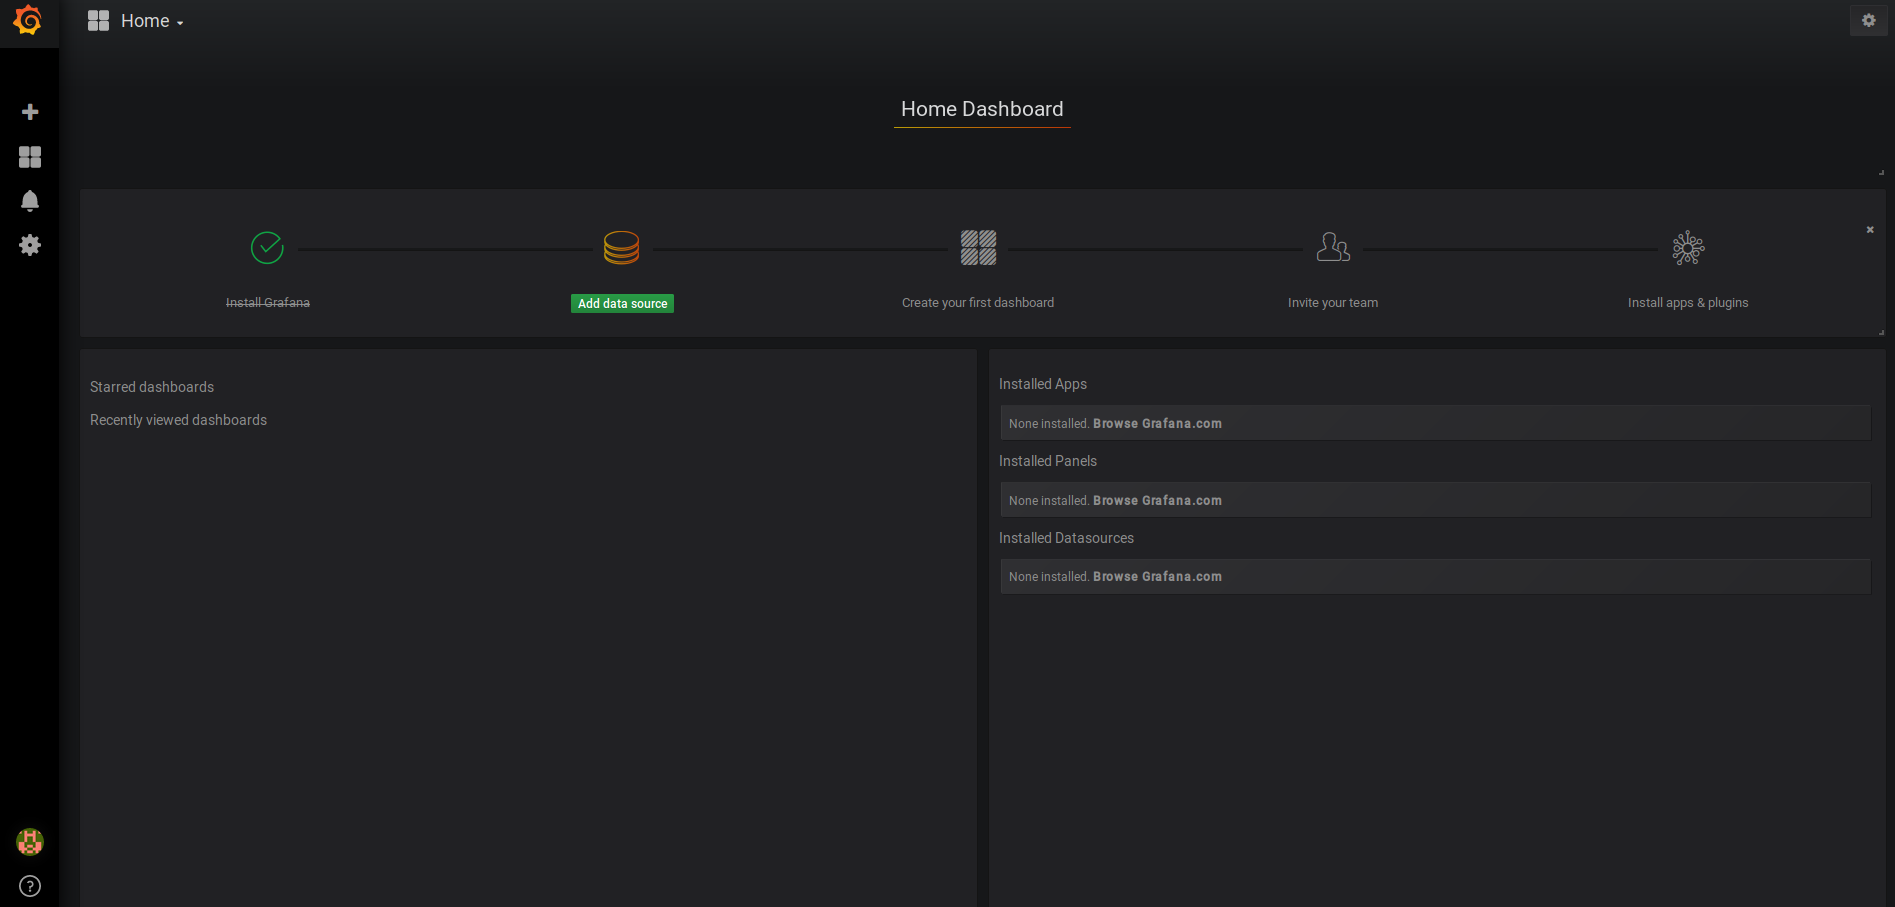
You should then be greeted by the Grafana Login Window.

Log in with the default credentials admin/admin and change your password immediately. Now you can go through the process of adding new Data Sources by following this tutorial from the official Grafana Documentation.
If you run into any problems or run an older version of Ubuntu, it is possible that you need to install an additional package:
sudo apt-get install -y apt-transport-https
Wrapping Up
As you can see, it is really easy to install Grafana on Ubuntu 18.04. In the next tutorial, I will show you how to include AWS Resources into Grafana using Cloudwatch. This is a really interesting topic and gets more and more relevant as more companies are adapting to the cloud. Make sure to Subscribe to the Newsletter (right sidebar) to get informed when the newest articles are released!
i see the new version for ubunut debian package doesn’t have https://s3…..
Also, there was no such thing as stretch main in newer version as well
what is stretch main in source list?