
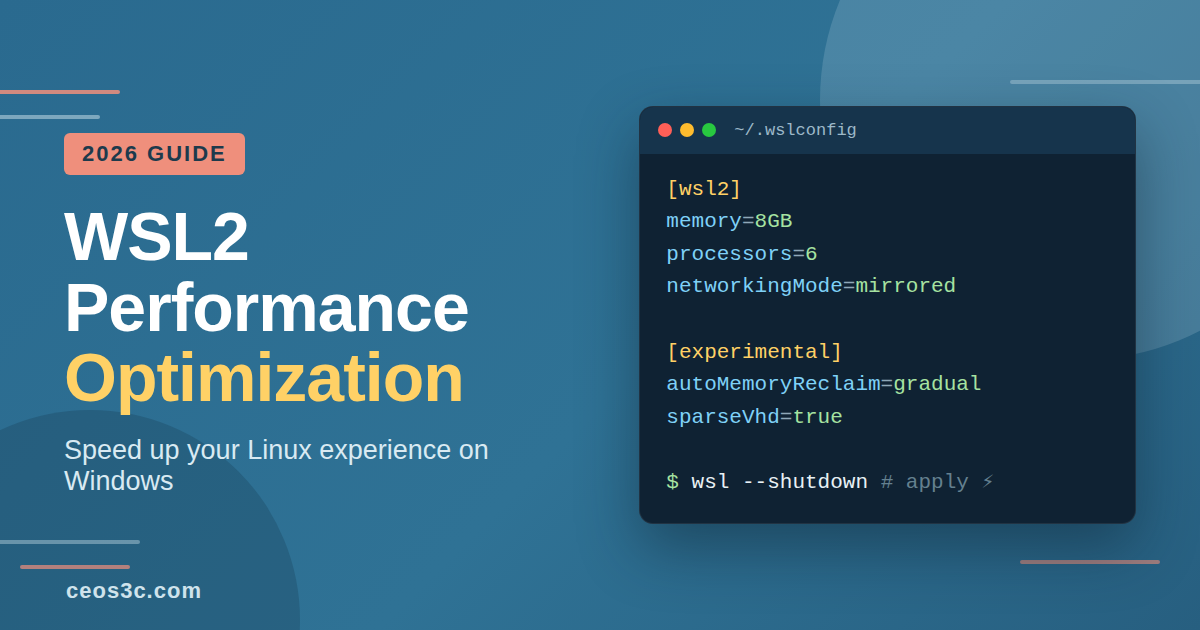
WSL2 out of the box is fast enough to fool you. Then you run npm install on a project sitting in /mnt/c, watch it crawl, and start wondering if you should just dual boot after all. The good news: most WSL2 performance problems come down to a handful of defaults you can change in about ten minutes.
My whole dev setup runs inside WSL2, and this guide is everything that actually made a difference for me. Sensible .wslconfig limits, memory reclaim, sparse disks, mirrored networking, and the one file system mistake that causes most of the “WSL2 is slow” complaints in the first place.
I refreshed this post for 2026 because WSL has moved fast. A few of the old tricks are obsolete now, and some of the best options didn’t exist when I first wrote it. Everything below works on current WSL builds. Where a setting needs Windows 11, I say so.
Table of Contents
- Quick WSL2 Performance Wins
- How WSL2 Manages Memory and CPU
- Tune .wslconfig: Memory, CPU, and Swap Limits
- The Biggest Fix: Keep Your Code on the Linux File System
- Give Unused RAM Back to Windows with autoMemoryReclaim
- Stop the Disk from Growing Forever: Sparse VHDs
- Faster, Saner Networking: Mirrored Mode and DNS Tunneling
- Better Mount Options for Windows Drives
- Windows Defender Exclusions (Read This First)
- Docker Performance in WSL2
- Smaller Tweaks That Add Up
- Measure Before and After
- FAQ
- Conclusion
Quick WSL2 Performance Wins
The short version, if you just want the fixes:
- Keep your code on the Linux file system, not on
/mnt/c. This is the big one. - Cap memory, CPU, and swap in
.wslconfigso WSL2 and Windows stop fighting. - Turn on
autoMemoryReclaimso WSL2 gives unused RAM back to Windows. - Enable sparse VHDs so the virtual disk stops growing forever.
- Switch to mirrored networking on Windows 11 for better localhost and VPN behavior.
- Run
wsl --updateonce in a while. Real performance work ships in these updates.
Now the details, because the defaults matter more than most people think.
How WSL2 Manages Memory and CPU
WSL2 runs a real Linux kernel inside a lightweight virtual machine. That’s why it feels like a proper Linux box, and it’s also why it competes with Windows for resources.
The defaults are generous. WSL2 can grab up to 50% of your total RAM, use all of your logical CPU cores, and creates a swap file sized at 25% of that memory. On a 32GB machine, that’s 16GB of RAM that Linux can claim while you also have Chrome, Teams, and an IDE open on the Windows side.
That’s fine until you run a heavy build and everything else starts swapping. Setting explicit limits keeps both sides honest.
Tune .wslconfig: Memory, CPU, and Swap Limits
The global WSL2 settings live in a .wslconfig file in your Windows user directory, so C:\Users\YourUsername\.wslconfig. Create it if it doesn’t exist. Here’s a config that works well on a 32GB machine with 8 cores:
[wsl2]
memory=8GB
processors=6
swap=4GB

[experimental]
autoMemoryReclaim=gradual
sparseVhd=true
Code language: JavaScript (javascript)
What each line does:
memorycaps how much RAM the WSL2 VM can take. Leave Windows at least 8GB on a 16GB machine.processorslimits the number of virtual CPUs. Leaving a couple of cores for Windows keeps the whole machine responsive during builds.swapsets the size of the swap file. Some swap is good. A giant swap file just hides memory problems behind slow disk I/O.- The two
[experimental]settings get their own sections below, because they’re the best additions WSL has shipped in years.
Changes only apply after a full restart of the WSL VM. Run this from PowerShell, wait about 8 seconds, then start your distro again:
wsl --shutdown
Don’t copy my numbers blindly. The right values depend on your RAM, your cores, and what you actually run. Start with half your resources for WSL2 and adjust from there.
The Biggest Fix: Keep Your Code on the Linux File System
If you take one thing from this post, take this. Files under /mnt/c live on the Windows NTFS drive, and WSL2 reaches them through a network-style file protocol called 9P. Every single file operation pays a translation tax. For workloads with thousands of small files, like node_modules or a git checkout, that tax is brutal.
Files inside the Linux file system, like /home/stefan/projects, live on a native ext4 virtual disk. Operations there run at near-native Linux speed. The difference on an npm install or a big git status is not subtle. We’re talking seconds versus minutes on large projects.
So the rule is simple:
- Clone your repos inside WSL2, under your Linux home directory.
- Only touch
/mnt/cwhen you specifically need a Windows file. - When you need to browse Linux files from Windows, use
\\wsl.localhost\Ubuntu\home\yournamein Explorer instead of moving the files.
Your editor doesn’t need the files on the Windows side either. VS Code’s Remote WSL extension runs the editor UI on Windows while everything else happens inside Linux. I covered the setup in my VS Code on WSL2 guide.
For a deeper look at how the WSL2 disk works, where the VHDX file lives, and how to move it, check my WSL2 file system management guide.
Give Unused RAM Back to Windows with autoMemoryReclaim
Linux loves to fill free memory with file caches. That’s smart on a dedicated server and annoying in a VM, because Windows sees all that cached memory as “used” and can’t touch it. For years this was the top complaint about WSL2: it eats RAM and never gives it back.
autoMemoryReclaim fixes exactly that. When WSL2 detects the CPU has been idle for a few minutes, it starts releasing cached memory back to Windows. It needs Windows 11 and lives in the [experimental] section of .wslconfig:
[experimental]
autoMemoryReclaim=gradual
You have two modes. gradual releases cached memory slowly once things are idle. dropcache dumps the caches instantly. I use gradual because it doesn’t throw away caches you might want again a minute later.
One real caveat: memory reclaim can break the Docker daemon if you run dockerd as a service directly inside WSL2. Docker Desktop is not affected. If you run the daemon natively and see weird Docker hangs, this setting is the first thing to check.
Stop the Disk from Growing Forever: Sparse VHDs
Your entire Linux system lives inside a single ext4.vhdx file on the Windows drive. That file grows automatically when you need space. It historically never shrank. Delete 30GB of Docker images and the VHDX stays exactly as big as it was.
Sparse VHDs solve this. With sparseVhd=true in the [experimental] section, newly created distros allocate disk space sparsely and can return freed space to Windows. For a distro you already have, convert it like this from PowerShell:
wsl --manage Ubuntu --set-sparse true
Code language: JavaScript (javascript)
Swap in your distro name if it’s not Ubuntu. You can list your distros with wsl -l -v.
If you’d rather compact the disk manually, the old way still works. Shut WSL down, then use diskpart from a PowerShell window running as Administrator:
wsl --shutdown
diskpart
# In diskpart:
select vdisk file="C:\Users\YourUsername\AppData\Local\...\ext4.vhdx"
compact vdisk
exit
Code language: PHP (php)
Running sudo fstrim / inside WSL2 first tells the file system which blocks are actually free, which makes the compact step more effective.
Faster, Saner Networking: Mirrored Mode and DNS Tunneling
By default WSL2 sits behind NAT with its own virtual network. That’s the source of half the classic WSL2 pain: localhost weirdness, broken VPNs, no IPv6, and DNS that dies the moment your corporate VPN connects.
On Windows 11 22H2 and newer, mirrored networking replaces the NAT setup. WSL2 mirrors the network interfaces of the Windows host, which gets you working localhost in both directions, IPv6, and much better VPN compatibility. DNS tunneling routes name resolution through Windows directly instead of over the virtual network, which fixes most of the classic DNS failures too:
[wsl2]
networkingMode=mirrored
dnsTunneling=true
Code language: JavaScript (javascript)
The old trick of hand-editing /etc/resolv.conf with a public nameserver still works as a last resort on Windows 10, but on Windows 11 you shouldn’t need it anymore. DNS tunneling is the cleaner fix.
Networking in WSL2 is its own rabbit hole, and I wrote a separate WSL2 network settings and configuration guide that covers NAT vs mirrored mode, port forwarding, and firewall behavior in detail.
Better Mount Options for Windows Drives
When you do need to work on /mnt/c, you can at least make it less painful. The mount options live in /etc/wsl.conf inside your distro:
[automount]
options = "metadata,noatime"
Code language: JavaScript (javascript)
metadata lets Linux store real file permissions on Windows files, so chmod actually does something. noatime stops Linux from writing a timestamp on every read, which removes a chunk of pointless I/O. Restart WSL with wsl --shutdown to apply it.
Just keep expectations realistic. Mount options make /mnt/c somewhat faster. They don’t make it fast. Moving the files is still the real fix.
Windows Defender Exclusions (Read This First)
Real-time antivirus scanning adds overhead to file operations, and dev workloads are exactly the kind of many-small-files pattern that hurts most. Excluding your WSL2 project directories and the ext4.vhdx file from Defender’s real-time scanning gives a noticeable speedup on file-heavy work.
But be honest with yourself about the tradeoff. An exclusion means that path is not being scanned, full stop. On a personal machine where you know what runs in your distro, it’s a defensible choice. On a work machine, talk to your IT team instead of quietly excluding half the disk. I’m a developer, not your security department.
You’ll find the settings under Windows Security, then Virus & threat protection, then Exclusions.
Docker Performance in WSL2
Docker deserves its own mention because it multiplies every mistake above. The rules that matter:
- Use the WSL2 backend in Docker Desktop, not the legacy Hyper-V one.
- Keep bind mounts inside the Linux file system. Mounting a
/mnt/cpath into a container drags the 9P tax into every container file operation. - Prune images and build cache regularly with
docker system prune. Combined with sparse VHDs, the space actually comes back. - If you run
dockerddirectly inside WSL2, remember theautoMemoryReclaimcaveat from above.
If you haven’t set Docker up yet, my Docker in WSL2 guide walks through the whole thing.
Smaller Tweaks That Add Up
Raise the inotify watch limit
Dev servers and file watchers burn through the default inotify limit fast, and hitting it makes hot reload silently slow or flaky. Create /etc/sysctl.d/99-wsl.conf:
fs.inotify.max_user_watches=524288
Apply it with sudo sysctl --system.
Turn off what you don’t use
If you never run Linux GUI apps, disable WSLg support in .wslconfig with guiApplications=false and save the overhead. Same idea inside the distro: check service --status-all or systemctl list-units --type=service and disable services you don’t need at boot.
Keep WSL itself updated
WSL ships as a Store app now and gets regular updates with real performance and networking fixes. This one costs you a single command:
wsl --update
Put the VHDX on your fastest drive
Everything in your distro is I/O against that one ext4.vhdx file. If it sits on a slow secondary drive, all of WSL2 is slow. Keep it on your fastest NVMe SSD. If you need to move it, export and import the distro or see the disk section of my file system guide linked above.
Measure Before and After
Don’t tune blind. Install the basic monitoring tools inside WSL2:
sudo apt update
sudo apt install htop ncdu iotop
htop shows you CPU and memory in real time, free -h confirms your memory limits took effect, ncdu finds what’s eating the disk, and iotop shows who’s hammering I/O. On the Windows side, wsl --version tells you which WSL build you’re on and Task Manager shows what the VM (listed as Vmmem) is really using.
FAQ
Why is WSL2 so slow on /mnt/c?
Because Windows files are accessed through the 9P file protocol, which adds overhead to every file operation. Workloads with many small files suffer the most. Keep your projects on the Linux file system and the problem disappears.
How much RAM does WSL2 use?
By default, up to 50% of your total RAM, plus a swap file at 25% of that. You can cap it with the memory setting in .wslconfig, and on Windows 11 the autoMemoryReclaim setting returns idle cached memory to Windows automatically.
How do I shrink the WSL2 virtual disk?
Enable sparse VHDs with wsl --manage <distro> --set-sparse true so freed space goes back to Windows on its own. For a one-time cleanup, run sudo fstrim / inside WSL2, shut it down, and compact the VHDX with diskpart.
Is WSL1 faster than WSL2?
Only for one thing: heavy file access on the Windows drive. WSL1 reads NTFS directly, so it beats WSL2 on /mnt/c workloads. For everything else, including native Linux file speed, system call compatibility, and Docker, WSL2 wins clearly.
Conclusion
WSL2 performance isn’t magic. Put your code on ext4, give the VM sensible limits, let it hand memory and disk space back to Windows, and use mirrored networking on Windows 11. Do those and WSL2 stops feeling like a VM and starts feeling like a fast native Linux box that happens to run next to your Windows apps.
Change one thing at a time and measure. It’s tempting to paste a giant config from the internet, but when something breaks you want to know which line did it.
Once it’s fast, make it nice to look at. My in-depth Windows Terminal customization guide for WSL2 covers ZSH, Oh My Posh, and everything else that makes the terminal a place you actually want to work in. And if anything here didn’t behave as described, the official Microsoft WSL configuration docs are the reference I checked every setting against.

I have been trying to figure this out for month now i was given up on WSL just started using ubuntu itself but needed wsl thanks to this i managed to fix my internet speed thank you so much
You already specify
“`
swap=2GB
“`
in the wslconfig. Why allocate another swap file inside the WSL VM? (LLM-generated content?)