OpenVAS is a framework of different services and tools for vulnerability scanning and vulnerability management. With vulnerability management, you look through the eyes of a potential attacker at your infrastructure. The goal is to find potential security issues before attackers will find them. In this tutorial, I show you how to install OpenVAS on Linux.
Table of Contents
- Introduction
- Installing Rocky Linux
- Preparing
- Enable Power Tools and Install Epel
- Install Atomic Yum Repository
- Install OpenVAS
- Configure GVM
- Getting Started
- Conclusion
Introduction
In this tutorial, we will use the free community edition of OpenVAS. For commercial use, I recommend getting the enterprise edition. It’s also possible to get a fully installed VM from the website of the vendor but we will build it all from the scratch on a rocky-linux vm.
Installing Rocky Linux
First of all, you‘ll need to get the newest rocky-linux minimal image from the website of the project. Just download the image and install a new rocky VM. In our case, we use Oracle VirtualBox.
Preparing
First of all, we check for the latest update of the OS:
sudo dnf update -yThe installer will now install all the latest updates for our system. Dependent on your internet connection and build-state of the image it can take some time.
We‘ll also need to install wget. It’s not included in the minimal installation of rocky-Linux.
sudo dnf install wget -yEnable Power Tools and Install Epel
Powertools provides developer-related tools and libraries. Some of the needed EPEL packages depend on PowerTools packages, so we need to enable them first.
sudo dnf config-manager --set-enabled powertoolsCode language: JavaScript (javascript)After this, we have to install EPEL (EPEL stands for Extra Packages for Enterprise Linux). This is the most important package source for RHEL and CentOS-Users.
sudo dnf install epel-release.noarch -yCode language: CSS (css)After this we run another update, just to be safe.
sudo dnf update -yInstall Atomic Yum Repository
The Atomic or A.R.T. (Atomic Rocket Turtle) RPM repository is an open-source unsupported archive of software packages specifically for the CentOS and Redhat communities.
wget -q -O - https://updates.atomicorp.com/installers/atomic | sudo shCode language: JavaScript (javascript)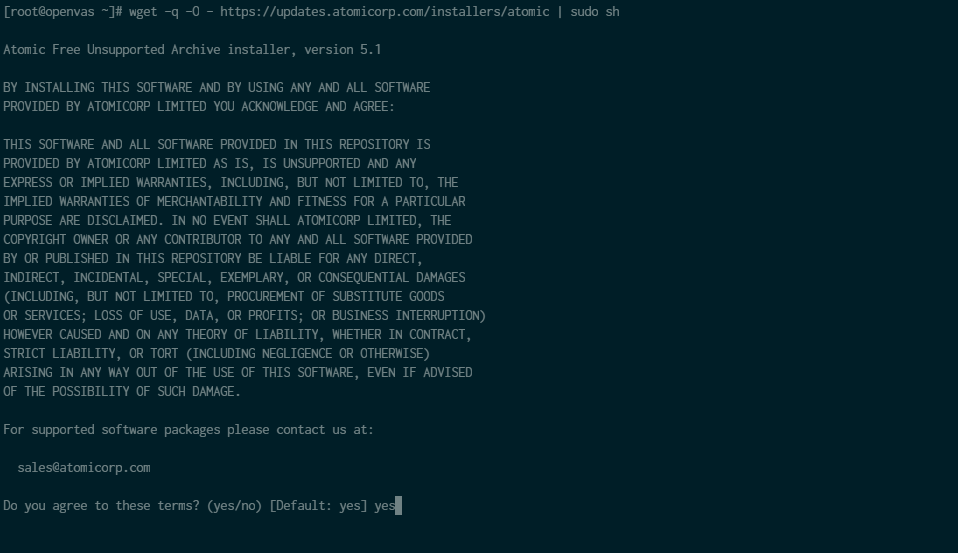
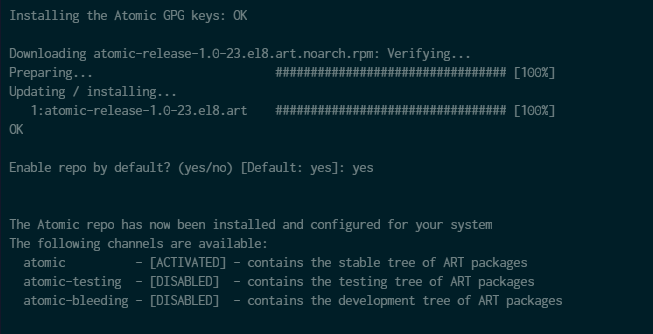
We agree to the terms of use with yes and enable the repo by default.
Install OpenVAS
Now it’s time to install the gvm-scanner.
sudo dnf install gvm -yThere are around 400 packages to install this can take some time.
Configure GVM
Before we start to configure gvm it’s important to disable SELinux, otherwise, the configure-process will not continue.
sudo sed -i 's/=enforcing/=disabled/' /etc/selinux/configCode language: JavaScript (javascript)It’s time for a reboot so that changes take effect.
sudo shutdown –r nowAfter this, we start the configuration of gvm.
gvm-setupDuring this process, gvm will update the Network Vulnerability Tests feed from the Greenbone Security Feed/Community Feed this can take some time depending on your internet connection.
Take a coffee-break ☺
After the update process, you’ll need to set an admin password for the web-gui.
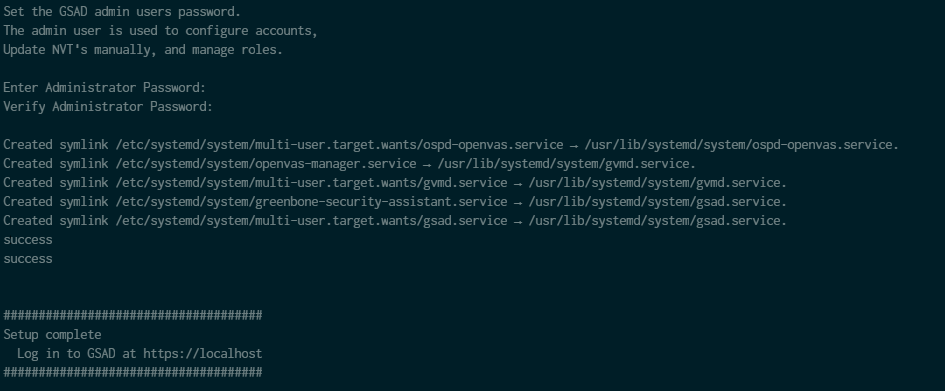
Getting Started
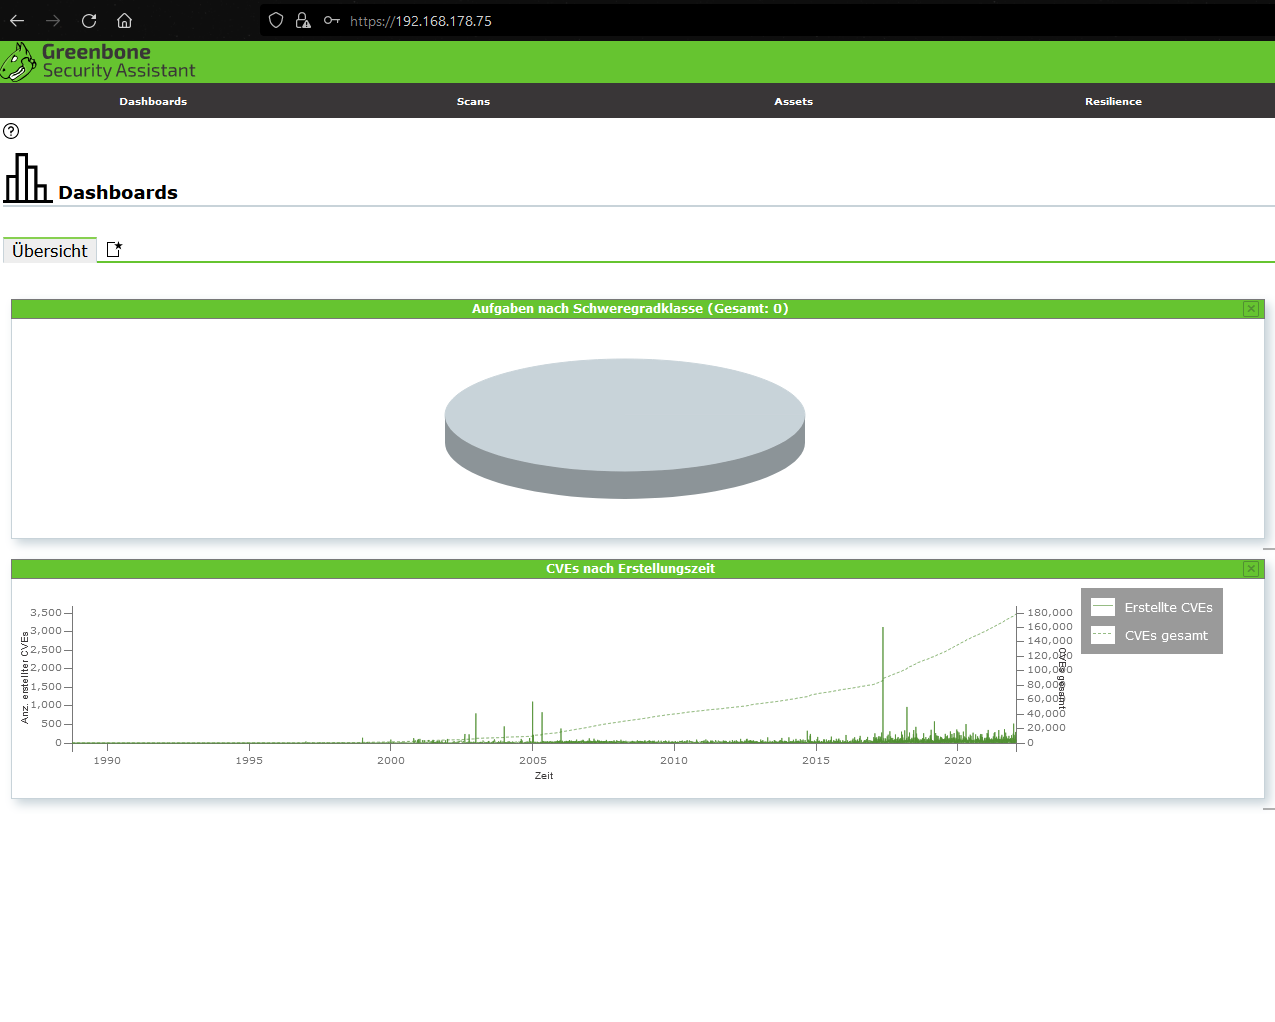
And you’re ready to start. You can access the web interface with your server/vm-ip in your browser.
https://your-ip-adress
You can log in with the admin credentials that you set while the installation.
Conclusion
This is how to install OpenVAS on Red Hat Linux.
This article was written by Max Wilke, who regularly writes over at his own blog.
Am I disabling selinux just to get the configuration process to work and then re-enabling it to protect the system? Or is the suggestion/requirement that I leave selinux disabled and, if so, why? Thanks!
This guide is great, but patially incomplete.
1) missing python module:
As of today (august 2022), following the instructions above will end up with ospd-openvas failing to start with this error. At least thiss was my experience on Rocky Linux 8.6.
Traceback (most recent call last):
File “/opt/atomicorp/bin/ospd-openvas”, line 5, in
from ospd_openvas.daemon import main
File “/opt/atomicorp/lib/python3.8/site-packages/ospd_openvas/daemon.py”, line 33, in
from lxml.etree import tostring, SubElement, Element
ModuleNotFoundError: No module named ‘lxml.etree’
ospd-openvas.service: Main process exited, code=exited, status=1/FAILURE
ospd-openvas.service: Failed with result ‘exit-code’.
This can be fixed by applying the following fix:
alternatives –set python3 /usr/bin/python3.8
2) missing sudo entries
For this all to work, the gvm user has to be able to run a few things via /etc/sudoers, otherwise scans will fail.
gvm = NOPASSWD: /usr/sbin/openvas
gvm = NOPASSWD: /usr/sbin/gsad
3) database/feed updates
Lastly, the following cron file should exist for the gvm user: (frequency and times are up to you. The EXAMPLE below runs the various updates at 5:15am, 6:15,.. 8:15. Please CHANGE these for your site so everyone isn’t hitting the servers at the same time…….
15 5 * * * /usr/sbin/greenbone-feed-sync –type GVMD_DATA
15 6 * * * /usr/bin/greenbone-nvt-sync
15 7 * * * /usr/sbin/greenbone-feed-sync –type SCAP
15 8 * * * /usr/sbin/greenbone-feed-sync –type CERT
How to update cve feeds manually
Hi there, huge thanks for this tutorial!
Though I’ve ran into a little problem. The feed status says for all types “Update in progres…” Any idea how I can check what is going wrong here?
Hello!
If I understand it right, does the update feed process hang off?
Have you any output in the logs?
You can come over to the ceos3c-discord, there we can have a short talk about your specific problem.
Regards,
Max
Thank you for your response Max,
It turned out to be a firewall setting that needed to be set. Problem solved!
Will join the discord though 🙂