It’s about time for an updated version of the Install Ubuntu Server 18.04 LTS Tutorial. I plan a couple of Tutorial Updates dedicated to the newest Ubuntu Server release, so why not cover the installation itself as well. The new installer is actually ridiculously easy. For those unsure or completely new to Linux, you can follow through the steps with me!
For this Tutorial, I will install Ubuntu Server 18.04 LTS on VirtualBox. The steps are the same if you want to install it on a Physical Computer. If you need to create a Bootable USB Drive, I got you covered.
Before you start make sure to Download Ubuntu Server 18.04 LTS.
If you want to skip the VirtualBox installation, continue with Step 2.
Table of Contents
- Step 1 – Create a new VirtualBox Machine
- Step 2 – Install Ubuntu Server 18.04 LTS
- Step 3 – Logging in to Ubuntu Server 18.04
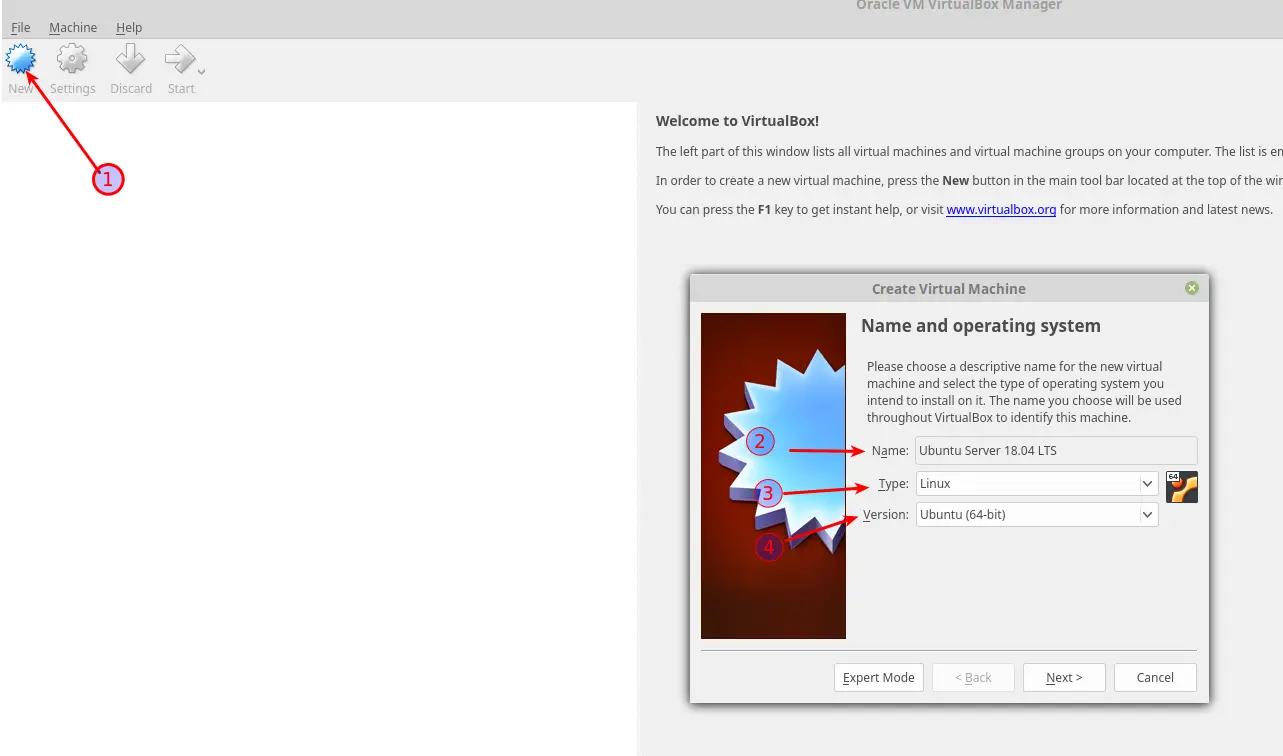
Step 1 – Create a new VirtualBox Machine
Open VirtualBox, click on New and enter a Name for your Machine. If you put Ubuntu Server, it automatically chooses the right Type & Version. If not, select as below.
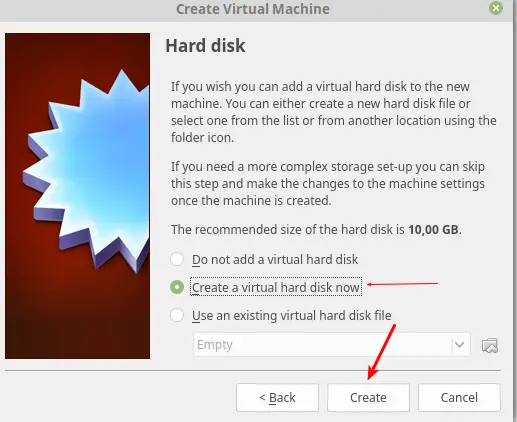
Step 1.1 – Creating a Hard Drive
Now we are going to create a new Hard Drive.
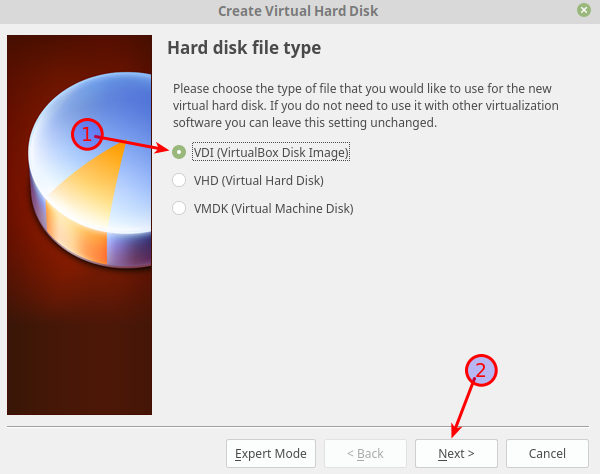
Choose VDI for VirtualBox Disk Image and click Next.
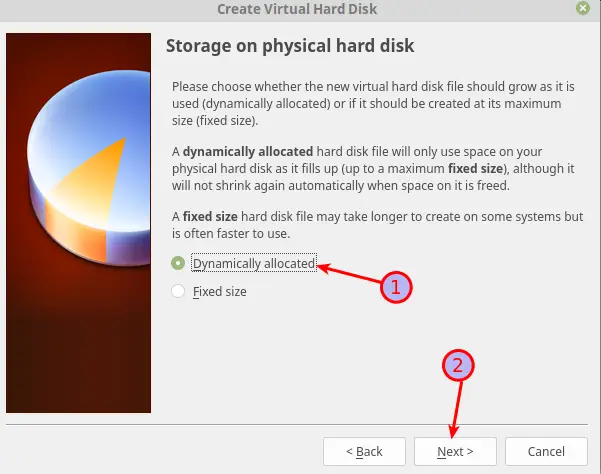
Choose Dynamically Allocated to save us some physical Disk Space.
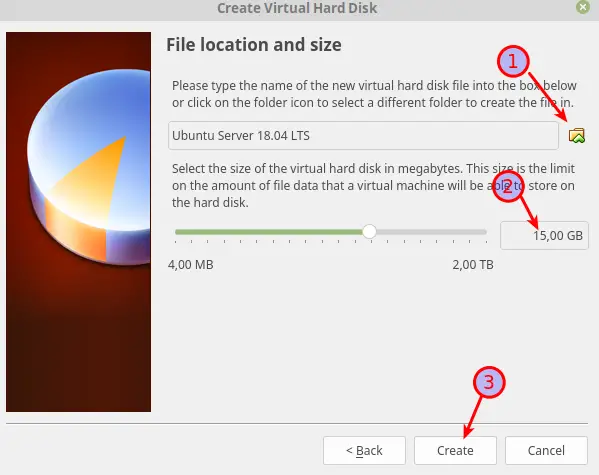
Choose where you want to save the Virtual Hard Drive and the Size according to your needs, go for at least 10GB.
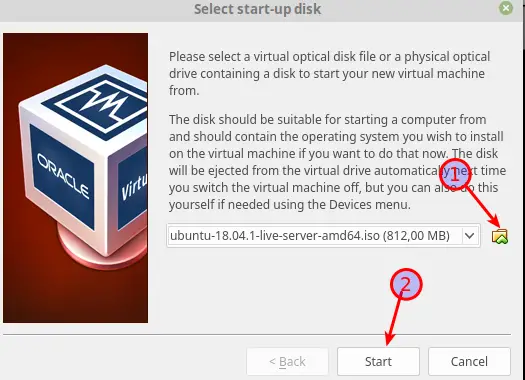
Step 1.2 – Starting the VM
Now click on Start to start the VM. Select the Image you downloaded earlier from your Downloads folder and click Start again.
Step 2 – Install Ubuntu Server 18.04 LTS
Alright, time to run through the installer. It’s so far simplified that you basically can’t do anything wrong. Anyway, I promised a Step by Step, here it is.
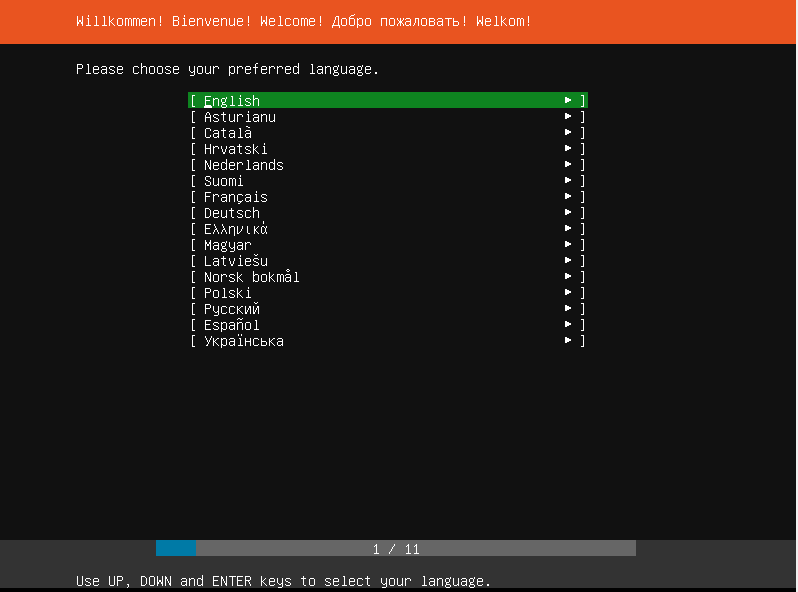
Step 2.1 – Choosing a Language
Step 2.2 – Choosing a Keyboard Layout

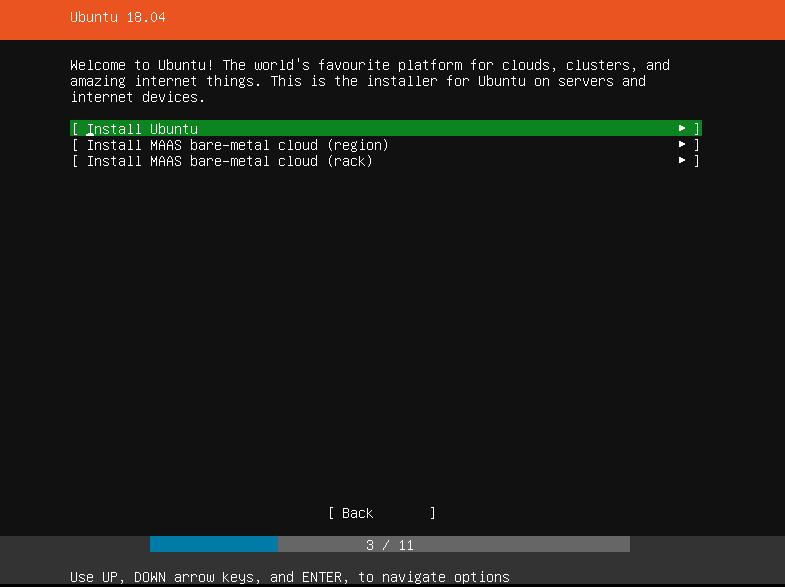
Step 2.3 – Choose to install Ubuntu or install MAAS
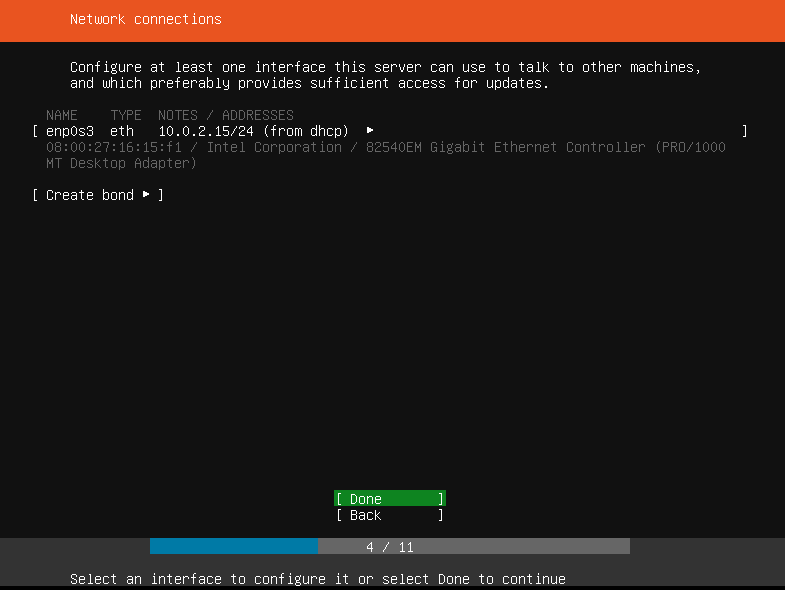
Step 2.4 – Network Settings
Either leave the IP supplied by your DHCP Server or enter one Manually.
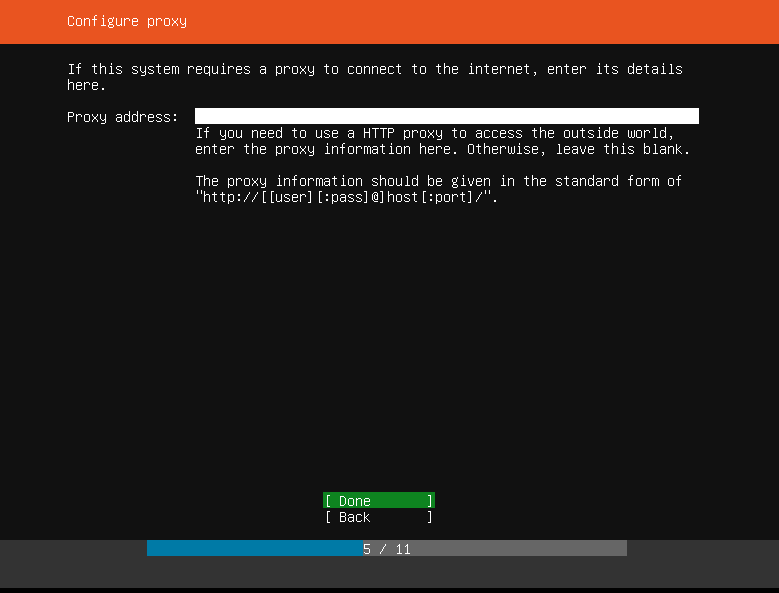
If you have one, enter your Proxy Server Address.
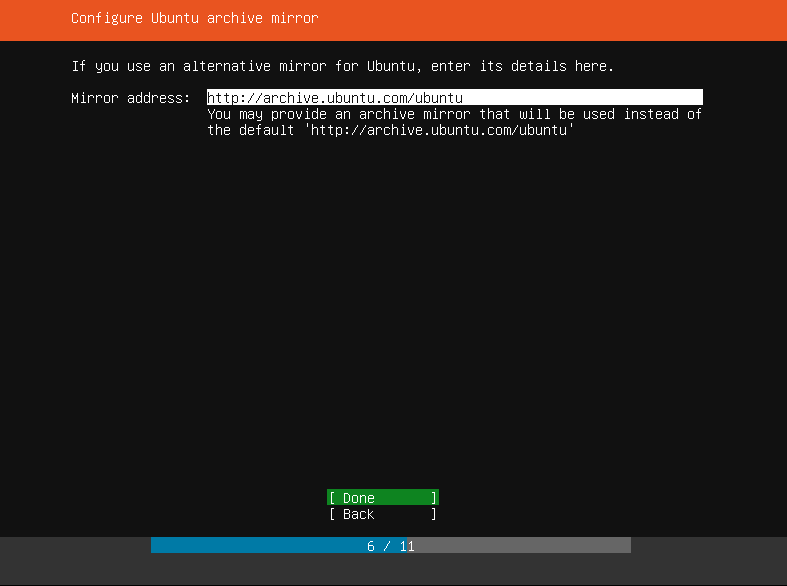
Step 2.5 – Choose a Mirror
If you have any reason to change the default Mirror, do it here.
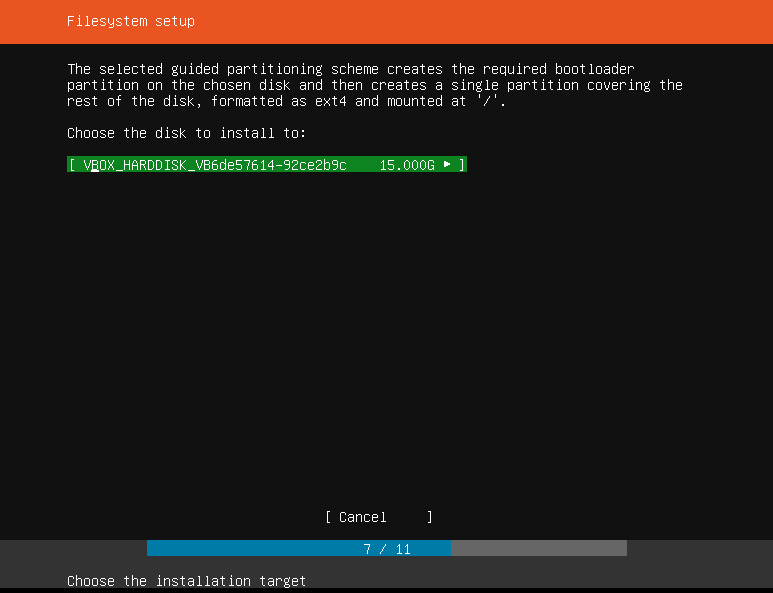
Step 2.6 – Hard Disk Configuration
Choose Use Entire Disk for a normal installation or choose to Use an Entire Disk and Set up LVM if you need encryption.

Choose the correct Hard Drive where you want to Install Ubuntu Server 18.04 LTS on.
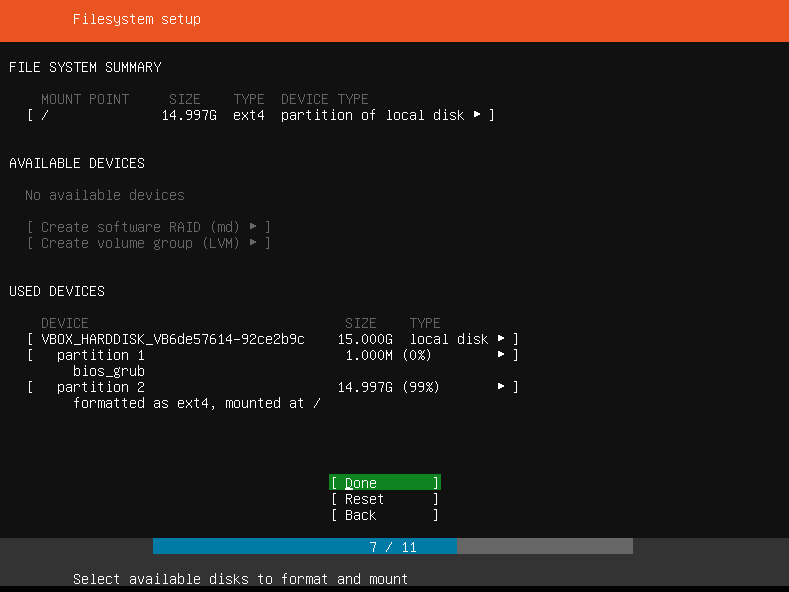
Step 2.7 – Summary
Check if everything is right and click Done.
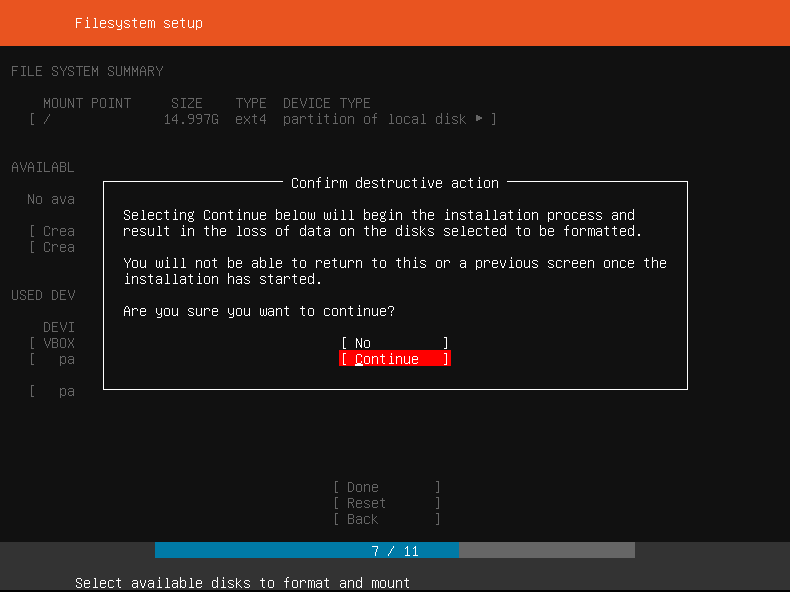
Select Continue, confirming your Hard Drive will get wiped.
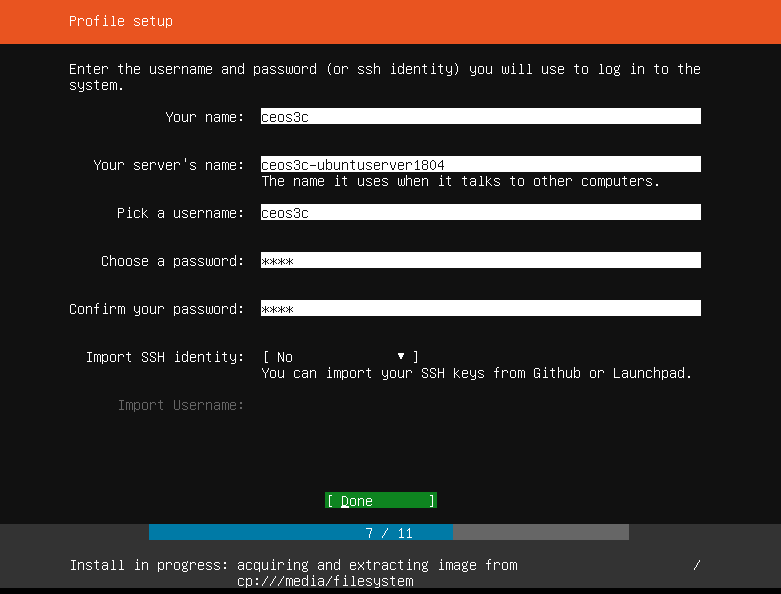
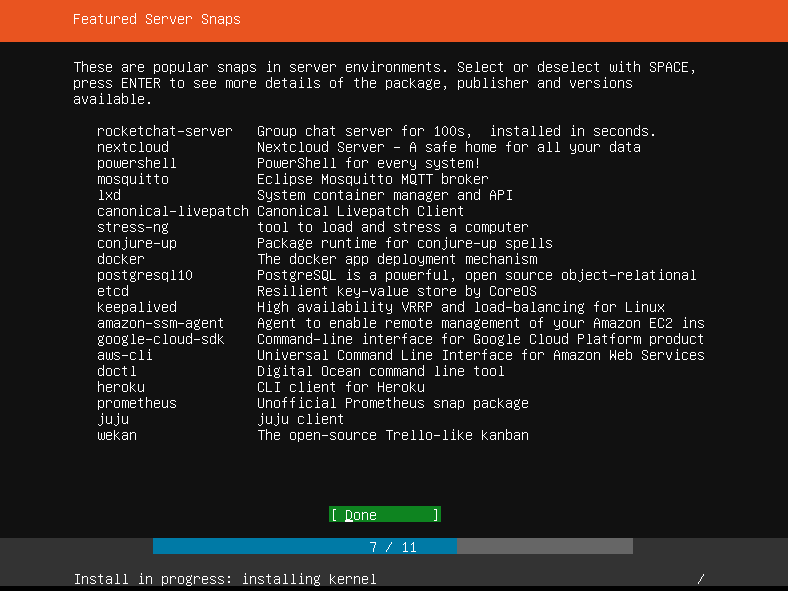
Step 2.8 – Entering Credentials & Selecting Featured Server Snaps
Enter your Credentials and Machine Name.
The next step is new. You can select Featured Server Snaps, meaning you could choose to use a pre-configured Server. There are a couple of options available, like NextCloud. Which is cool.
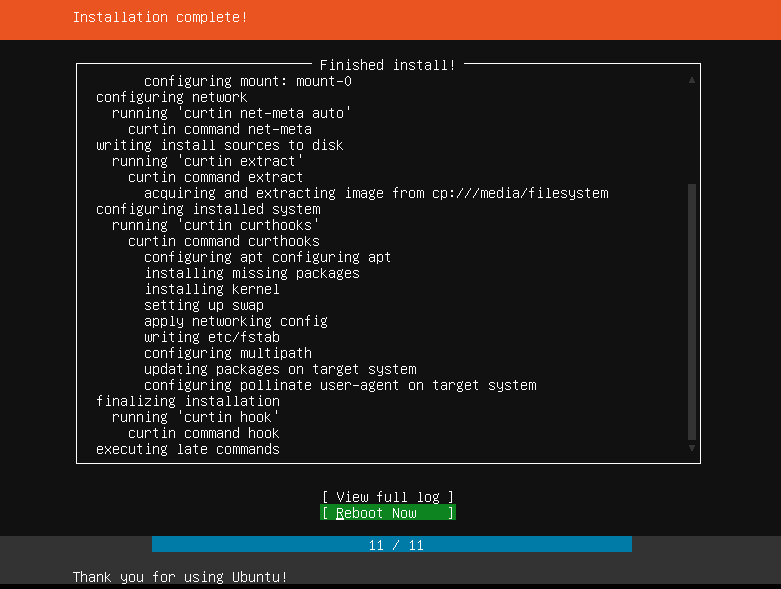
After this, the installer will do its job. Click Reboot Now once it’s done and hit Enter again when it tells you to Remove the Image. VirtualBox does that automatically for you.

Step 3 – Logging in to Ubuntu Server 18.04
And you are done! Now you can log in to your brand new server using the credentials you created earlier. I recommend updating the System first by running:
sudo apt-get update && sudo apt-get upgrade -yCode language: JavaScript (javascript)This concludes this Tutorial.
With step 2.4 and trying to understand what the best practice is. If I have a static ip assigned to my router by my isp and my ubuntu would be installed on a system behind this what ip should i use. Do i use 127.0.0.1 at this step or lets say a 192.168.2.* and then add this to a dmz and allow traffic to flow to it. I would be running more than one test website on this server eventually