
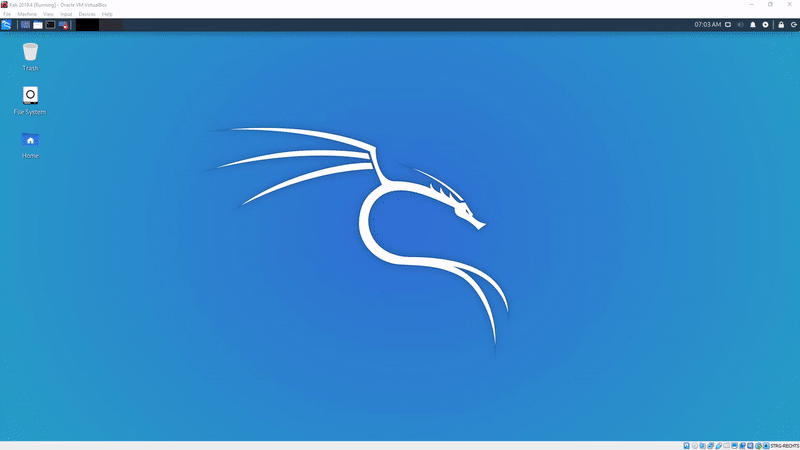
Since the release of Kali Linux 2019.4 we have seen some major changes to our favorite OS. In this article, we will talk about the coolest new feature that came with Kali Linux 2019.4, the new Kali Undercover Mode.
This mode allows you, with the press of a button, to switch Kali’s appearance to something resembling Windows 10. I’ll show you how to do that.
Table of Contents
- What’s the purpose of the Kali Undercover Mode
- Step 1 – How to enable Kali Undercover Mode
- Step 2 – How to get out of the Kali Undercover Mode
- Step 3 – Creating a Shortcut to the Kali Undercover Mode
- Where to go from here?
- Conclusion
What’s the purpose of the Kali Undercover Mode
As the name suggests, it’s to keep yourself undercover. Imagine you sit in a Café working on a client’s contract, all legal, with no bad intentions. You have your Hacking Laptop covered in 1337 hacking stickers.
People nowadays are aware of Hackers. Now, if you also have a terminal, or multiple terminal windows open, you surely will attract unwanted attention.
It actually happened to me before. I was literally politely asked to leave the coffee shop, as someone has probably had complained to the owner that “there is a hacker at bay” and people apparently felt “insecure” or were scared that I would hack their devices. What I was actually doing was writing a POC Report for a bug.
Now imagine you would be able to go undercover with the Kali Undercover mode and be able to have a friendly-looking Windows 10 Desktop. Nobody would ever suspect anything evil from a Windows user, right?
Of course, there is the other use-case of the Kali Undercover mode, that you are actually doing something you want to go undetected, for example in a penetration testing assignment. Maybe you social engineered your way inside of a company, sitting at a desk in the target company. This is where the Kali Undercover mode could come in really handy!
I see a couple of use-cases where this is a cool feature, I certainly like it very much. But now, Let’s look at how to use it!
Step 1 – How to enable Kali Undercover Mode
Very easy.
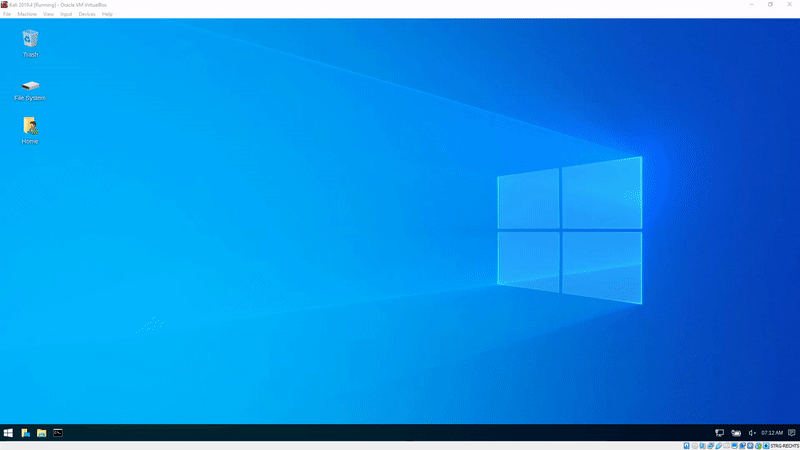
Open the Start Menu -> Other -> Kali Undercover Mode.
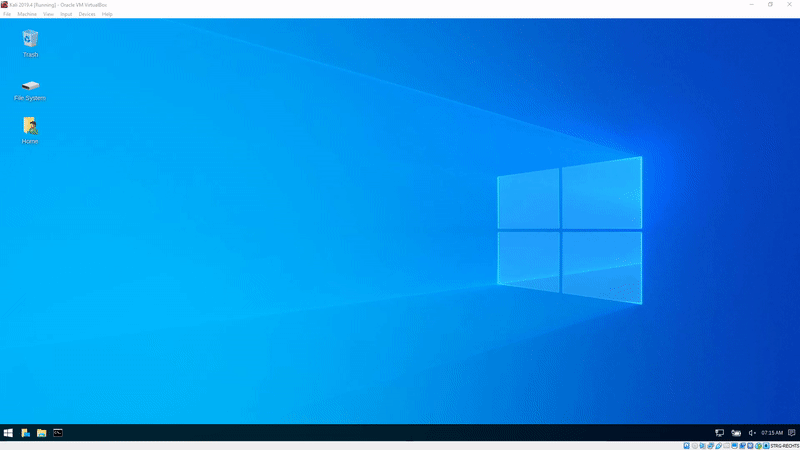
As you can see, it happens with the click of a button. You can see that it really looks like a vanilla Windows 10 machine now. You can even use the Windows 10 Start Menu to open your Kali tools and even the folder structure in the file explorer looks like Windows 10!
Step 2 – How to get out of the Kali Undercover Mode
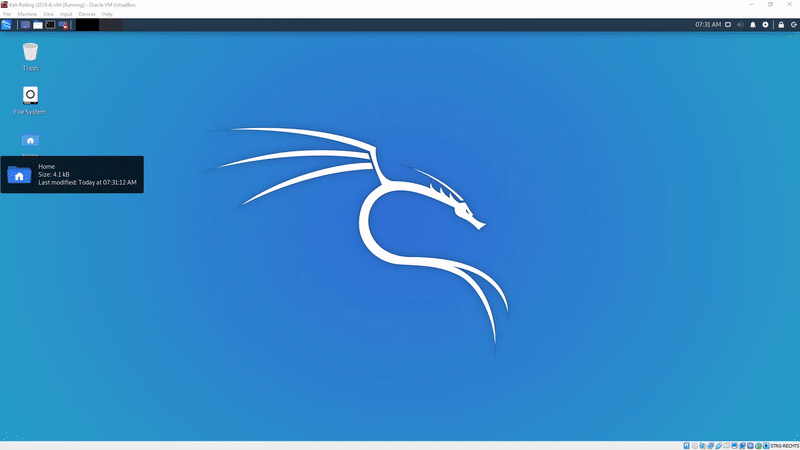
The exact same way you got in. Open the Start Menu -> Other -> Kali Undercover Mode and you are back to Kali’s XFCE Interface.
Now you probably got thinking “Well, that is quite cumbersome, is there no way to access this undercover mode faster?“. And of course, you are right, there is an easier way.
Step 3 – Creating a Shortcut to the Kali Undercover Mode
Gladly, it is very easy to create a shortcut. Just open the Start Menu -> Other -> Right-click Kali Undercover Mode -> Add to Panel. Now you see a small undercover symbol in the upper-right corner of your taskbar. Click on it to immediately enter the Undercover Mode.
Where to go from here?
If you don’t know what to do next, I highly recommend the Top Things to do after installing Kali Linux article. It shows you how to secure your system and how to install the most popular Hacking Tools. Also, the Best Hacking Books article would be another great place to start! And if that’s not enough, there are tons of videos on my YouTube Channel.
Conclusion
This definitely marks my favorite feature of Kali 2019.4, apart from the fresh XFCE Desktop Environment. It’s good to see that the guys from Kali also have user experience in mind. This certainly is one of the bigger upgrades within the past few months. Check it out yourself. I am excited to see what the future brings and how well the community takes the change from Gnome to XFCE.
So far, I really like it.