Welcome back, fellow Hackers! Today you will learn the most Basic Metasploit Commands. Hacking with Metasploit is a new series dedicated to Metasploit. In this first part, you will learn how to use Metasploit on a basic level. We will also learn how to scan for vulnerabilities with Metasploit.
We will look at the Basic Metasploit Syntax first and build up from there. Metasploit is a huge and well-known exploitation framework that every pentester should have in their repertoire. Let’s get started. Metasploit comes pre-installed on most Security Operation Systems such as Kali Linux or ParrotSec.
Table of Contents
- Starting Metasploit
- Automatic Tab-Completion
- Using Search Filters
- How to use a Module
- Additional Options
- Wrapping Up
Starting Metasploit
If you haven’t started Metasploit before, we start at the very beginning. If you are using Kali Linux and are logged in as a root user, you don’t need to put sudo in front of any syntax.
Open a Terminal Window and enter:
sudo service postgresql start
msfconsole
You will be greeted by the Metasploit Banner
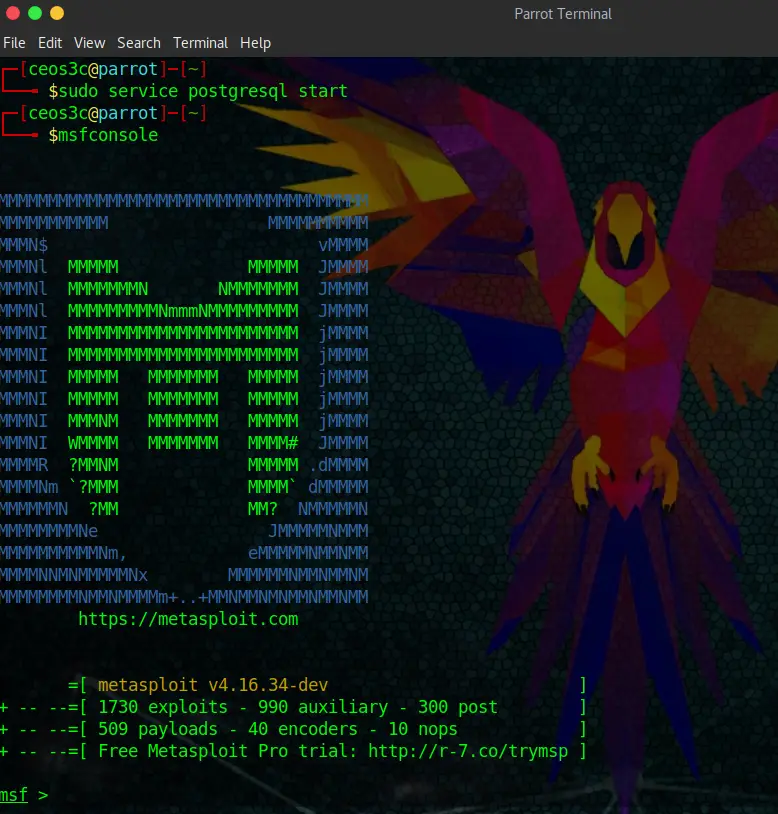
When first starting Metasploit, I would also run the following command to make sure that the Database is initiated. In my case, it already is:
sudo msfdb init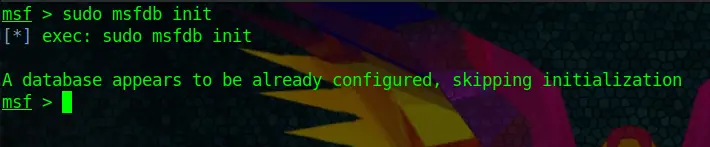
Automatic Tab-Completion
If you have used Linux before, you are probably aware of the Tab-Completion feature. Let’s have a look at it using the show feature of Metasploit. You type in show and then press the Tabulator key twice, fast. Then it shows you all the possible options for the show command:
show + {TAB} + {TAB}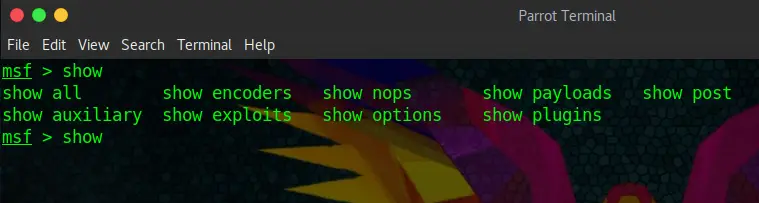
Take Tab-Completion to heart, as you will be using it all the time.
Let’s use the show command now to look at some auxiliary modules. After typing the command, Metasploit will take a good amount of seconds to present you with some results, as it’s listing ALL its auxiliary modules.
show auxiliaryA snippet of the output looks like this:
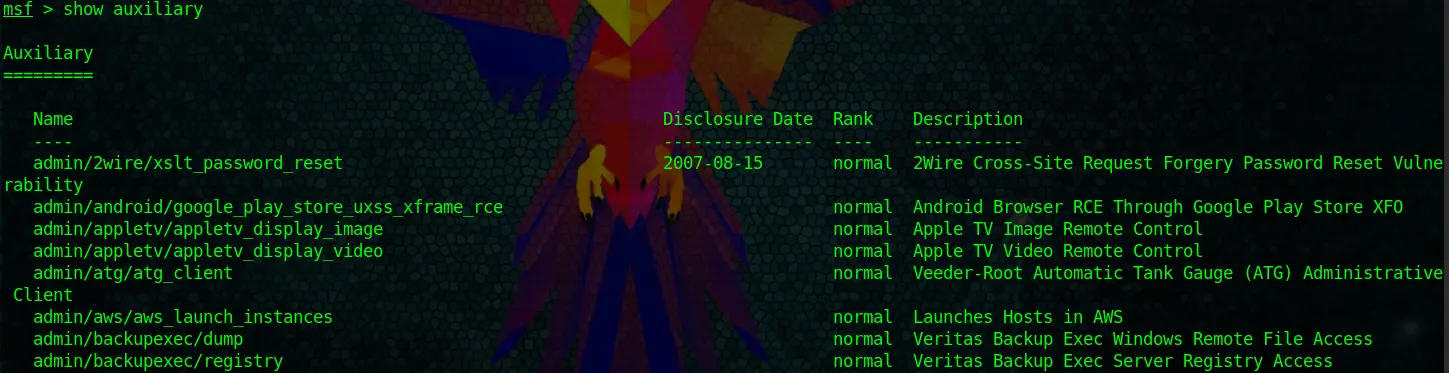
If you want to read through that Behemoth of a list, knock yourself out. I prefer to use filters.
Using Search Filters
Let’s look at the filter options first.
  app       :  Modules that are client or server attacks(For example: client)
  author    :  Modules written by this author
  bid       :  Modules with a matching Bugtraq ID
  cve       :  Modules with a matching CVE ID (For example: cve:2011)
  edb       :  Modules with a matching Exploit-DB ID
  name      :  Modules with a matching descriptive name (For example: Microsoft)
  platform  :  Modules affecting this platform
  ref       :  Modules with a matching ref
  type      :  Modules of a specific type (exploit, auxiliary, or post)
  path      :  Search within a specific Module Path (For example: windows/smb or windows/vnc)Code language: plaintext (plaintext)
You can also pull that up yourself by typing:
help searchSo, let’s utilize this syntax now to find a VNC exploit on Windows:
search type:exploit name:vncCode language: CSS (css)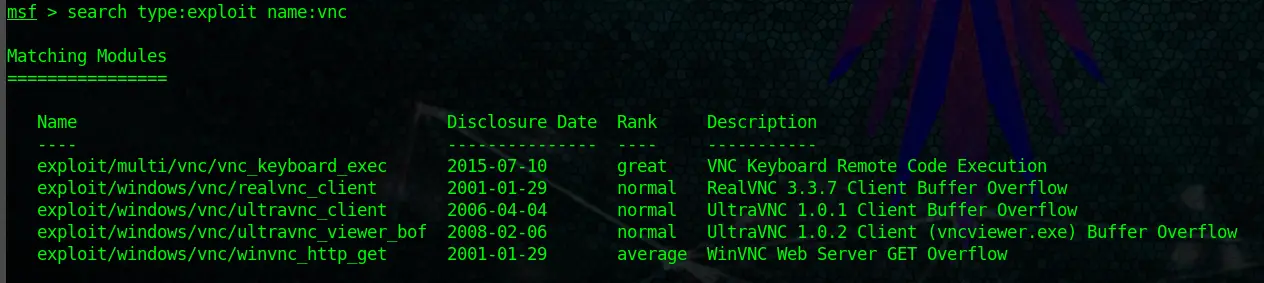
And as you can see, we get all the VNC exploits listed.
If you want to search for a certain CVE number, you can do it by using:
search cve:2017-0143Code language: CSS (css)
You get the idea.
How to use a Module
Now that you have learned how to search for modules and use certain filters, we will learn how to use them. Let’s take the CVE-2017-0143 Module above for this example. You can see the output of our search is: auxiliary/scanner/smb/smb_ms17_010
If we want to use this exploit, we need to type the exact path like so (don’t forget to use a double Tab to auto-complete!)
use auxiliary/scanner/smb/smb_ms17_010Code language: PHP (php)
Now you are using the module. If you want to go back to your main msf root, you can do that by simply typing:
backEvery module requires you to set options. For example, the target computer. Metasploit doesn’t know which target you want to attack, so you need to set that up first. Each and every module has options. You can view them by typing:
show options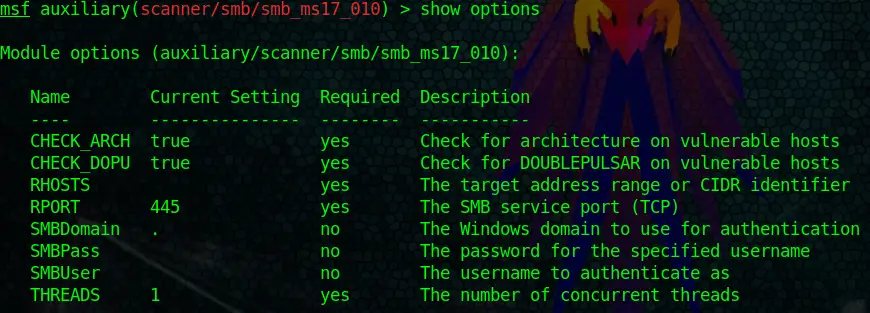
Don’t be scared; it just doesn’t look very easy.
Ok, what do we have here? The most important thing to look at first is the Required row. As you can see, some of the options are required, and some are not. For the most part, you can ignore the not required options and still run the module.
You can treat them as optional settings. Now, look at RHOSTS, for example. It is required, yet there is no value set. RHOSTS indicate your target. So you have to set it to the IP Address of the computer you want to attack. In our case, we are going to set it to our Metasploitable2 IP Address.
set RHOSTS 192.168.1.103Code language: CSS (css)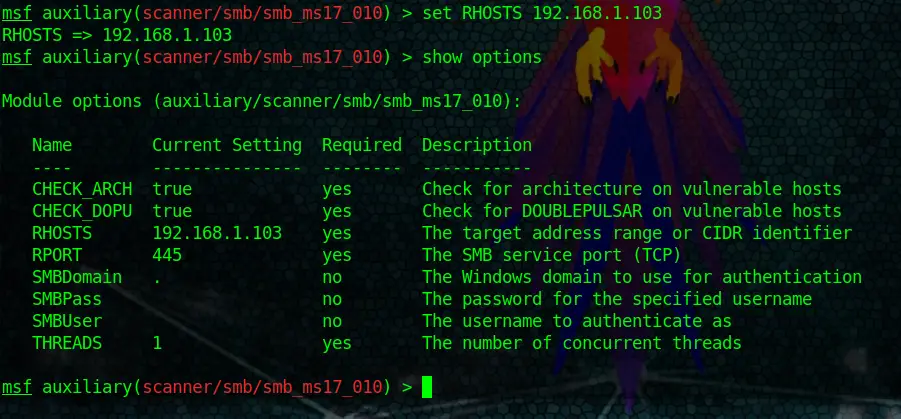
After setting RHOSTS to our Target IP and running show options once more, you can see that the IP of our Metasploitable2 VM is now included in the options. The module is ready to run now.
But look at the other options like SMBPass and SMBUser too. You could set the location of a Username List and a Wordlist here to let the module automatically try certain credentials.
Another important option is THREADS. This option lets you adjust the number of concurrent threads while scanning. If you set it higher, you can scan faster. But keep the following guidelines from Metasploit in mind:
- Keep the
THREADSvalue under 16 on native Win32 systems - Keep
THREADSunder 200 when running MSF under Cygwin - On Unix-like operating systems,
THREADScan be set as high as 256.
Now let’s say you entered the wrong IP Address and want to unset the RHOSTS option again. That is easily done by typing:
unset RHOSTSCode language: PHP (php)This resets the option back to its default value.
With the show options command, you won’t see all the options. You can use:
show options advanced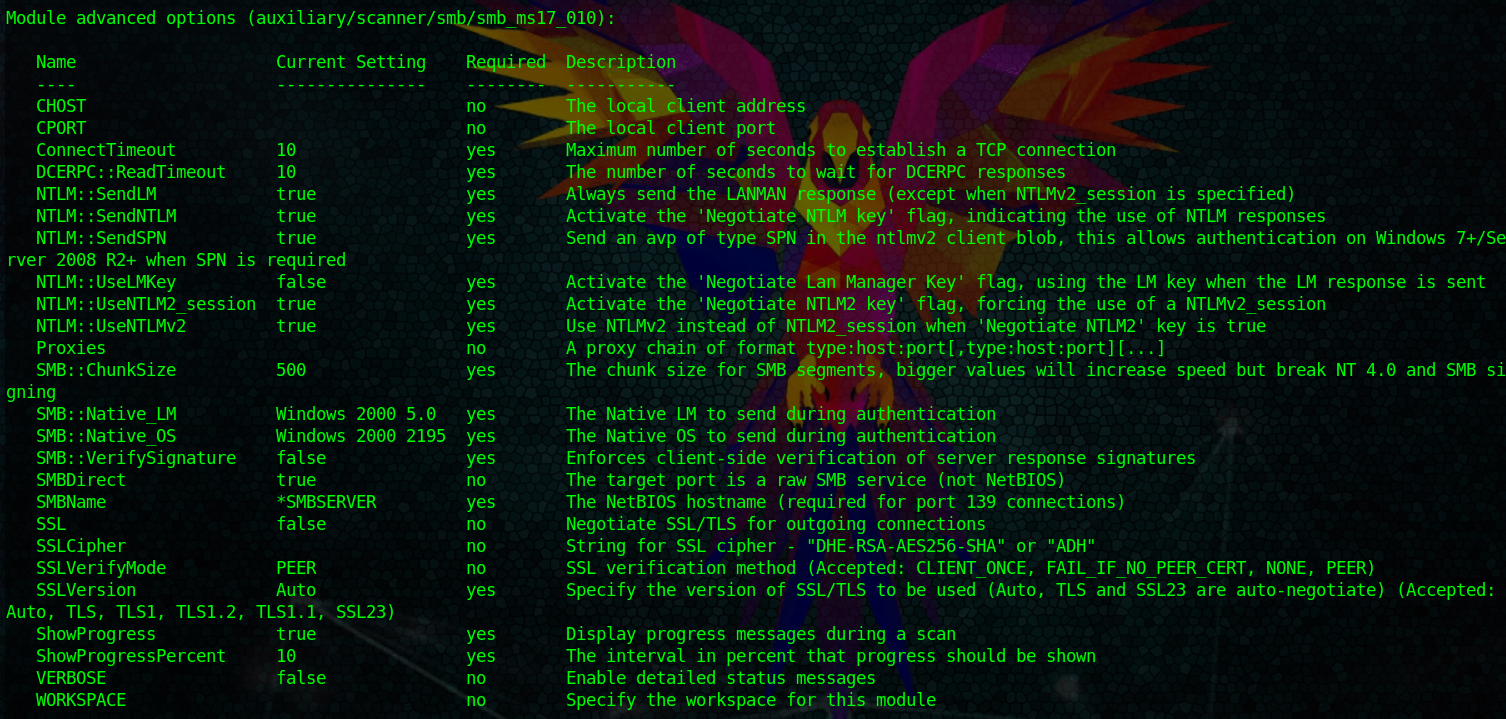
To show all of them. But mostly, you won’t touch any of those except you know exactly what you are doing.
The next command is already more of an advanced feature which we will talk about more later when we start using workspaces, but I want to cut into the topic, so you already know what I’m talking about next time.
Let’s assume you start scanning your Metasploitable2 VM with the IP of 192.168.1.103. You search for a module, and you set the IP Address of Metasploitable2 in the options of the module. Now you are going to use the back command, and you want to use a different module. You now need to set RHOSTS once again to the IP of your Metasploitable2 VM.
This is way too time-consuming for us. So what we can do is the following:
setg RHOSTS 192.168.1.103Code language: CSS (css)This is the Set Global command. This sets RHOSTS to 192.168.1.103 in ALL Modules you are going to use in this Workspace. If you want to unset it again, you guessed right:
unsetg RHOSTSThis is a really useful command to know.
Additional Options
While working with Metasploit, you can also access a lot of Linux commands directly from the Metasploit shell. Let’s say you quickly want to look up your IP Address or Network Adapter settings. You can do that directly within Metasploit:
ifconfig eth0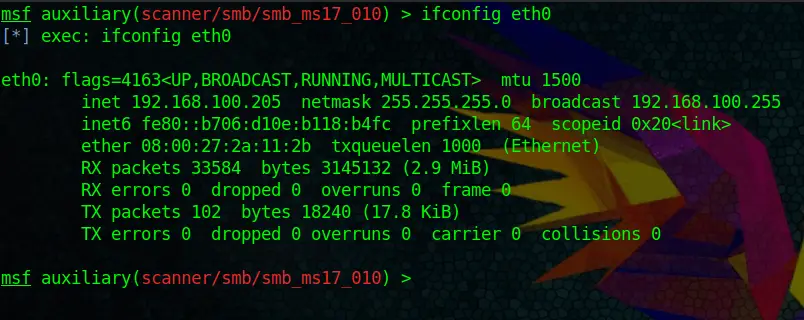
Or, as I said, many other Linux commands.
Wrapping Up
Alright; this should give you a good basic idea of how the Metasploit Syntax works. This is also just the first of many Metasploit tutorials to follow. If you get warm with Metasploit, you added an invaluable tool to your Penetration Testing Repertoire.
In the next part of this tutorial series, we are going to take a look at Metasploit Workspaces. Workspaces help you to keep your projects organized and are a must-have skill when working with Metasploit.
If you are interested in using WSL 2 on Windows for Ethical Hacking, make sure to check out my complete WSL 2 course for Ethical Hacking!
Hey I love your post
Hey Vishu, thank you! That honors me.