If you are like me and you love working with Linux, but you also want to be able to use Windows for gaming and other Windows-exclusive applications – there is a solution for you – it’s called WSL2, or Windows Subsystem (for) Linux. In this tutorial, I show you exactly how to install WSL2 on Windows, and I show you a couple of my favorite tips & tricks to make your WSL2 experience even better.
Table of Contents
- What is WSL2 used for?
- Is WSL2 better than VirtualBox?
- Is WSL2 Real Linux?
- How do I install WSL2 on Windows? Two Different Ways
- Install WSL2 on Windows – The Easiest Way
- Install WSL2 on Windows – The Manual Way
- Install Windows Terminal for WSL2
- Configure Windows Terminal for WSL2
- Conclusion
What is WSL2 used for?
I had been playing around with WSL1 back when it came originally came out, and I already liked it, but it was missing some essential features that I needed to use as a daily driver (like the capability of running network-based things like Nmap).
That way, I was still required to use Linux for my Ethical Hacking endeavors, but all of that changed once WSL2 came out. WSL2 was not only capable of running everything that you could run on a bare-metal Linux distribution, but it was also much, much faster than WSL1.
As soon as I started using WSL2 for both Penetration Testing and Programming, I never booted up an actual Linux Distribution (apart from creating tutorials for certain distributions for this blog) anymore. I fully switched over to WSL2 instead of using Virtual Machines or Bare-Metal.
The seamless integration to something like Visual Studio Code makes it an awesome tool for developing software or web applications on your Windows PC while at the same time utilizing blazing-fast development environments on WSL2. You can even run the WSL2 terminal directly out of Visual Studio Code, a feature that I learned to love a lot.
Now you probably got a grasp of why I really like WSL2. I know that a lot of people still struggle to wrap their heads around how WSL2 works and if it is a good solution for your programming or penetration testing needs (Spoiler Alert: It is!).
This is the reason why I decided to create this tutorial where I will show you how to install WSL2 on Windows. We’ll take it step-by-step as always. This is just the first article of what is probably going to be a mini-series in which I will show you my favorite WSL2 tips & tricks.
Is WSL2 better than VirtualBox?
WSL2 is a new version of the Windows Subsystem for Linux that brings significant performance improvements and is now available on all editions of Windows. WSL2 is based on a new architecture that uses a real Linux kernel and provides better compatibility with Linux applications than WSL1.
WSL2 also supports GPU acceleration for better performance and can be used to run Docker containers natively. In terms of raw performance, WSL2 is significantly faster than VirtualBox and offers better compatibility with Linux applications. WSL2 is the recommended option for running Linux on Windows and is available on all editions of Windows 10 and 11.
Is WSL2 Real Linux?
Recently, there were some discussions about whether Windows Subsystem for Linux 2 is “real” Linux. While it is true that WSL2 is not a traditional Linux system, it is also not simply a compatibility layer. Instead, WSL2 provides a full Linux kernel that is integrated into the Windows operating system. This kernel is used to run Linux binaries, and it provides all of the standard Linux system calls.
In addition, WSL2 supports many of the same features as a traditional Linux system, including file permissions and networking. As a result, WSL2 can be considered a real Linux system.
⚠️This is a Tutorial Series⚠️
Part 1 – How to install WSL 2 with Windows Terminal – Complete Guide
Part 2 – Windows Terminal Customization for WSL 2
Part 3 – In-Depth Windows Terminal Customization for WSL2
How do I install WSL2 on Windows? Two Different Ways
There are two ways to go about this. There is an easy way, and there is a long way.
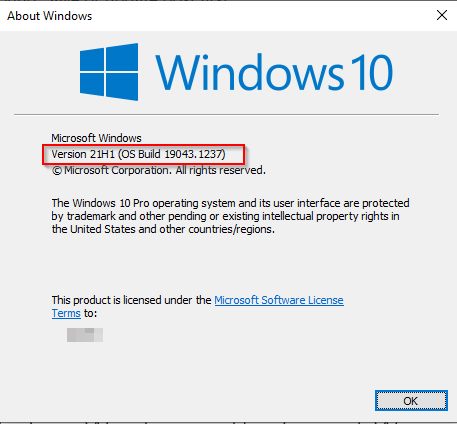
If you are running Windows 10 version 2004 Build 19041 or higher, or Windows 11 for that matter, things are really easy.
To find out which Windows version you are running, simply press the Windows Key + R and type in winver and select OK.
If you do run a lower version of Windows and can’t upgrade out for some reason, there are alternative steps below for you. Either way, I recommend you keep your Windows version Up-To-Date and simply follow along the easy way. Also, your system will be more secure!
Install WSL2 on Windows – The Easiest Way
As mentioned above, this is the easy way.
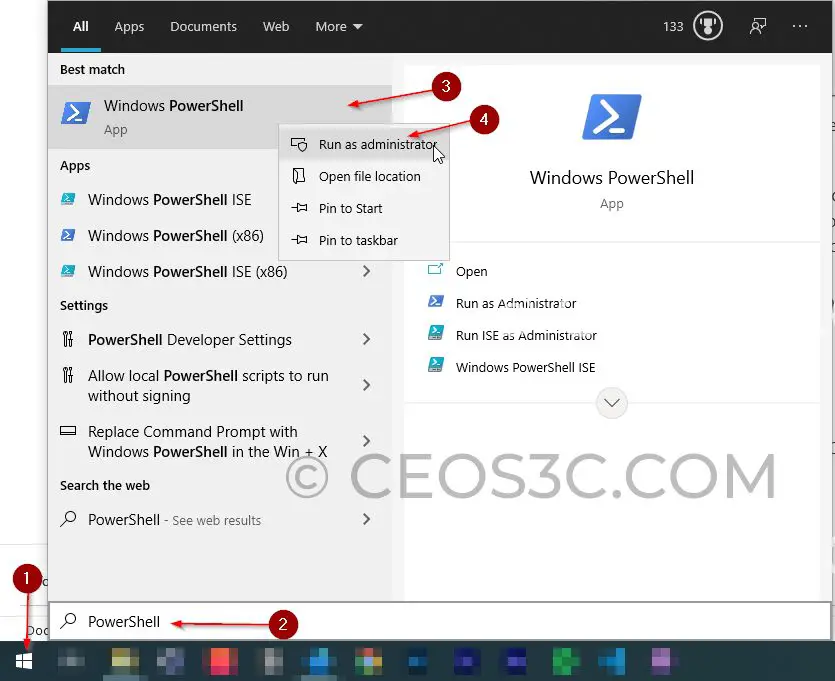
Step 1 – Open PowerShell in Admin Mode
Press your Windows Key and type “PowerShell” -> Right-Click PowerShell and select Open As Administrator.
Step 2 – Install WSL2 using PowerShell
This way of doing it will automatically install and set up everything you need to run WSL2. It will automatically enable the required components on Windows, download the latest Linux kernel for you, and it will also set WSL2 as your default version.
The official Microsoft documentation states that running:
wsl --installCode language: PowerShell (powershell)It would be enough to get the process started and, at the same time, install Ubuntu as the default WSL2 distribution. However, this did not work for me. I needed to choose which distribution I wanted to install manually.
To do this, type:
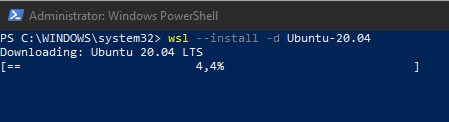
wsl --list --onlineCode language: PowerShell (powershell)And choose the flavor of your choice. In my case, I want to install Ubuntu-20.04, so I run the following command:
wsl --install -d Ubuntu-20.04Code language: PowerShell (powershell)Which starts the whole process.
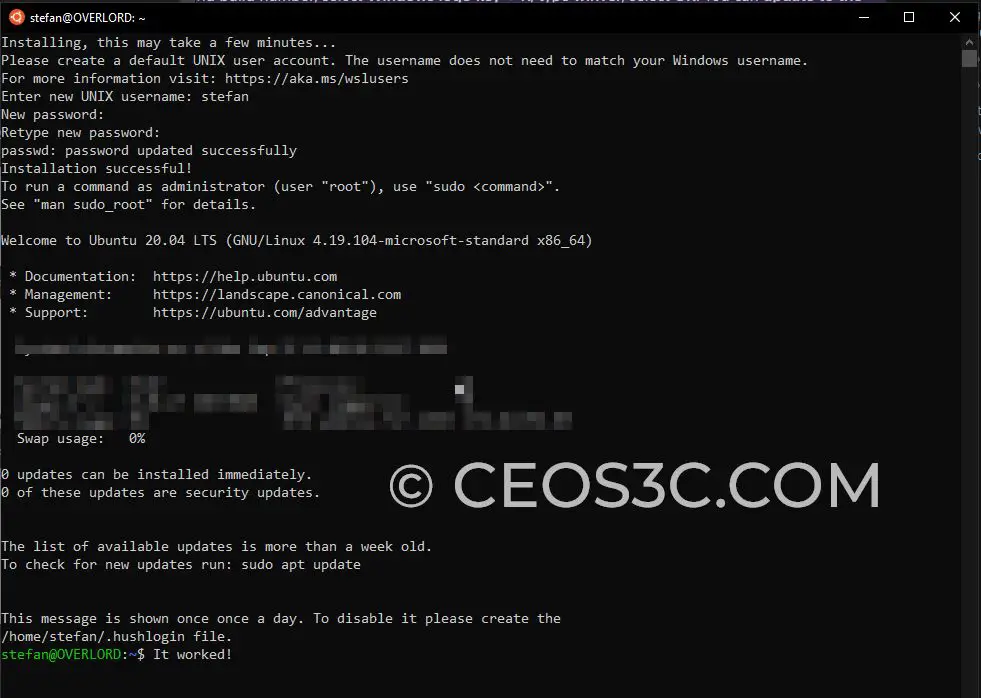
Step 3 – Initial Ubuntu Setup
Now, there is a chance that you will be prompted to restart your computer first so that all WSL2 features can be activated.
After that (or before, depending on the case), you will be required to set up your Ubuntu installation with a Username and Password, and once you set that up, your Ubuntu is ready to be used on WSL2.
To check if your Ubuntu is really running on WSL2, simply switch back to PowerShell and type:
wsl --list --verboseCode language: PowerShell (powershell)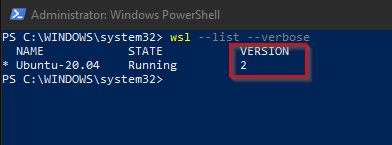
As you can see, everything went as expected! And that is how easy it is to install WSL2 with the latest versions of Windows!
Install WSL2 on Windows – The Manual Way
As I had previously stated, this is the more laborious way of doing things, but if you can’t upgrade Windows to the latest version for some reason, this is the way to go.
Step 1 – Enabling the WSL Feature
To Install WSL2 the manual way, we need to do a bunch of steps that are automatically done for us in the method above but don’t worry. I’ll guide you through.
Same as above, open PowerShell by pressing the Windows key and typing PowerShell, then right-clicking PowerShell and selecting Run as administrator.
Now we need to enable the WSL feature by typing
dism.exe /online /enable-feature /featurename:Microsoft-Windows-Subsystem-Linux /all /norestartCode language: PowerShell (powershell)Step 2 – WSL2 Requirements
There are a bunch of requirements you need to meet to be able to install WSL2. Some of them are:
- Windows version 1903 or higher with build version 18362 or higher.
- Builds below build version 18362 will not support WSL2.
Step 3 – Enabling the Virtual Machine Feature of Windows
To be able to install WSL2 on Windows, we first need to enable the Virtual Machine Platform feature, which we can achieve by typing another command into PowerShell:
dism.exe /online /enable-feature /featurename:VirtualMachinePlatform /all /norestartCode language: PowerShell (powershell)Once you are done with this, go ahead and restart your computer now.
Step 4 – Updating the Linux Kernel
Next up, we need to download an updated version of the Linux Kernel. You can do this directly from Microsoft’s Official Source. After downloading it, just run the installer.
Step 5 – Setting WSL2 as our Default WSL Version
Now we want to type another final command into PowerShell to make sure that we default to WSL2 whenever we are going to install a new Linux distribution from the Microsoft Store (or manually via PowerShell).
Simply type:
wsl --set-default-version 2Code language: PowerShell (powershell)For good measure, we are going to open the Microsoft Store, and we are going to try to download Debian, and then we will check if it, in fact, defaults to WSL2.
Simply press the Windows key and type Store to find and open the Microsoft Store.
Here, search for Debian (or whatever distribution you want to install) and press Get and then Install.
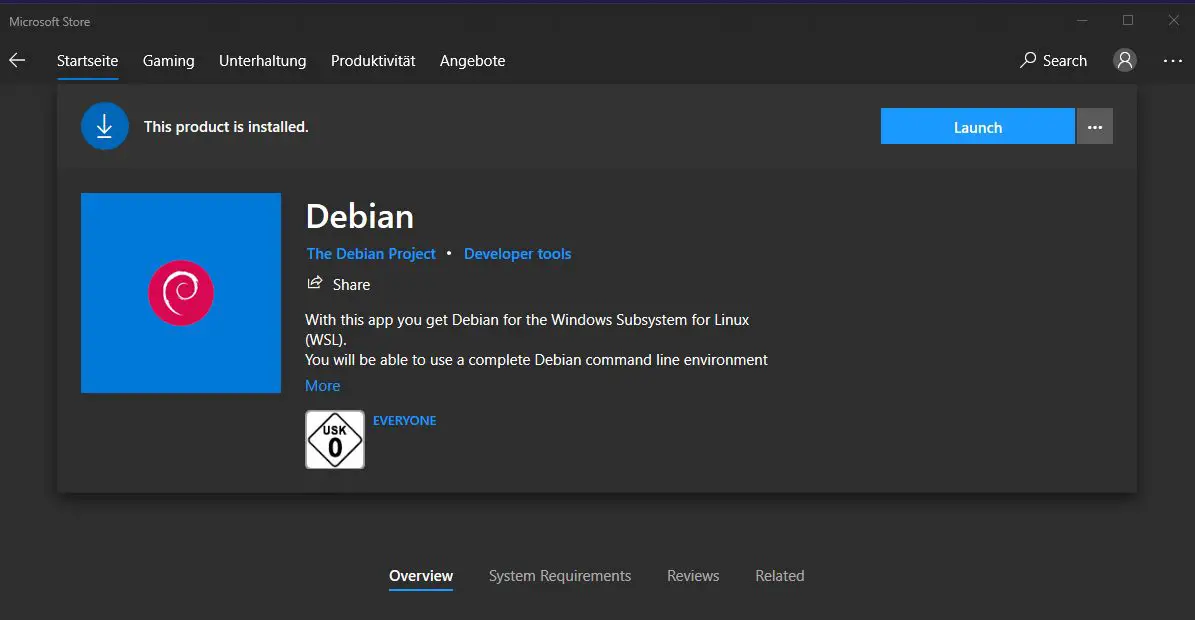
Once the installation is finished, we can use PowerShell once again to check the WSL version of our freshly installed Debian by typing:
wsl --list --verboseCode language: PowerShell (powershell)And we can confirm that Debian was installed using WSL2 per default.

That completes the manual way of installing WSL2.
Install Windows Terminal for WSL2
Let’s be frank here, the default terminal that ships with WSL2 and all of its distributions simply sucks. It just comes with the bare minimum when it comes to features, and it also really likes to play this annoying beeping sound every time you enter a wrong command.
Gladly, Microsoft gave us a better tool for that: Windows Terminal.
It’s completely free, and it’s awesome. It’s been my daily driver for the past two years, and they kept developing it, and new features come out all the time.
If you are serious about using WSL2, I highly recommend installing Windows Terminal as well.
To do that, just go to the Microsoft Store once again and search for Windows Terminal.
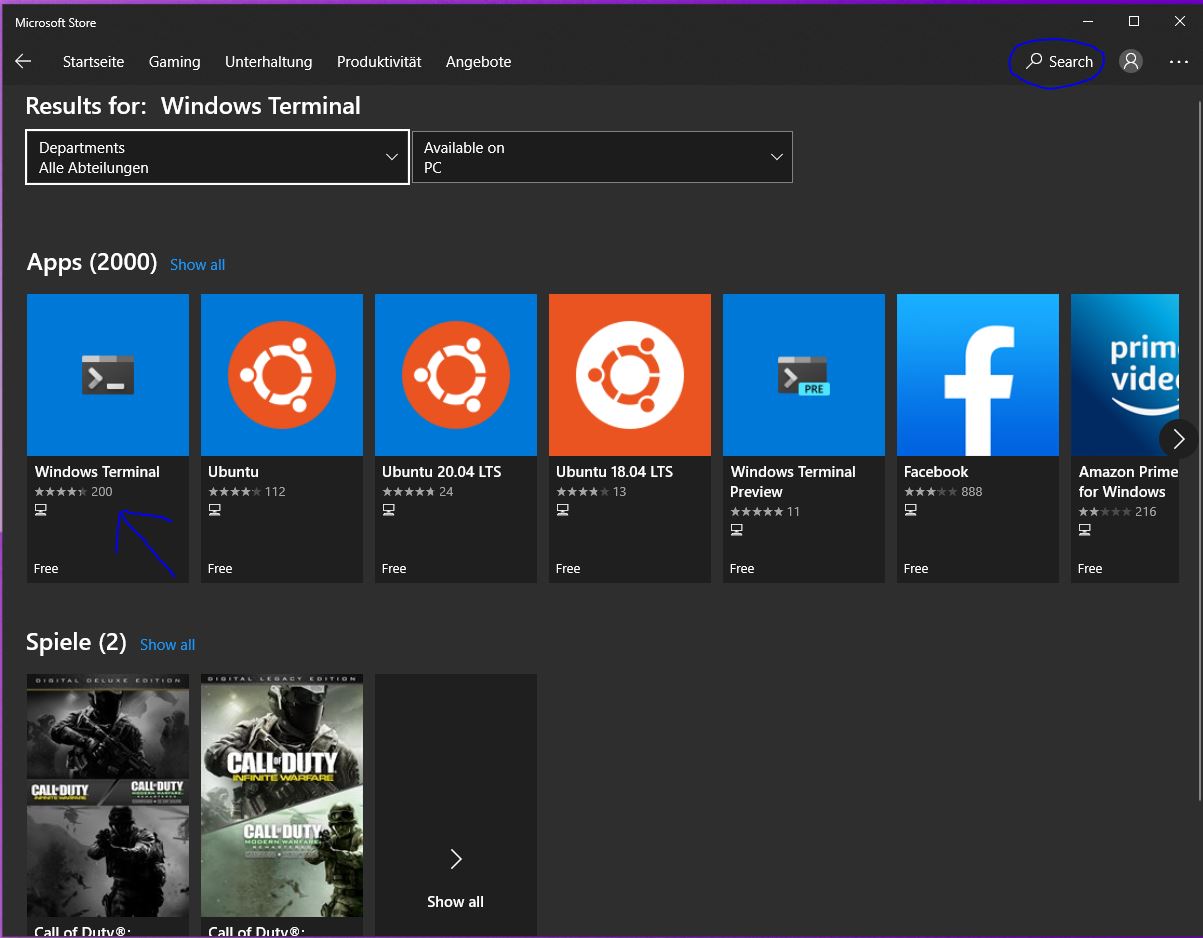
Click on Get and then on Install to install Windows Terminal.
Once installed, simply launch it by clicking on Launch directly in the Windows Store, or press your Windows key and search for Windows Terminal (Pro-tip: Right-click Windows Terminal and select “Pin to Taskbar” for Quick Access).
Configure Windows Terminal for WSL2
Windows Terminal launches PowerShell by default. Since we want to use Windows Terminal with WSL2, we need to change the default settings and tell Windows Terminal to automatically start up our Linux distribution.
You can also change distributions on the fly by clicking on the drop-down arrow:

Through that same menu, you are able to access the Windows Terminal Settings, which we are going to do next.
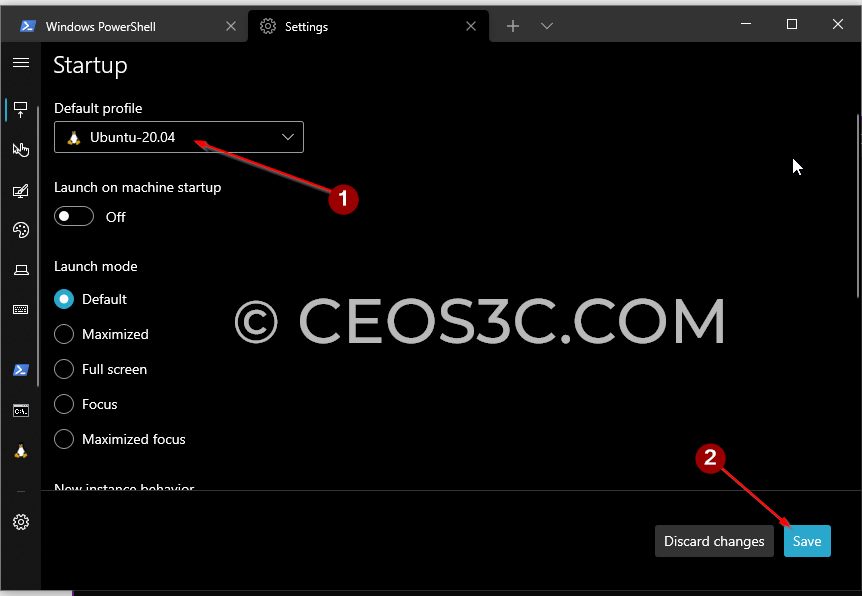
Click on the arrow-dropdown menu and then select Settings.
Once in there, change the Default profile from Windows PowerShell to the Linux flavor of your choice and click on Save.
The next time you start Windows Terminal that is what you will get:
I encourage you to click through the other options of Windows Terminal to check if you see something interesting, like increasing the font size or something along those lines.
There are a ton of customization options already implemented that are worthwhile to check out.
I will create a separate article that will cover Windows Terminal customization in-depth. (If you want to get my slick, transparent-background terminal stay tuned for that!).
Conclusion
If you came here to just install WSL2, you should have gotten a few extras on top if you made it until here.
In all seriousness, I really learned to love WSL2, especially in combination with Windows Terminal. It’s my daily driver for programming, web development, and penetration testing. I love this combination.
Stay tuned for the next article (bookmark this blog or sign up for the newsletter to get informed when that drops) where we will talk more about Windows Terminal Customization. We will make the terminal super beautiful and learn how to install new fonts and also ZSH.
Let me know in the comments below if this tutorial was clear enough and, of course, if it worked out for you!
⚠️Related Articles
Part 1 – How to install WSL 2 with Windows Terminal – Complete Guide
Part 2 – Windows Terminal Customization for WSL 2
Part 3 – In-Depth Windows Terminal Customization for WSL2
thanks
yet another great tutorial. Thanks!
Thank you!
Love your simplicity! Thank you Stefan
Cheerio Karabo!
Thank you Stefan! Karabo from South Africa here.. take a bow body you a star! 100% loving your content
Thank you my friend! Greetings to sud Africa!
Thank you loads!
Welcome!
Doesn’t work for me. I get the following error:
WslRegisterDistribution failed with error: 0x80370102
Error: 0x80370102 The virtual machine could not be started because a required feature is not installed.
coreinfo, systeminfo, and task manager all report full virtualization support, and VirtualBox works fine.
Hey Ben,
I ran into the same issue when I was trying to install it on VMware Workstation. Look at the first answer in this thread: https://askubuntu.com/questions/1264102/wsl-2-wont-run-ubuntu-error-0x80370102
The guy guys through a bunch of troubleshooting steps.
Most like a feature isn’t installed or needs to be re-installed.
Let me know if you have it figured out.
Thanks for steering me to Windows terminal, Far far better!
Welcome!